
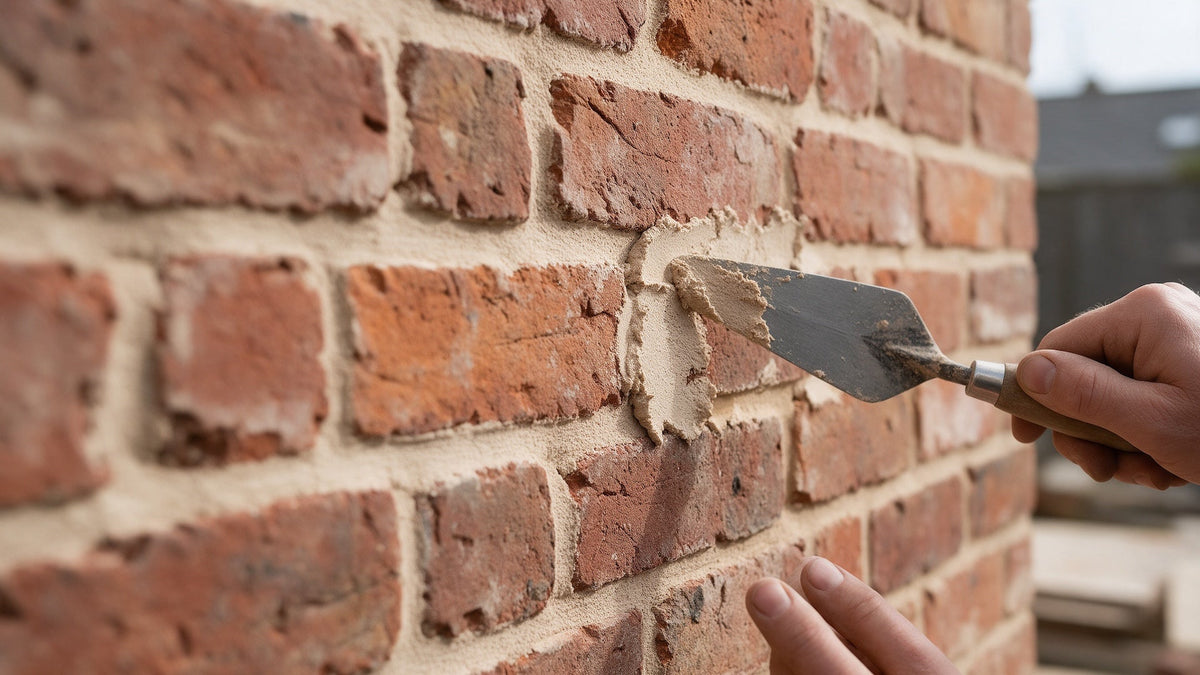
You have your reclaimed bricks, you have a few bags of Ecologic™ Lime Mortar NHL 3.5, and now you want to know exactly how to use it. Lime mortar is not hard to work with, but it does not behave like the gray cement mortar most people know. It sets more slowly, it cares about moisture and temperature, and it rewards a few simple habits that cement mortar lets you skip.
Maybe you are a homeowner laying a reclaimed brick garden wall yourself. You might be a mason used to cement mortar who wants to know what changes with lime. Or maybe you are repointing an older wall and want the joints to last.
This guide gives you clear, step-by-step instructions for mixing the mortar, laying reclaimed bricks, repointing old joints, finishing, curing, and cleaning up. The numbers come from the manufacturer's data sheet and installation guides, so you can follow them with confidence on your own project.
Table of Contents
- What You Are Working With
- How Much Mortar You Need
- Tools and Safety Gear
- Check the Weather First
- How to Mix the Mortar
- How to Lay Reclaimed Bricks
- How to Repoint Existing Joints
- Finishing the Joints
- Cleaning Mortar Off the Brick Faces
- Curing and Protecting the Work
- Mistakes to Avoid
- Quick Reference
- Is NHL 3.5 Lime Mortar Worth the Extra Care?
- Sources
What You Are Working With
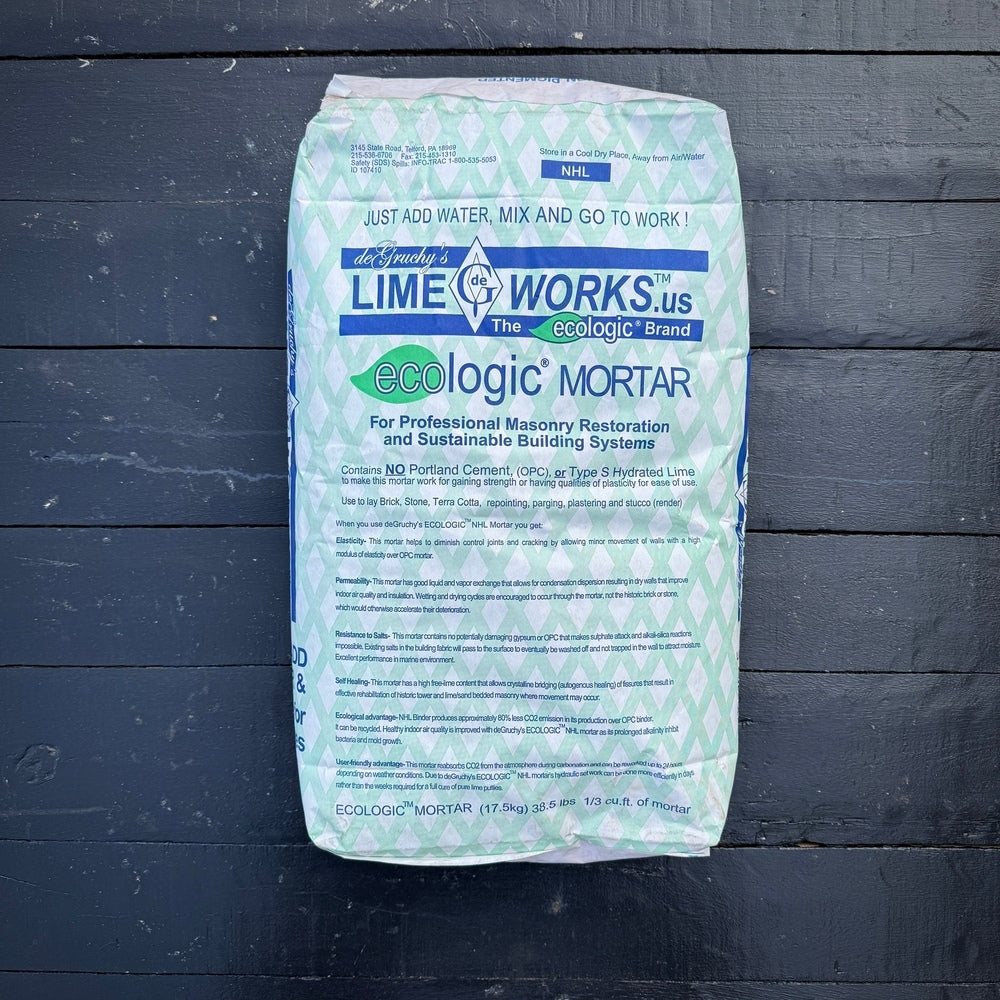
Chief Bricks carries one mortar: Ecologic™ Lime Mortar NHL 3.5, DGM non-pigmented, coarse grade (G). It is a pre-blended dry mix of Saint-Astier natural hydraulic lime and graded sand, with no Portland cement. You add clean water and nothing else.
- Joint size: the coarse (G) grade is made for joints 3/8" and wider. Most reclaimed brickwork is laid with a 3/8" to 1/2" joint, which is right in its range. It is not meant for very tight joints under 3/8".
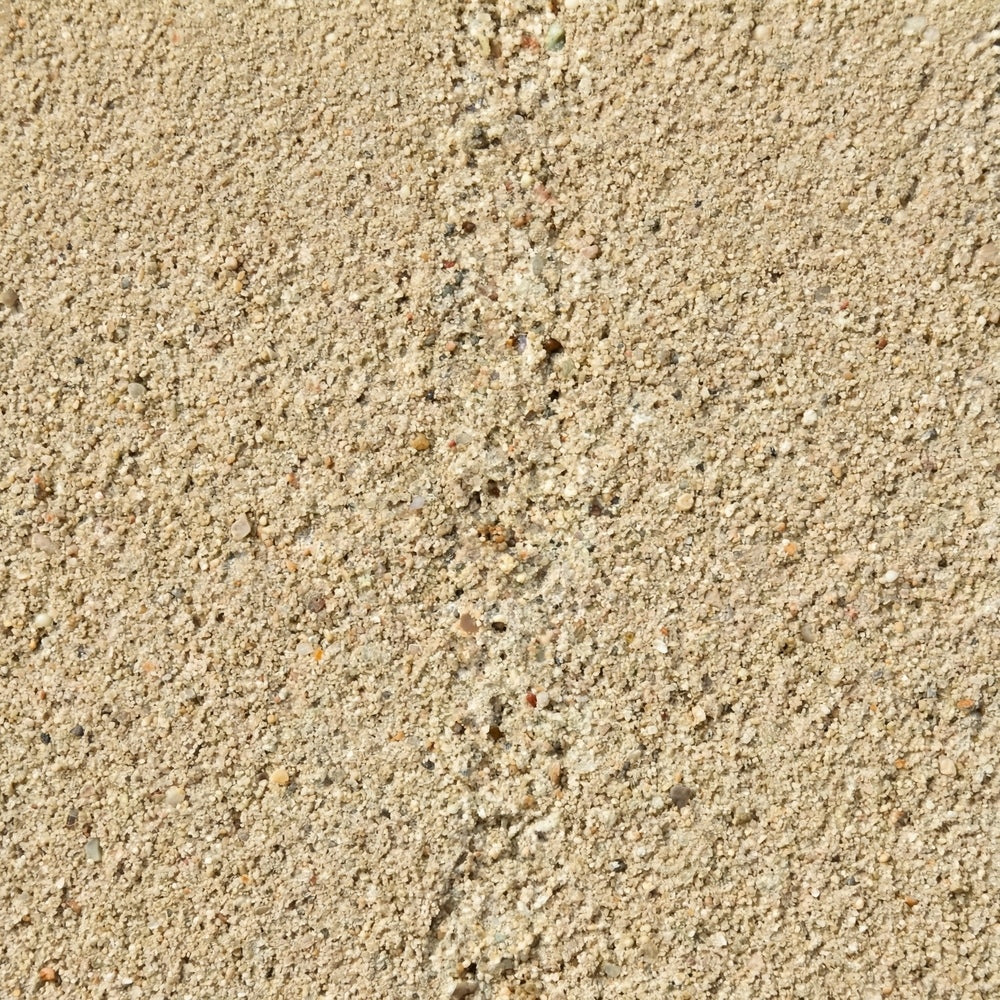
- Color: non-pigmented, so it cures to a muted off-white. The sand gives it a soft, slightly granular texture that sits naturally next to old brick.
- Strength: it reaches about 750 psi, the strength required for a Type N mortar, while staying more flexible and breathable than cement mortar. If you want the background on why that matters, read What Is NHL 3.5 Mortar and Why It's Ideal for Reclaimed Brick.
- Bag size: 38.5 lb. Sealed bags keep for 24 months if stored dry and off the ground.
Because it is pre-blended, the hard part of lime mortar, getting the lime-to-sand ratio and the sand grading right, is already done. Your job is to add the right amount of water, mix it properly, and look after the work while it cures.
How Much Mortar You Need
For laying full-size reclaimed bricks with a 1/2" joint, one bag lays about 30 bricks, and 17 bags lay a full pallet of 504 bricks. For repointing, one bag fills about 40 square feet of brick joints that are 3/8" wide and raked out 3/4" deep, or about 100 linear feet of joint.
Order a little extra for waste and for the inevitable dropped trowelful, and order everything for one project at the same time. Mortar from a single production lot cures to a consistent color; mixing lots can show slight shade changes across a wall.
The mortar is sold by the bag ($39), by the pallet of 64 bags ($36 per bag), and by the quart ($12) for small repairs. A quart sample is also available by priority mail in 1 to 3 days, which is the easiest way to check the cured color against your bricks before you commit. For the bricks themselves, our brick coverage calculator works out quantities.
Tools and Safety Gear
You do not need specialized equipment, but a few tools make a big difference.
- Two clean 5-gallon buckets and a measuring container for water.
- A heavy-duty drill with a rigid mixing paddle, or a paddle-style mortar mixer for larger jobs.
- A margin trowel for scraping the bucket and handling small amounts.
- A brick trowel for laying, and a hawk or mortar board.
- For repointing: a joint raker or plugging chisel and a light hammer, a stiff brush, and a pointing tool or slicker about 1/16" narrower than the joint.
- A soft horsehair or natural-bristle brush for finishing joints.
- A garden sprayer or spray bottle for misting.
- Burlap or jute cloth, and spring clamps to hold it off the wall.
Lime is caustic when wet. Wear safety goggles, rubber gloves, and a dust mask rated for silica dust when you open bags and mix. If lime gets in your eyes, rinse them with clean water right away. Keep long sleeves on so wet mortar does not sit on your skin.
Check the Weather First
Lime mortar cures through moisture and air, so weather matters more than it does with cement.
- Work only when the air temperature stays between 40°F and 85°F. That range needs to hold for 24 hours before you start and for 72 hours after you finish.
- Fresh lime mortar must never freeze. If frost is forecast during the first 72 hours, wait.
- Avoid working in direct hot sun or strong wind, which dry the mortar too fast and weaken it. Overcast, mild days are ideal.
- Do not let heavy rain soak fresh work until it has cured.
If you have to work in cold weather, plan ahead for heat and protection. Our guide to mortar for New York reclaimed bricks covers cold-weather lime work in detail. In most cases, spring and fall are the easiest seasons.
How to Mix the Mortar
Good mixing is the single biggest factor in how well the mortar works and how consistent it looks. Measure your water every time.
- Measure the water. Start with about half a gallon of clean, cool water for a full bag. For smaller batches, that works out to about 3½ cups of water per gallon of dry mortar.
- Add half the water first. Pour about half of the measured water into a clean bucket, then add the dry mortar.
- Mix. Mix with the drill and paddle, using an up-and-down pumping motion. Scrape the sides and bottom of the bucket with your margin trowel so no dry pockets remain.
- Add the rest of the water slowly. Add the remaining water a little at a time, only until the mortar becomes workable. You want the minimum water that gives a workable mix.
- Mix for a full five minutes. Keep mixing for five minutes in total. Lime mortar often looks too dry in the first minute or two and loosens up as it mixes, so judge the consistency only after five minutes of continuous mixing. Adding water early is the most common way people end up with a soupy batch.
- Check the consistency. Squeeze a handful in your gloved hand. It should form a ball that holds its shape, neither crumbly nor sloppy, and it should sit on a trowel without sliding off.
A few rules make every batch match the last:
- Use the same amount of water and the same mixing time for every batch.
- Mix only as much as you can use in about an hour.
- Do not add anything to the mix: no Portland cement, extra lime, accelerators, retarders, or antifreeze. They change how the mortar performs and can damage reclaimed bricks.
- Clean your tools and buckets with water before the mortar hardens.
How to Lay Reclaimed Bricks
Reclaimed bricks are thirsty. If they go into the wall bone dry, they pull water out of the mortar before it can set properly, which leads to weak, crumbly joints. The fix is simple: control the moisture before you start.
- Pre-wet the bricks. Wet the bricks a few hours before laying, or the day before in hot weather, so they are damp but not dripping when you set them. A good test: the surface should look darker and feel cool, with no water standing on it. Dense bricks need very little water; soft, porous bricks need more.
- Dampen the base. Mist the foundation or the course below so it does not suck the water out of your first bed joint.
- Spread the bed joint. Lay a bed of mortar a little thicker than your finished joint, so the brick settles to a 3/8" to 1/2" joint when pressed into place.
- Butter the head joint. Butter the end of each brick before you place it, so vertical joints are full, with no voids.
- Set the brick. Press and tap the brick into place, check it with your level and line, and cut off the excess mortar that squeezes out with your trowel. Once a brick is set and the mortar has started to stiffen, do not shift it; reset it with fresh mortar instead.
- Work clean. Try not to smear mortar on the brick faces. Let squeeze-out stiffen a little and cut it off rather than wiping it wet.
- Protect as you go. Cover the top of the wall at the end of each day, and drape finished sections with damp burlap.
For a look at how joint style and color change the finished wall, see How to Choose the Right Mortar for Your Reclaimed Brick Project.
How to Repoint Existing Joints
Repoint only joints that are actually failing: mortar that is missing, crumbling, or eroded more than about 3/8" back from the face. Fine hairline cracks on their own are not a reason to repoint.
- Fix the moisture first. If the joints failed because of a leak, rising damp, a missing flashing, or a gutter dumping water on the wall, fix that before you repoint, or the new joints will fail the same way.
- Rake out the old mortar. Remove failing mortar to a depth of at least 1.5 times the joint width and never less than 3/4". Keep the back of the joint square. Use hand tools and keep the chisel centered in the joint; grinders chip the edges of reclaimed bricks and widen the joints.
- Clean the joints. Brush, vacuum, or rinse out all dust and loose material. Mortar sticks to dust, not to the brick, if dust is left behind.
- Dampen the wall. Soak the joints and surrounding brick, then wait until no water is standing on the surface. The wall should be damp, not wet.
- Work from the top down. Start at the top of the wall so debris and water do not fall on finished joints.
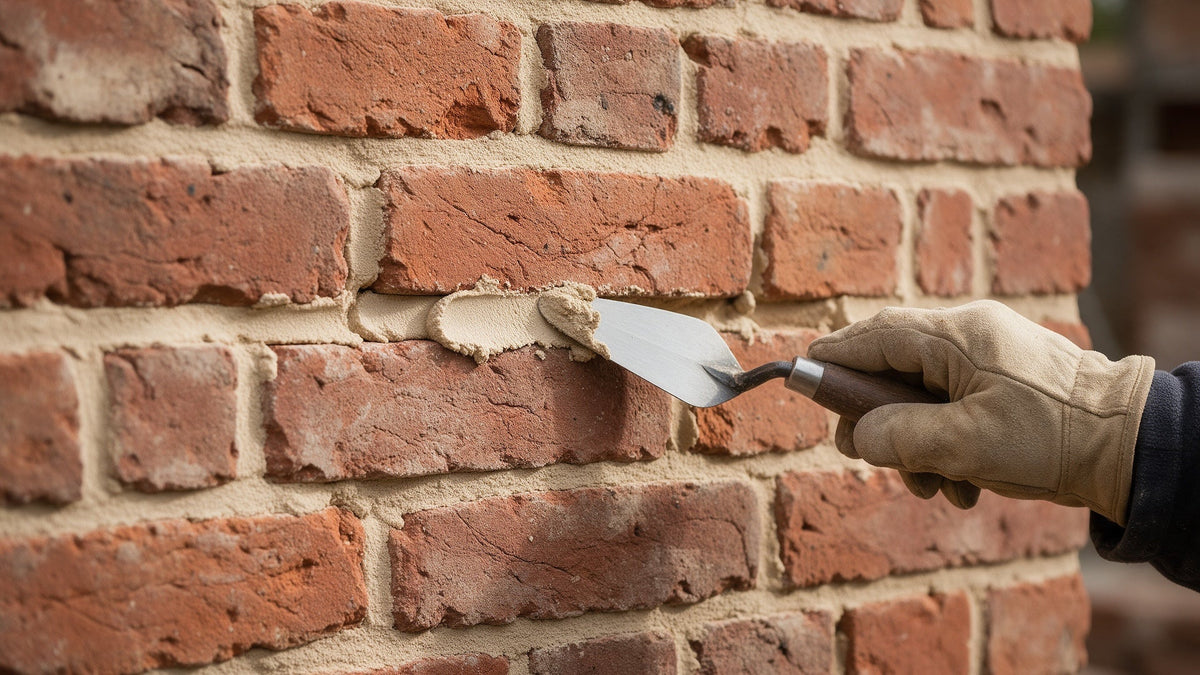
- Pack the joints in layers. Load mortar on a hawk and press it firmly into the back of the joint with your slicker or pointing tool. Fill deep joints in layers no thicker than about 3/8", letting each layer firm up before adding the next. Fill the bed (horizontal) joints first, then the head (vertical) joints.
- Bring the last layer to the face. Fill the final layer flush with the brick or slightly back from a worn brick edge, and cut off the excess with the slicker, leaving a clean line of brick showing.
For more on deciding when a wall needs repointing and when to call a mason, read How to Repoint Reclaimed Brick with NHL 3.5.
Finishing the Joints
Timing is everything with lime joints. Wait until the mortar is "thumbprint hard": firm enough that pressing your thumb leaves a print without the mortar sticking to it or smearing. Depending on temperature and humidity, that can be anywhere from about an hour to several hours.
- At thumbprint hard, brush the joints lightly with a horsehair or natural-bristle brush to remove loose particles and open up the texture. This gives the soft, slightly sandy look that suits reclaimed brick.
- For a more aged look on stiff joints, tap them with the end of a stiff brush.
- If you want a tooled profile, use a jointer at the same stage, then brush lightly.
- Do not finish too early. Working wet mortar drags lime to the surface and leaves a weak, crusty skin.
- Do not slick or polish the joints smooth with a steel tool; lime needs an open surface to cure.
Cleaning Mortar Off the Brick Faces
The best cleanup is the one you do not need: work neatly and keep mortar off the brick faces. When it does land on the bricks, do not wipe it while it is wet. That smears lime into the pores of the brick and leaves a haze.
Instead, let the crumbs and smears firm up, then brush them off with a dry, stiff natural-bristle brush when you finish the joints. Remaining residue can be scraped carefully with a wooden or plastic tool once the mortar has set. Avoid acid cleaners on fresh lime mortar and on reclaimed brick; they attack the joints and can stain the brick. If you need to wash the wall later, use plain water and a soft brush, working from the top down.
Curing and Protecting the Work
Lime mortar gains strength slowly and needs moisture to do it. Most lime mortar problems trace back to curing that was too fast or too cold.
- First 72 hours: this is the initial cure. Keep the work above 40°F, out of direct sun, strong wind, and heavy rain.
- Cover the work with damp burlap or jute, held a few inches off the wall with spring clamps so the cloth does not touch or stain the fresh joints. Do not let plastic sheeting sit directly on fresh work.
- Mist lightly twice a day for the first three days, and more often in hot, dry, or windy weather, so the joints stay damp but never run with water. Indoors, a humidifier helps in a dry room.
- Close up any small cracks by rubbing them with a brush or the back of a trowel within the first 24 hours.
- Full cure takes about 28 days, and lime keeps hardening for months after that. Avoid sealing, heavy loads, or pressure washing during that first month.
Expect the color to lighten as the mortar dries. Judge the final color only once the joints are fully dry.
Mistakes to Avoid
- Adding Portland cement or other additives to "make it stronger." It defeats the purpose of a lime mortar and can damage reclaimed bricks.
- Adding too much water, or adding it before the five minutes of mixing are up.
- Laying bone-dry bricks, or soaking them so much they drip.
- Working below 40°F, above 85°F, or in direct hot sun and wind.
- Raking joints too shallow when repointing, or leaving dust in them.
- Using grinders that chip brick edges.
- Finishing joints while the mortar is still wet, or wiping wet smears across the brick.
- Skipping the misting and covering during the first three days.
- Mixing more than you can use in about an hour.
Our article Why Reclaimed Bricks Need Different Mortar Than New Bricks explains why these habits matter so much with old brick.
Quick Reference
| Item | Ecologic™ NHL 3.5, coarse (G) |
|---|---|
| Joint width | 3/8" and wider |
| Bag size | 38.5 lb |
| Water | Start with about 1/2 gallon per bag (about 3½ cups per gallon of dry mix); add more only as needed |
| Mixing time | 5 minutes; judge consistency only after 5 minutes |
| Batch size | What you can use in about 1 hour |
| Temperature | 40°F to 85°F, from 24 hours before until 72 hours after |
| Laying coverage | About 30 bricks per bag with a 1/2" joint; 17 bags per pallet of 504 bricks |
| Repointing coverage | About 40 sq ft per bag, joints 3/8" wide by 3/4" deep |
| Repointing depth | 1.5 times the joint width, minimum 3/4" |
| Finishing | Brush at thumbprint hard |
| Curing | Damp burlap and light misting twice a day for 3 days; initial cure 72 hours; full cure about 28 days |
| Shelf life | 24 months in sealed bags, stored dry |
Is NHL 3.5 Lime Mortar Worth the Extra Care?
For reclaimed brick, yes. A few extra habits, like watching the weather, misting during curing, and waiting to brush the joints, are a small price for a mortar that moves with old brick, lets moisture escape, and keeps the bricks from taking the damage.
Once you have mixed and laid a batch or two, the routine becomes second nature. The result is a wall that looks right for reclaimed brick and can be repointed easily when the time comes.
Ecologic™ Lime Mortar NHL 3.5 ships nationwide from our yard in Nanuet, NY. Add the mortar to your cart and enter your address for a shipping quote. If it looks too high, call us at (718) 379-1232; we sometimes have alternative ways to get your order to your door for a more reasonable price. You can also pick it up with your bricks at the yard. No appointment is needed, but if you call ahead at (718) 379-1232, we will make sure you get our full attention.

Share: