
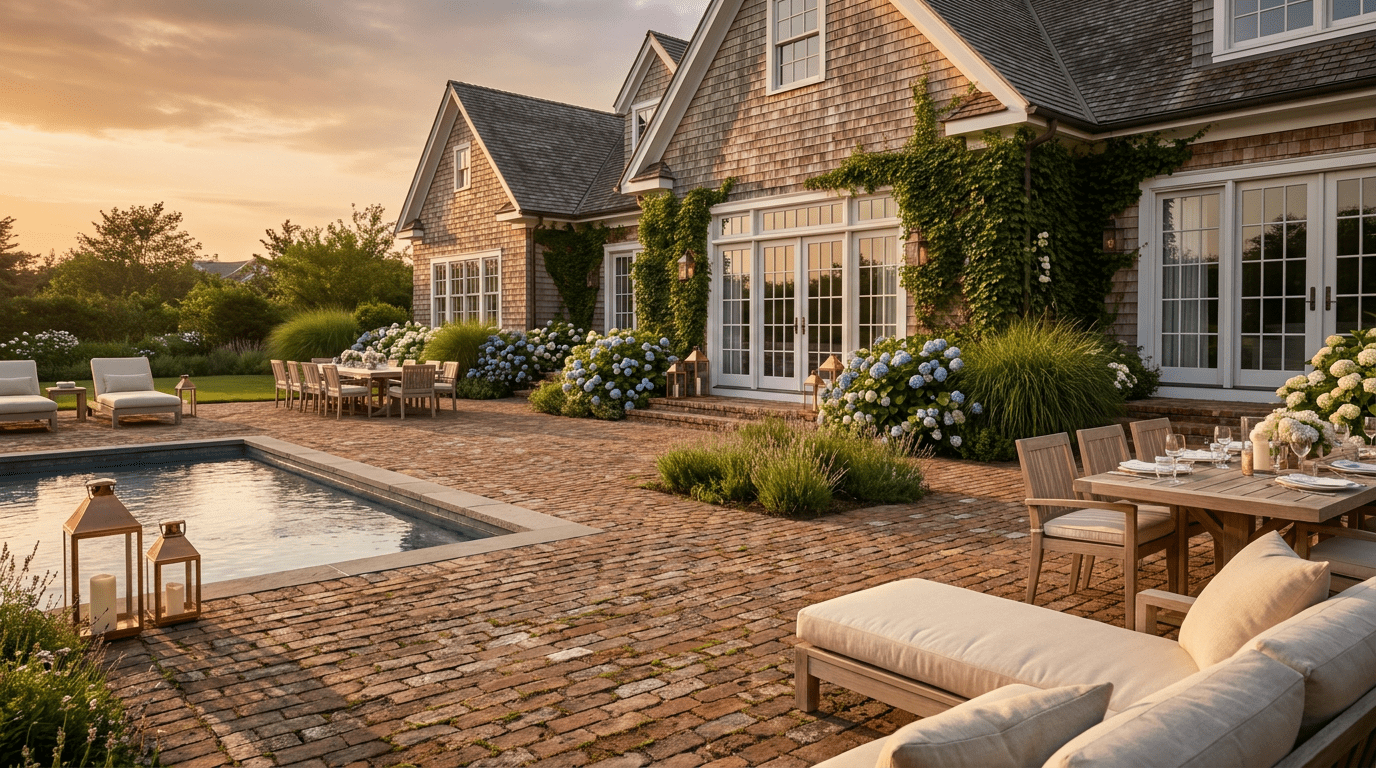
Reclaimed brick walls have a way of stealing the scene. The softened corners, the color variation, the small scars of a previous life all add up to something new bricks cannot fake. Over time, though, even the best reclaimed brickwork will start to show one very practical issue: tired mortar joints.
Repointing is how you give those joints a second life without disturbing the bricks themselves. When you are working with reclaimed material, especially older, softer units, the stakes are higher. The wrong approach or the wrong mortar can damage the very bricks you went out of your way to save. The right approach, paired with a lime‑based NHL 3.5 mix, keeps the bricks in charge and lets the joints do what they are meant to do: take the hit.
This guide walks you through a homeowner‑friendly way to repoint reclaimed brick with NHL 3.5 mortar: how to know it is time, how to prep, and what to pay attention to while you work so the wall looks good and stays healthy.
Table of Contents
- How to Know It’s Time to Repoint
- Why NHL 3.5 Is a Good Match for Reclaimed Brick
- Tools and Prep Before You Start
- Step‑by‑Step Repointing Process
- Curing and Aftercare
- Common Mistakes to Avoid
- When to Call in a Pro
How to Know It’s Time to Repoint
Most reclaimed brick walls will eventually start sending signals that the joints are ready for attention. The trick is to read those signals before small issues turn into bigger ones.
Classic signs that it is time to repoint include:
- Mortar that powders or crumbles when you run a finger or key across it.
- Gaps or hairline cracks along the joint edges where water can sneak in.
- Loose, rattling bricks that move when you press on them.
- Damp staining or efflorescence (white salt deposits) tracing along tired joints.
You do not have to wait for the entire wall to fail. Spot repointing in the most weathered areas (corners, parapets, lower courses near grade) can extend the life of the whole assembly and keep reclaimed bricks out of trouble.
Why NHL 3.5 Is a Good Match for Reclaimed Brick
Repointing is partly about appearance, but at heart it is about compatibility. Reclaimed bricks have already done their time in older lime mortars. They are often softer than modern bricks, with more absorbent cores and worn faces. A very hard, cement‑heavy repointing mix can lock them into a rigid shell that does not match how they want to move or breathe.
Natural Hydraulic Lime (NHL) 3.5 hits a sweet spot here. It is still lime‑based, which means flexible and breathable, but it has enough hydraulic set to stand up to real weather. When you use an NHL 3.5 mortar for repointing reclaimed brick, you are deliberately keeping the joints slightly softer and more forgiving than the bricks themselves.
That means two things: stress shows up in the mortar, where it belongs, and moisture has a clear path out through the joints instead of being pushed through the brick faces. Long term, that is the difference between a wall that can be repointed again and again, and one where the bricks start to crack and flake away.
Tools and Prep Before You Start
Repointing reclaimed brick with NHL 3.5 is not about muscle; it is about patience and the right tools. A small, careful kit will serve you better than heavy‑duty demolition gear.
Here is a simple tool list:
- Plugging chisel, cold chisel and a light hammer for hand‑raking joints.
- Joint raker or narrow margin trowel for cleaning and shaping the joint.
- Stiff masonry brush and a smaller hand brush for dust removal.
- Bucket, sponge and low‑pressure spray bottle or garden sprayer for dampening.
- Pointing trowel, tuck pointer or jointer sized to your joint width.
- Hawk or mortar board to hold fresh mortar at the wall.
Before you mix anything, protect nearby surfaces, windows and landscaping. Work in manageable sections rather than trying to tackle the entire facade in one go. For reclaimed walls, it is smart to start on a less visible area while you get a feel for the tools and timing.
Step‑by‑Step Repointing Process
Every wall is different, but most repointing jobs follow the same basic rhythm. Take your time on each step; rushing is usually when reclaimed bricks get hurt.

1. Carefully remove the old mortar
Start by raking out the joints that need work. Aim for a depth of at least 1.5 times the joint width, or until you are into sound, solid mortar. Work with hand tools whenever possible, especially on weathered reclaimed bricks.
Avoid prying against the brick edges. Instead, keep your chisel centered in the joint and work in small bites. Any brick that starts to move should be noted—you may need to reset it rather than just repoint around it.
2. Clean out dust and debris
Once the old mortar is out, clean the joint thoroughly. Loose dust and crumbs will weaken the bond between the new NHL 3.5 mortar and the brick. Use a stiff brush and, if needed, a vacuum with a brush attachment to get down to a clean surface.
Pay attention to the upper and lower bed surfaces of the joint as well as the sides. The goal is a squared‑off cavity with clean, receptive faces, not a shiny, dust‑coated groove.
3. Pre‑dampen the brickwork
Lime‑based mortars like NHL 3.5 need a controlled environment to cure properly. If the bricks are bone dry, they will pull water out of the fresh mortar too quickly. If they are saturated, the mortar can wash or slump.
The sweet spot is a gently damp background. Lightly mist the joints and surrounding brick with clean water, then give it a few minutes to soak in. You want the surface to look dull and cool, not glossy and dripping.
4. Mix your NHL 3.5 mortar
If you are using a pre‑blended NHL 3.5 mortar designed for reclaimed brick, follow the manufacturer’s water‑to‑mix ratio and mixing time. The mortar should end up workable but not soupy. Think of a consistency that will hold on a trowel without sliding off.
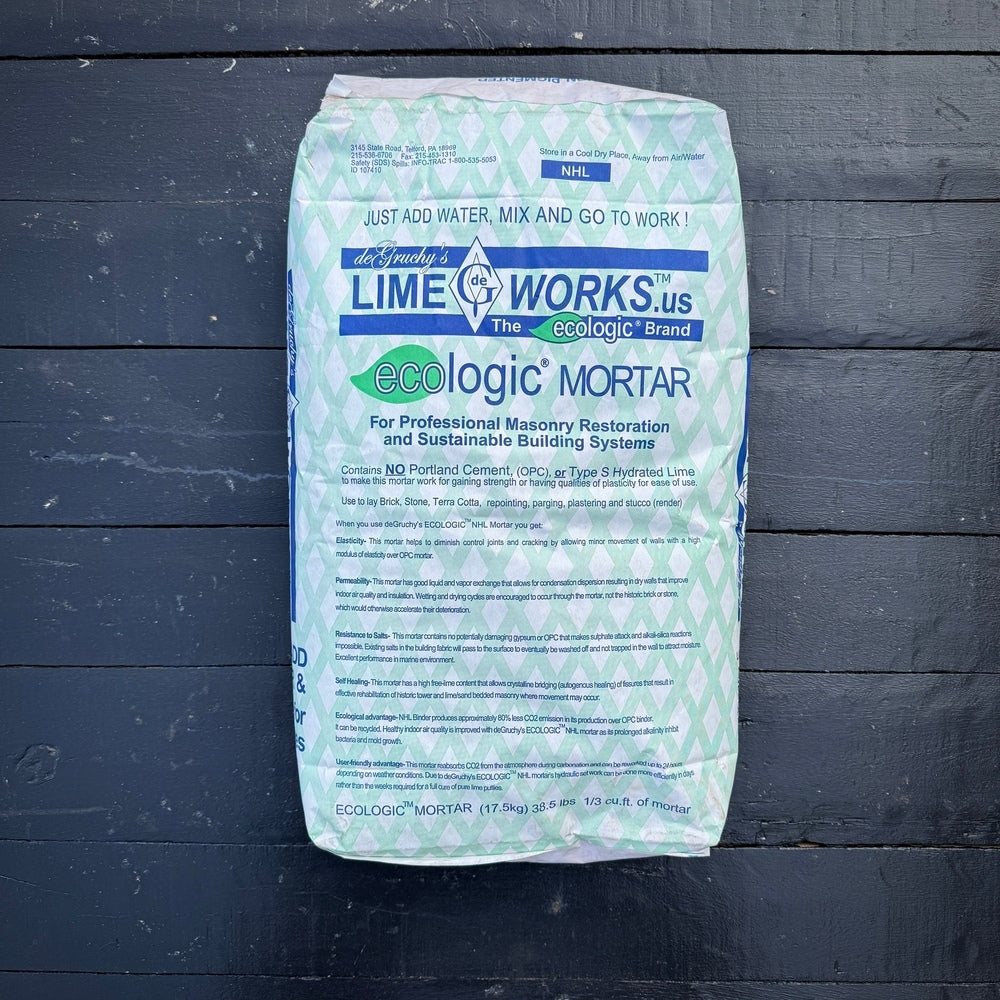
Our Ecologic™ NHL3.5 Mortar must be mixed for five minutes with clean, potable water or sea water if needed. Start with one-half (0.5) gallon of water per bag and slowly add more water only until the mix contains the minimum amount of mixing water to become workable.
Keep water ratios consistent between batches to ensure consistency in material performance and appearance. Judge workability only after five minutes of continuous mixing.
Give the mix time to rest as directed, then remix briefly before you start pointing. This lets the water fully penetrate the binder and sand, which improves workability and performance.
5. Pack the joints in layers
Load a small amount of mortar onto your hawk, then use your pointing tool to press it firmly into the back of the joint. Work from the back outward, and from the top of the wall down, so you are not dropping debris onto fresh work below.
For deeper joints, build up in thin layers rather than trying to fill the entire depth in one pass. Each layer should be packed tight, with no voids, giving the next layer a solid base to key into. Bring the final layer out to slightly proud or flush with the brick face, depending on your desired profile.
6. Finish the joints at the right time
The timing of finishing makes a big difference in both appearance and durability. If you strike or brush the joints too early, you can drag fines to the surface and create a weak, crusty skin. Too late, and the mortar may not take a clean finish.
Watch for the mortar to firm up to the point where a light touch leaves a clear impression without smearing. At that stage, you can use a jointer, trowel or stiff brush to compact and shape the surface. For reclaimed walls, a slightly textured, brushed finish often sits nicely next to the aged brick.
Curing and Aftercare
Lime‑based mortars like NHL 3.5 do not like rapid changes right after placement. Good curing is one of the easiest ways to protect your hard work.
For the first few days:
- Keep the wall out of direct, hot sun and strong wind if possible.
- Lightly mist the joints if they start drying too quickly, especially in warm or breezy weather.
- Protect fresh work from driving rain and overnight frost with breathable covers, not plastic wrap pressed against the wall.
As the mortar continues to cure over the following weeks, it will gain strength and refine in color. Small hairline cracks that appear early sometimes knit themselves back together as the lime continues to carbonate and heal.
Common Mistakes to Avoid
Repointing reclaimed brick with NHL 3.5 is forgiving when you respect the basics. Most problems trace back to a few avoidable habits.
Common mistakes include:
- Using grinders or power tools that chip and scar brick edges.
- Leaving dust and loose material in the joint before packing new mortar.
- Working on bone‑dry walls in hot sun without pre‑dampening.
- Over‑watering the mix and ending up with weak, overly porous joints.
- Finishing the joints too soon, creating a thin, fragile surface skin.
If you slow down and treat the wall more like a restoration than a demolition, NHL 3.5 mortar will reward you with joints that look appropriate and last.
When to Call in a Pro
Many small repointing projects are within reach for a careful homeowner. That said, there are times when bringing in a mason with lime experience is the better move for your reclaimed bricks.
Consider calling a pro if:
- Large sections of the wall are loose, bulging or visibly out of plane.
- Bricks themselves are cracking or spalling in multiple areas.
- The wall is load‑bearing or part of a complex facade with structural ties.
- You need to match historic joint profiles or colors on a prominent elevation.
A good mason can still work with NHL 3.5 and the same principles outlined here; you are simply bringing in more experience for the parts of the project where it matters most. For everything else, a steady hand, patience and the right mortar go a long way.
Share: