
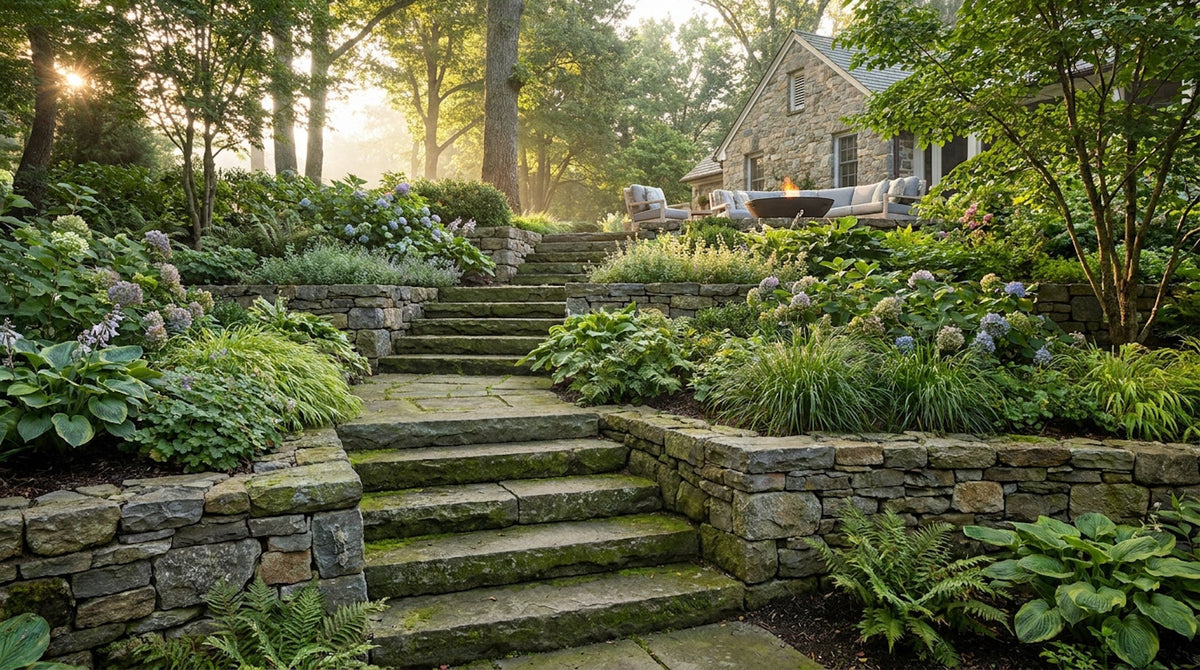
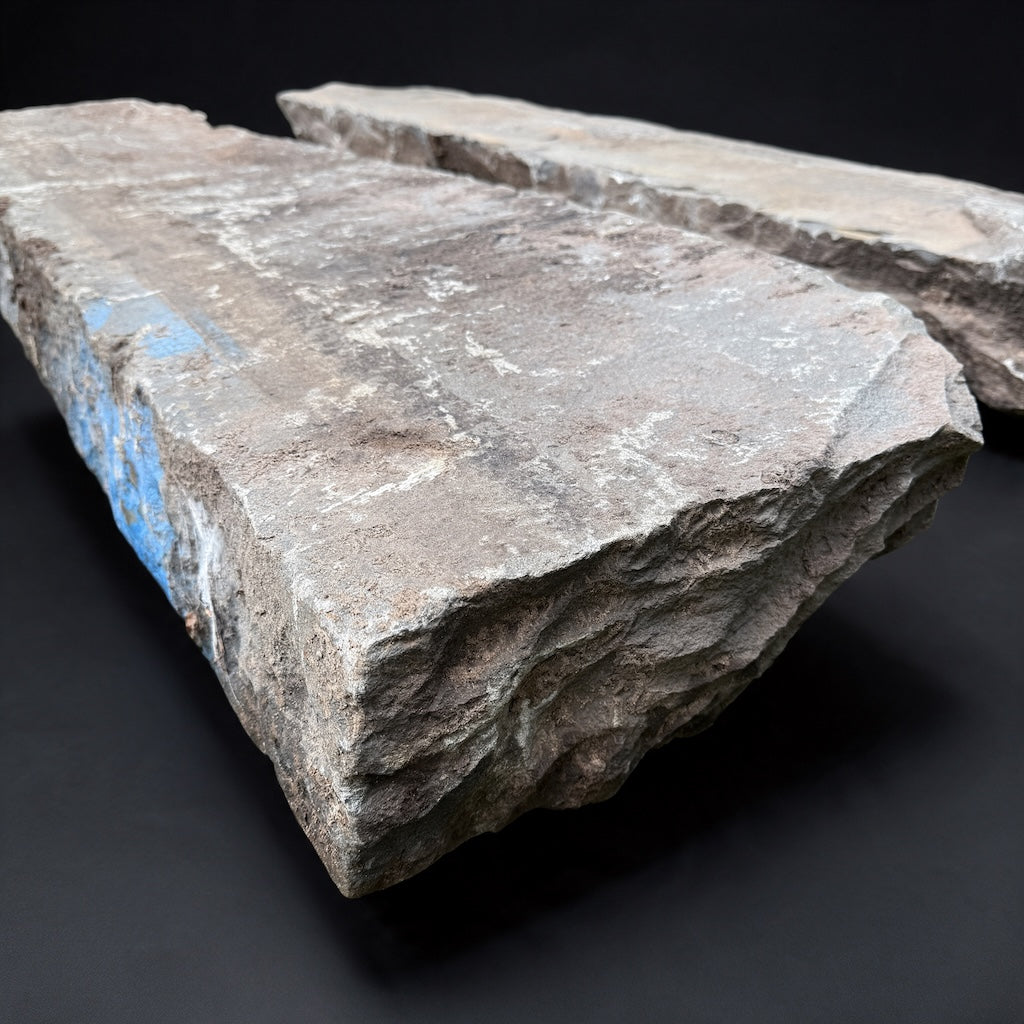
There is something about a thick stone step that tells you a house was built to last. You feel it underfoot the moment you walk up to the door: no flex, no hollow sound, just a broad, weathered slab of bluestone that has already survived decades on a city curb. But a step like that is only as good as what sits underneath it, and once the stone arrives, one question comes up fast: how do you actually set it?
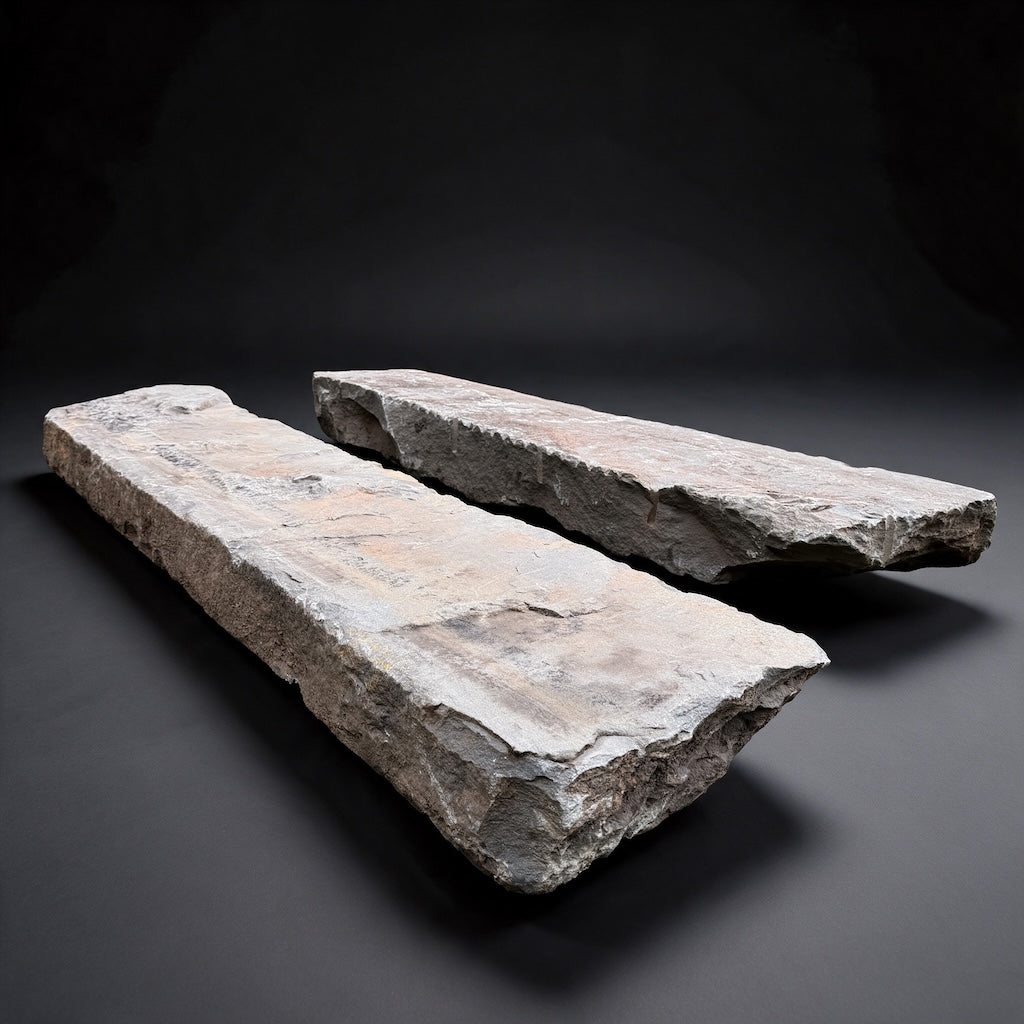
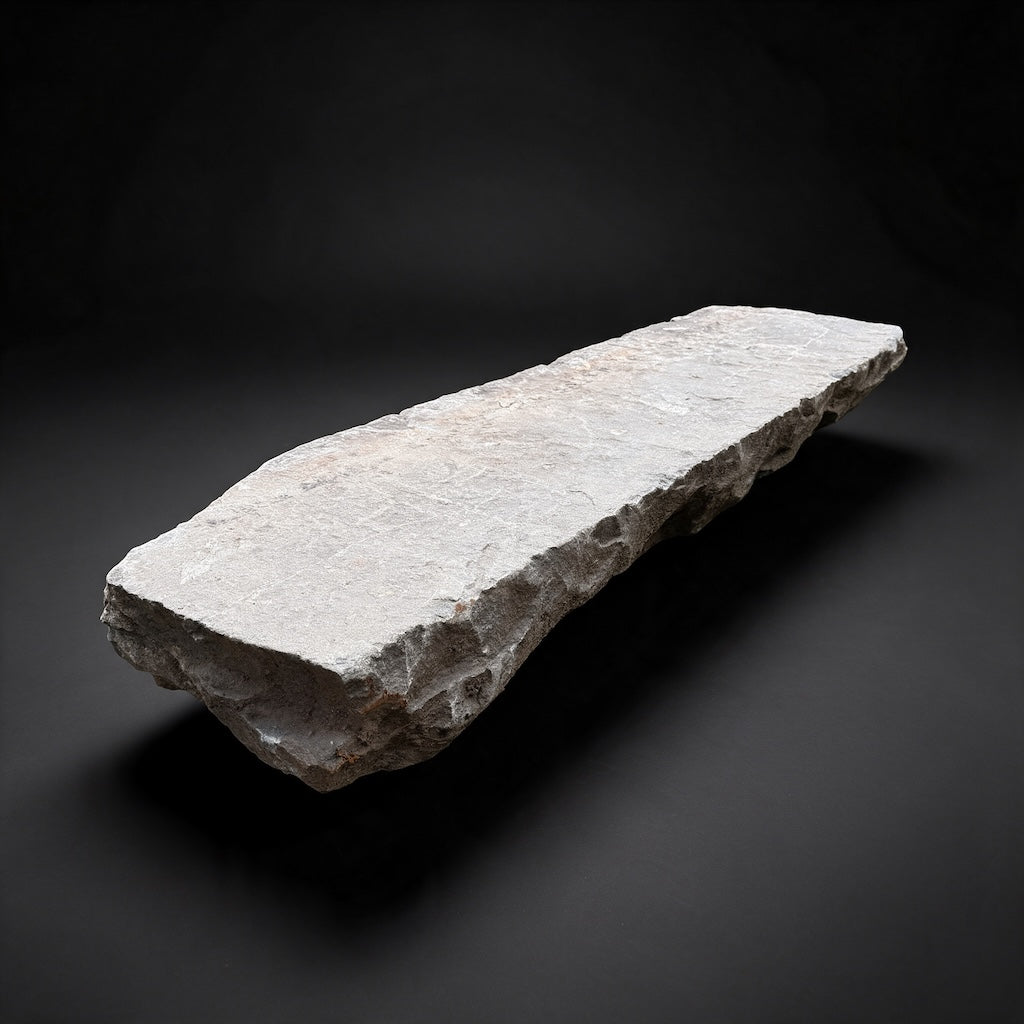
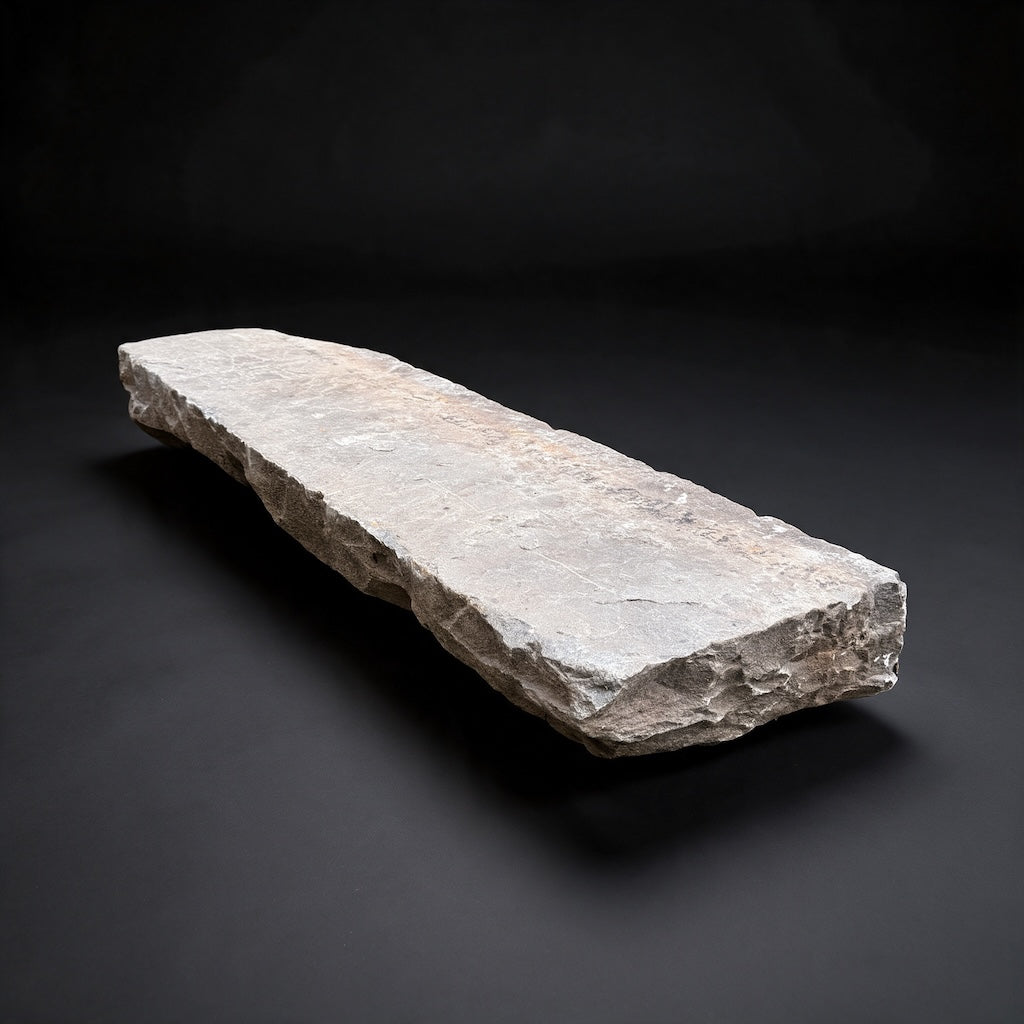
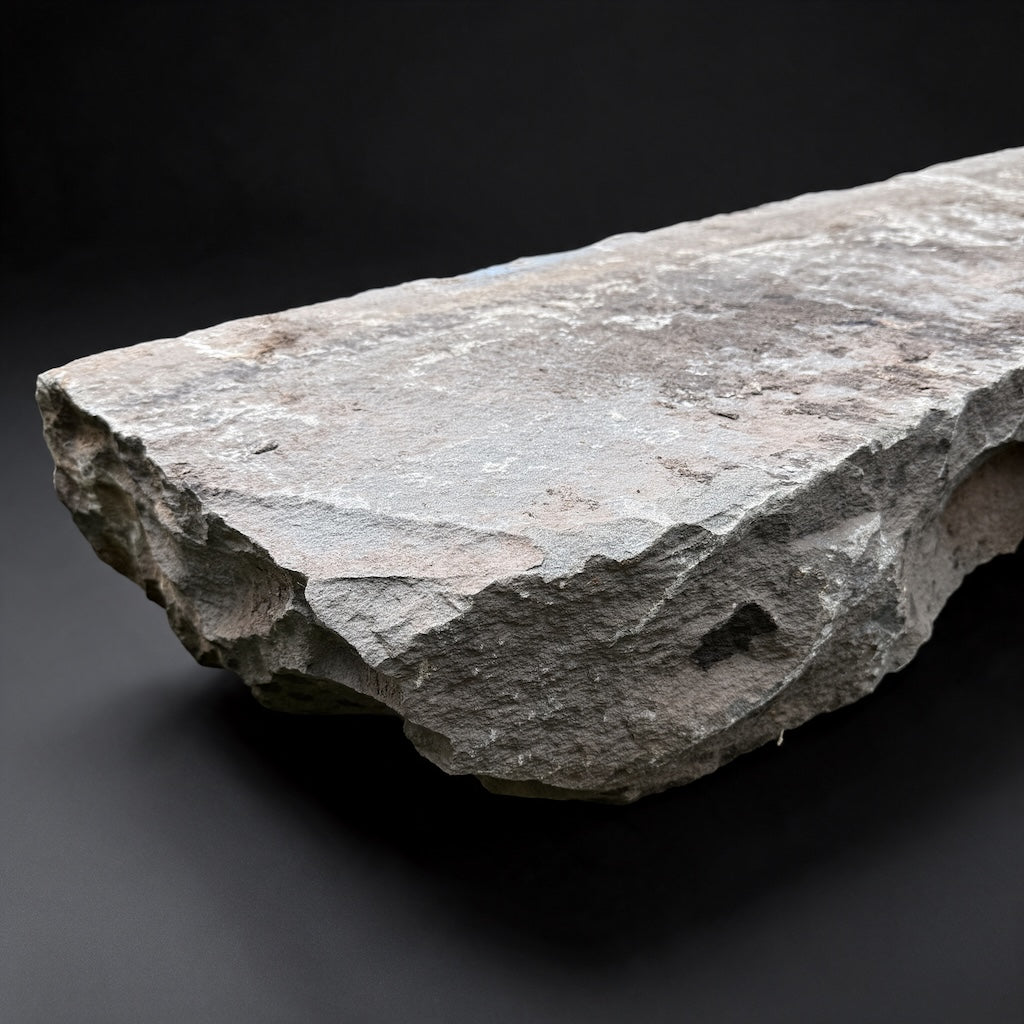
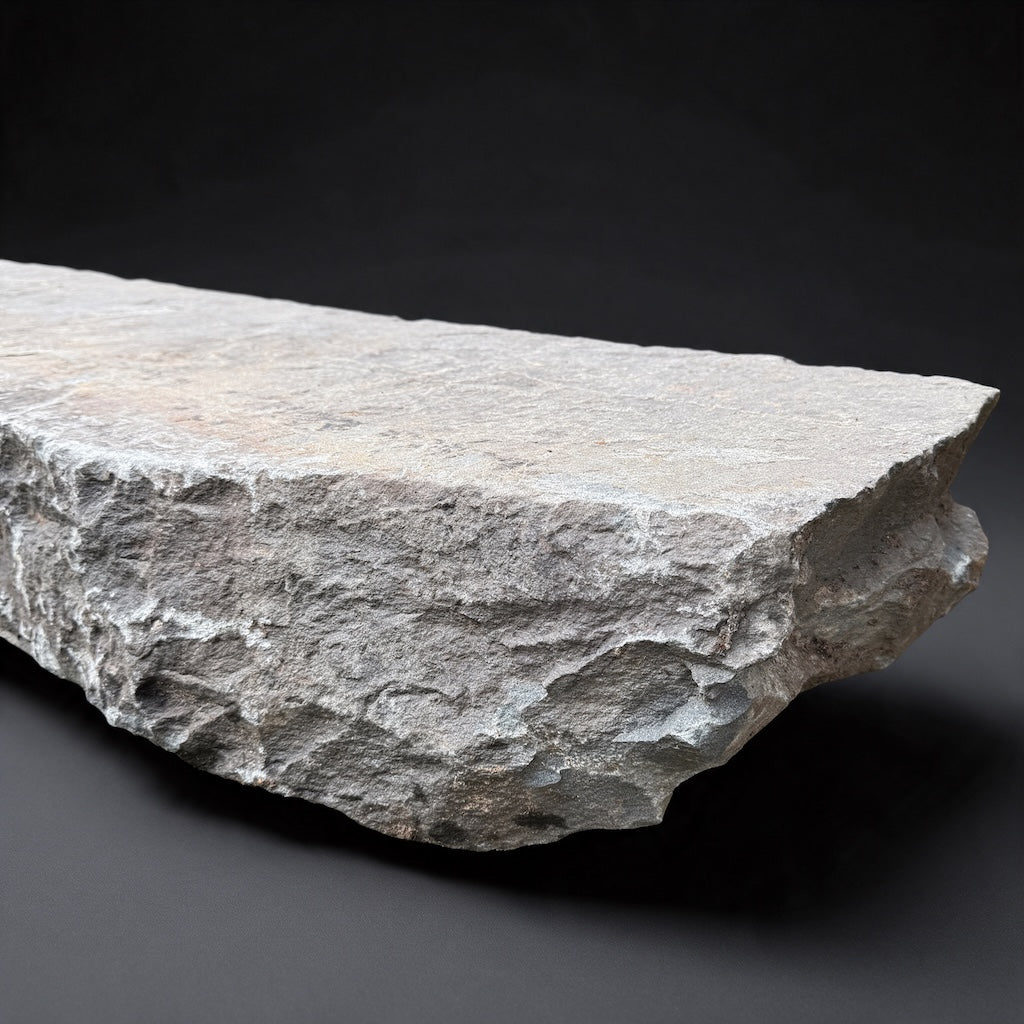
Reclaimed bluestone curbstone steps are simple in principle. Each one is a single solid piece, so there are no risers to build and no small units to fit together. What makes them work is the planning around them: the right number of steps for the slope, a firm base that will not settle, a little overlap between treads, and a plan for moving pieces that weigh hundreds of pounds.
Maybe you are a homeowner with a slope between the patio and the lawn. You might be a landscape designer specifying steps for a client. Or maybe you are a contractor who has set plenty of pavers but not many 600-pound curbstones. This guide walks through how reclaimed bluestone steps are installed, from the first measurement to the last shovel of backfill, so you know what the job involves before you start.
Table of Contents
- Bluestone Step Installation at a Glance
- Plan the Stair Before You Dig
- Build a Base That Will Not Move
- Moving and Handling Heavy Stone
- Setting the Steps
- Drainage, Pitch, and Finishing
- Front Entries and Steps Against the House
- Common Mistakes to Avoid
- Nationwide Shipping and Seeing the Stone
- Should You Install Bluestone Steps Yourself?
Bluestone Step Installation at a Glance
If you need the short version first, this table shows the main numbers. The rest of the guide explains how each one fits into the job.
| Item | Typical figure | Why it matters |
|---|---|---|
| Step size | 2 to 8 feet long, 14 to 20 inches deep, 4 to 6 inches thick | One piece can span the stair, and the depth gives a comfortable tread. |
| Weight | About 100 lb per linear foot | Decides how many people or what equipment you need. |
| Rise per step | About 5 to 7 inches | Low, even rises feel easy and safe outdoors. |
| Base under garden steps | 4 to 6 inches of compacted crushed stone, plus a thin stone-dust bed | Keeps the steps from settling, rocking, or heaving with frost. |
| Overlap | About 1 to 2 inches onto the step below | Ties the stair together and keeps each tread stable. |
| Pitch | A slight forward slope on each tread | Sheds water so it does not pool or freeze on the step. |
Note: Site conditions, soil, frost depth, and local code all affect how steps should be built. Treat these figures as a starting point and confirm the details with your installer.
Plan the Stair Before You Dig
Every good stair starts with two measurements: how high it has to climb and how far it has to travel. Set a straight board or string line level from the top of the slope out over the bottom, and measure straight down to the ground. That is your total rise. The horizontal distance from the top edge to where the stair will end is your run.
Divide the total rise by a comfortable step height of about 5 to 7 inches to get the number of steps, then round to a whole number. A 2-foot change in grade, for example, usually works out to four steps of about 6 inches each. Every step should rise the same amount; uneven steps are what make people trip.
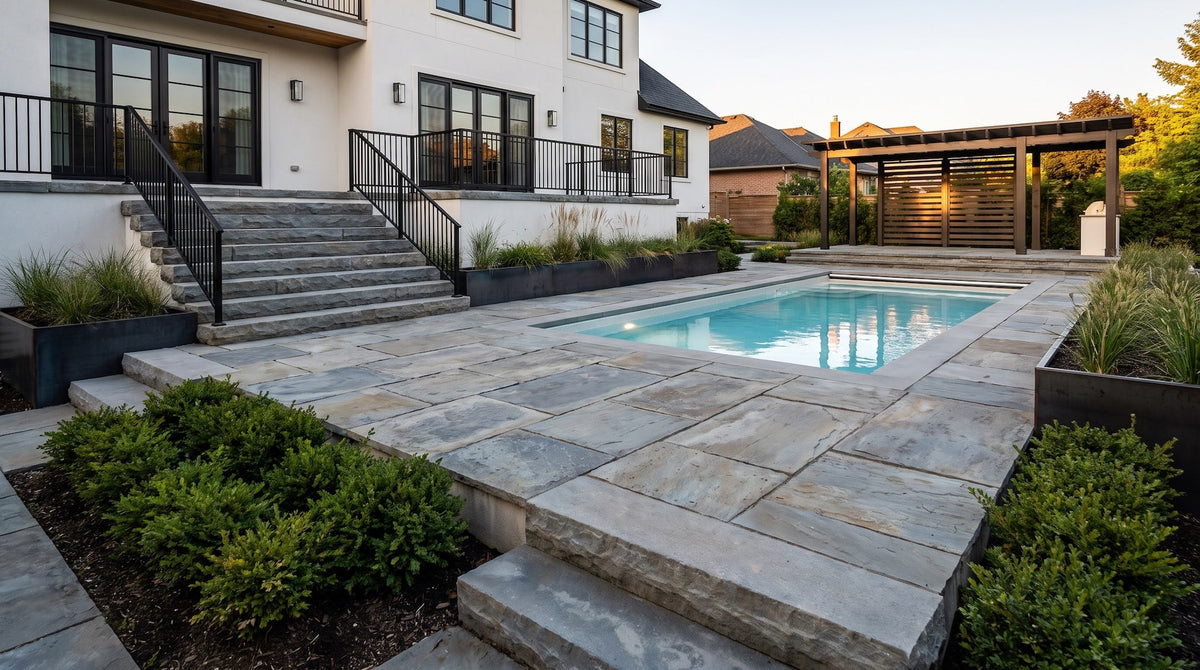
This is where reclaimed curbstone makes life easier. Each step is already 4 to 6 inches thick, so the stone itself provides most of the rise, and a thin setting bed brings it to the exact height you need. The 14- to 20-inch depth gives a generous tread, roomier than most indoor stairs, which is exactly what outdoor steps should have.
Next, choose lengths. A step that spans the full width of the path in one piece looks best and is the most stable. A 4-foot step suits a typical garden path, while front entries often call for 5- to 8-foot pieces to match the door and sidelights. For more on choosing sizes, see our guide to reclaimed bluestone steps, and for layout ideas on longer grades, bluestone garden steps for slopes and terraces.
Finally, lay the stair out on the ground. Mark the front edge of each step with paint or stakes, check that the run gives each tread its full depth, and decide where a landing belongs if the slope is long. A landing every few steps makes a long stair far more comfortable.
Build a Base That Will Not Move
The base is the part of the job nobody sees, and it is the part that decides whether the steps stay put. Bluestone will not crack or wear out on its own; what makes steps fail is soil that settles or heaves underneath them.
For garden steps, excavate each step location deep enough for the base, the setting bed, and the part of the stone that sits below grade. Remove topsoil and roots down to firm subsoil. Then add 4 to 6 inches of crushed stone and compact it in thin layers of about 2 inches at a time with a plate compactor, not just a hand tamper. Thin, well-compacted layers are what make a base solid; one thick, loose layer will settle.
On top of the compacted base, spread a thin bed of stone dust, about an inch, for fine leveling. This is where you make up for the natural variation in reclaimed stone: add a little bedding under a thinner piece, take a little away under a thicker one, until every step sits at the height you planned.
Heavier soils, wet sites, and colder climates may call for a deeper base or a landscape fabric under the crushed stone to keep soil from mixing in. Your installer can judge what your site needs. The patio base described in our guide on how to build a reclaimed bluestone patio follows the same principles.
Moving and Handling Heavy Stone
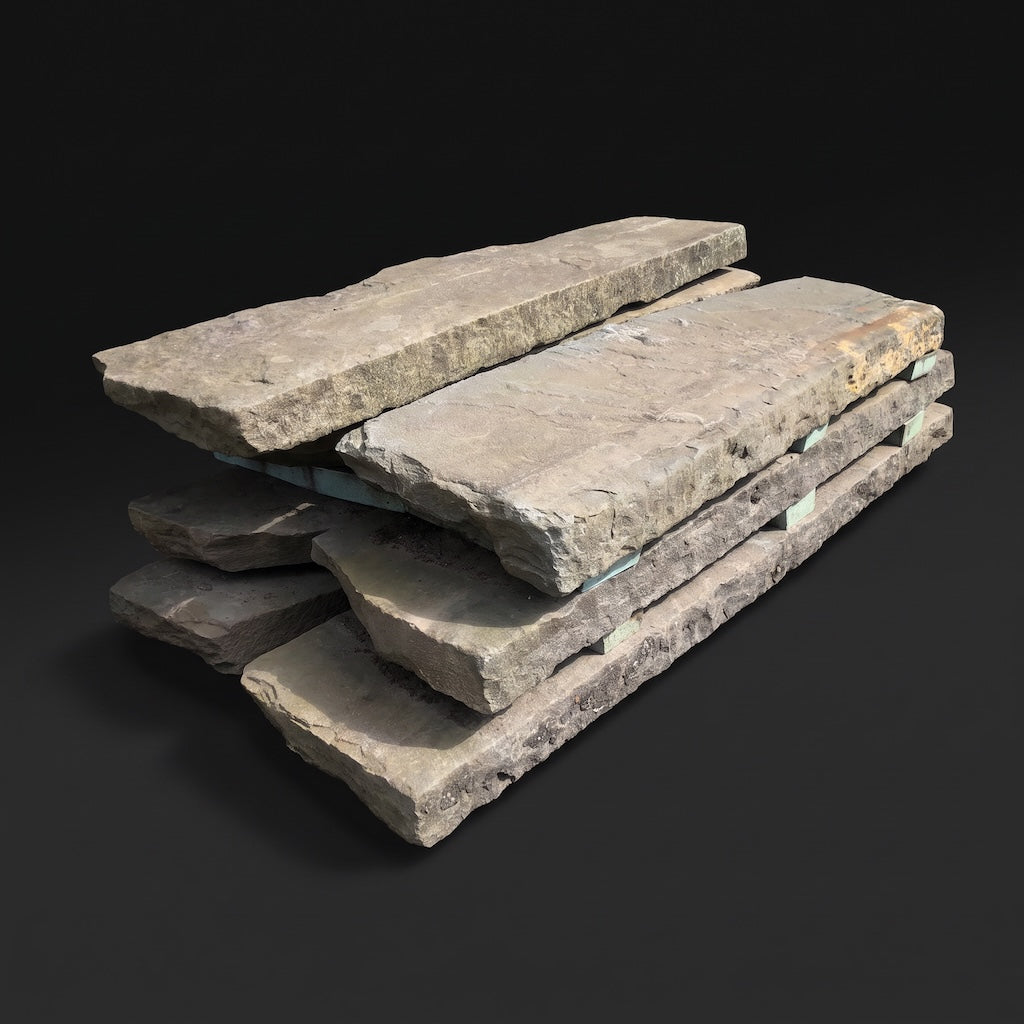
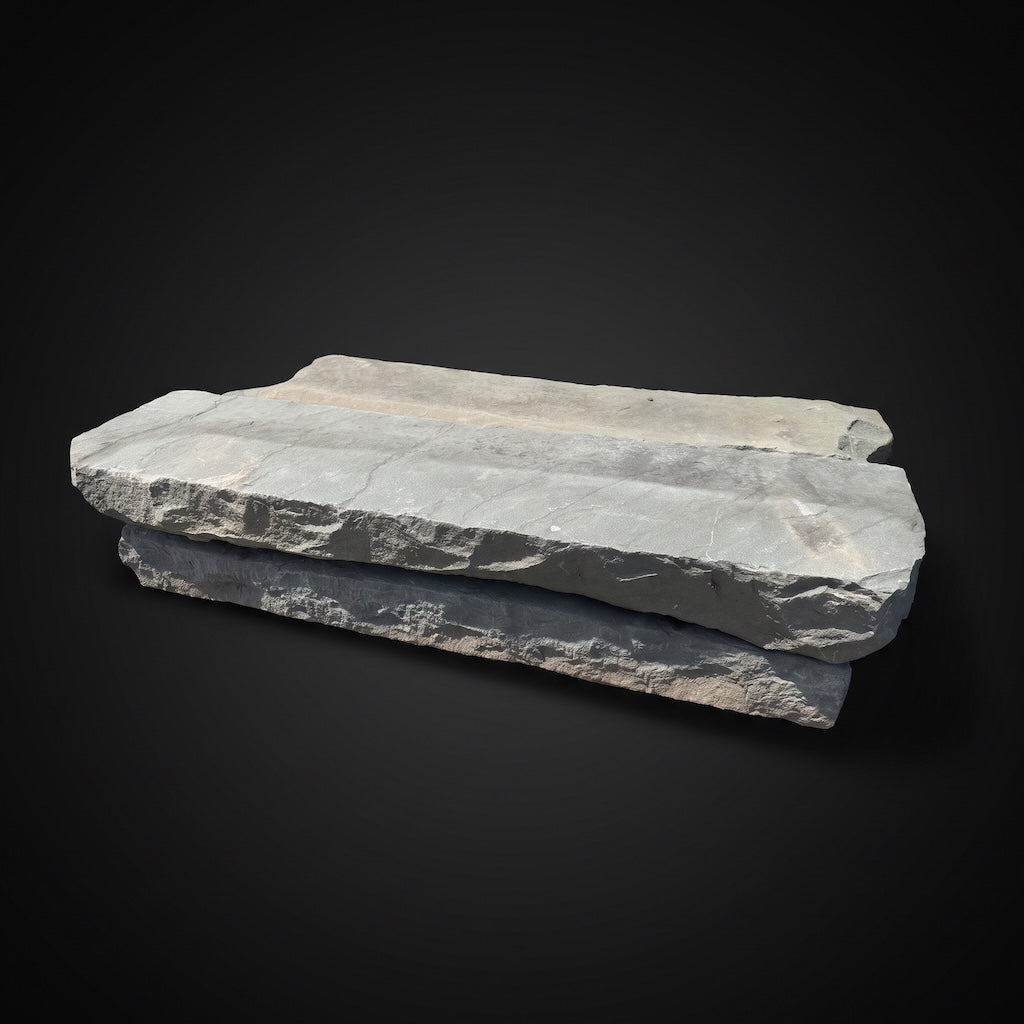
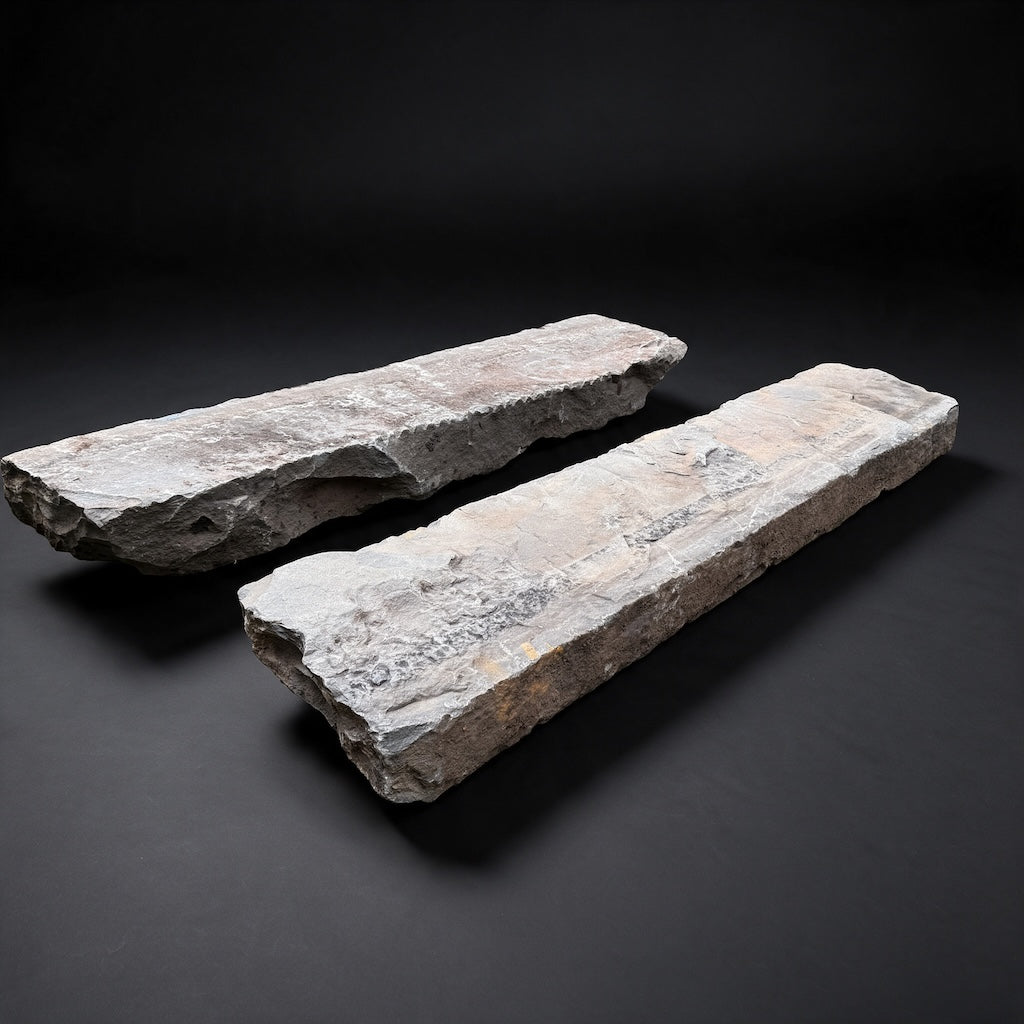
Reclaimed bluestone curbstone weighs roughly 100 lb per linear foot. A 3-foot step is about 300 lb, a 5-foot step about 500 lb, and an 8-foot step about 800 lb. That weight is a big part of why the steps feel so solid, and it is also the part of the job that deserves the most respect.
For smaller pieces, plan on at least three people, a heavy-duty hand truck or stone dolly, pry bars, and lengths of pipe to roll the stone into place. For anything over about 400 lb, or where the stone has to travel uphill or across a lawn, a small machine such as a skid steer or mini excavator with straps makes the job safer and faster. Many installers set the largest steps straight from the pallet with a machine.
Plan the route before delivery. Know where the truck can park, where the steps can be staged, and how each piece will get from the staging area to its spot. Protect the edges with scrap wood or carpet when you lever the stone, and keep fingers and feet out from under it at every stage. Lift with your legs, move slowly, and never try to set a large piece alone.
Setting the Steps
Steps are always set from the bottom up, so each new step can rest on the one below it.
- Set the bottom step first. Place it on its leveled bed so its top sits one rise above the ground or path below. Check it with a level side to side and front to back, adjusting the bedding until it sits firm with no rocking.
- Give it a slight forward pitch. Each tread should fall gently toward the front edge, roughly an eighth of an inch per foot, so rain runs off rather than pooling.
- Backfill behind it. Fill and compact crushed stone behind the first step, up to the level of the next step's base. This is what the back of the next step will sit on.
- Set the next step with an overlap. Place the next step so its front edge overlaps the back of the step below by about 1 to 2 inches, with the rest of it bearing on the compacted fill behind. Check that the rise matches the step below.
- Repeat to the top. Keep checking each step for level, pitch, and equal rise as you go. Use a string line along the front edges to keep the stair straight.
- Lock in the sides. Backfill along the ends of each step with compacted crushed stone, then finish with soil, gravel, or planting.
Before moving on from any step, stand on each end and in the middle. If it moves at all, lift it and fix the bedding. A step that rocks a little today will rock a lot after one winter.
Drainage, Pitch, and Finishing
Water is the main enemy of any outdoor stair. Water that sits on a tread freezes into ice, and water that soaks the base can freeze and heave the steps out of line. Good drainage solves both.
The slight forward pitch on each tread keeps rain moving. The crushed-stone base and backfill let water drain down and away rather than pooling under the stone. At the bottom of the stair, make sure water has somewhere to go, whether that is a lawn, a planting bed, or a gravel strip, so it does not collect against the bottom step.
Once the stone is set, finish the edges. Planting along both sides softens the stair and helps it settle into the landscape. Ferns, grasses, low shrubs, and groundcovers all work well beside the blue-gray stone. Brick or stone cheek walls along the sides are another option on steeper slopes; our article on how to combine bluestone, antique brick and cobblestone shows how those materials work together.
Front Entries and Steps Against the House
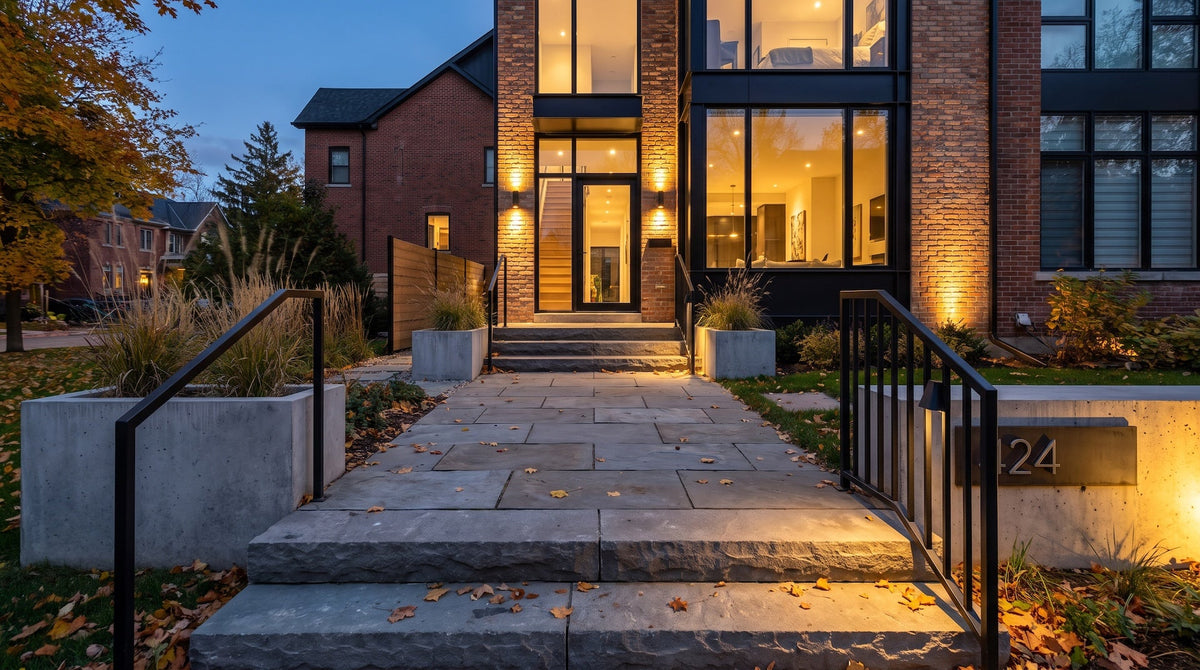
Steps that lead to a front door or porch work the same way, with a few extra considerations. They carry more traffic, they sit right against the foundation, and any settling shows up as a gap at the door.
For that reason, front-door steps are often set on a concrete pad or footing rather than a gravel base alone, sized to extend beyond the footprint of the bottom step. In cold climates, the footing or base needs to account for frost depth so the steps do not lift in winter. Check your local code before you start; it may also set rules on rise, tread depth, and handrails.
Keep the top step or landing slightly below the door threshold and pitched away from the house, so water never runs toward the door. For design ideas on proportion and layout, see historic bluestone front entry design ideas.
Common Mistakes to Avoid
| Mistake | What happens | How to avoid it |
|---|---|---|
| Skipping compaction | The base settles and the steps tip or rock. | Compact crushed stone in thin layers with a plate compactor. |
| Uneven rises | People trip on the one step that is taller or shorter. | Measure the total rise first and make every step the same height. |
| No overlap or backfill | The back of each step has nothing to bear on and the tread can tip. | Overlap 1 to 2 inches and compact fill behind every step. |
| Level or back-pitched treads | Water pools and freezes on the step. | Pitch each tread slightly toward its front edge. |
| Setting heavy pieces short-handed | Injuries and chipped stone. | Use enough people for small pieces and a machine for large ones. |
| Ignoring frost and code at the front door | Steps heave in winter and gaps open at the threshold. | Use a footing or pad sized for your climate and check local code. |
Once the steps are in, they need very little attention. Our guide to caring for reclaimed bluestone covers cleaning, winter care, and what to do if a step ever starts to rock.
Nationwide Shipping and Seeing the Stone
Chief Bricks ships reclaimed bluestone nationwide, so homeowners, designers, and contractors can bring authentic Northeast curbstone into projects across the United States. Add the steps to your cart and enter your address for a shipping quote. If it looks too high, call us at (718) 379-1232; we sometimes have alternative ways to get your stone to your door for a more reasonable price.
You can also see the stone in person at our yard in Nanuet, NY; no appointment is needed, but if you call ahead at (718) 379-1232, we will make sure you get our full attention. For prices by length and example budgets, see our reclaimed bluestone cost guide.
Should You Install Bluestone Steps Yourself?
For a few short garden steps on easy ground, a handy homeowner with strong helpers and the right equipment can do it. The method is not complicated: measure carefully, build a compacted base, set the steps from the bottom up with a little overlap, and keep water moving away.
For front entries, long or heavy pieces, steps tied into walls or the house, or sites with poor drainage, an experienced mason or landscape contractor is the safer choice. The weight alone justifies it, and a pro will know how your soil, frost depth, and local code affect the base.
Either way, the result is the same kind of stair you see in front of old townhouses and estates: solid, weathered stone that feels permanent from the first step. Shop Reclaimed Bluestone Curbstone Steps for entries, garden stairs, and landings, and Reclaimed Bluestone Sidewalk Slabs for the walks and patios that connect them.
Share: