
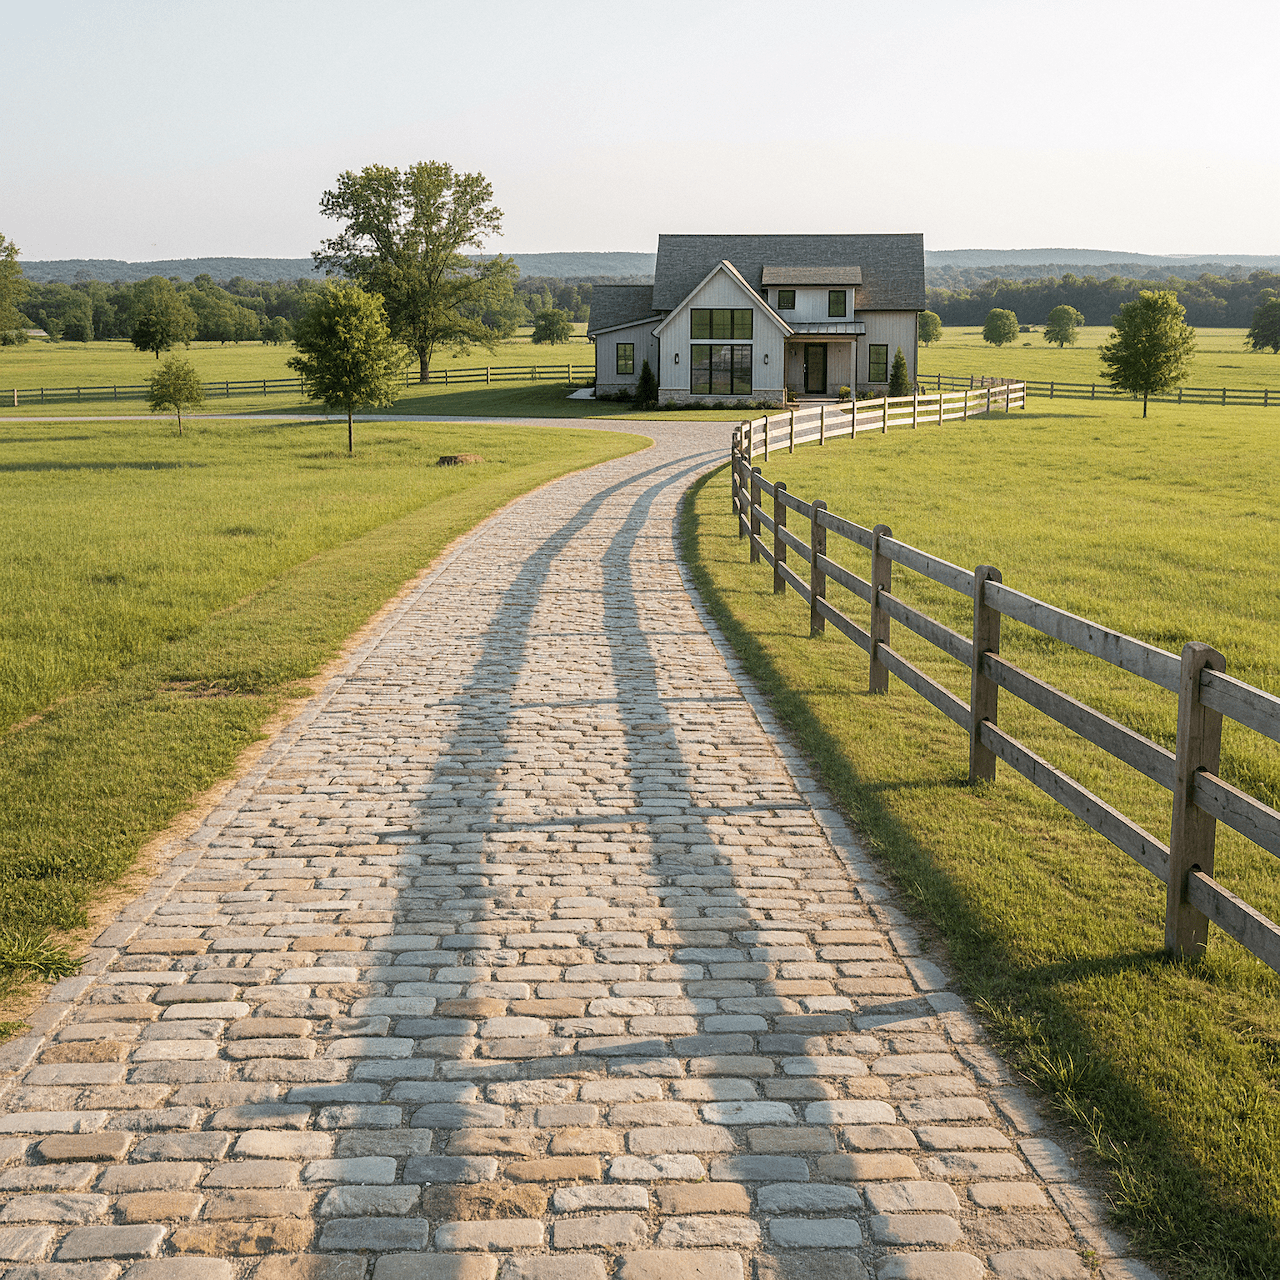
New York reclaimed bricks have already survived a lot. They have been through Nor’easters, heat waves, sideways rain and more than a few freeze–thaw cycles. When you bring them into a new project, a townhouse facade, a stoop, a garden wall, you are not starting from zero. You are continuing a story.
The catch is that the story only continues if the supporting cast is right. In a climate like New York’s, the mortar that sits between those reclaimed bricks matters just as much as the bricks themselves. Go too hard and dense, and the joints start to bully the bricks. Choose a mix that can move, breathe and drain, and you get a wall that feels like it belongs in the city for another lifetime.
This article looks at mortar through a local lens: what New York weather does to masonry, why reclaimed bricks have their own needs and how lime‑based mortars, including NHL 3.5 blends, line up with both.
Table of Contents
- Why New York Weather Is Tough on Masonry
- What Makes New York Reclaimed Bricks Unique
- How Mortar Behaves in This Climate
- Why Breathable Mortar Matters for Reclaimed Brick
- Using NHL 3.5 with New York Reclaimed Bricks
- Where to Pay Extra Attention on a NYC Project
- Design Decisions: Color, Profiles, and Joints
- Working with Lime Mortar in Cold Weather (Quick Guide)
- Talking to Your Team About Mortar Choice
Why New York Weather Is Tough on Masonry
New York is not gentle on brick. Winters bring freezing nights and above‑freezing days. Rain turns to snow and back again. Sidewalks and streets get showered in de‑icing salts that splash onto lower courses of walls. Summers are hot and humid, with sudden downpours that soak facades in minutes.
Every one of these conditions pushes and pulls on your wall. Water seeps into joints and brick faces. When temperatures drop, that water expands as it freezes, putting stress on whatever is holding it. When the sun comes out, the wall heats up and tries to dry. The materials that can handle repeated wet‑dry and freeze–thaw cycles without cracking or trapping moisture are the ones that win in the long run.
This is the background noise your reclaimed bricks are living in. The mortar you choose will decide whether that noise slowly wears down the bricks, or whether the joints quietly absorb the hit and let the wall recover.
What Makes New York Reclaimed Bricks Unique
New York’s reclaimed bricks are not generic. Many were made from local clays, fired in older kilns and laid up in lime‑based mortars long before modern cement became standard. They were used in rowhouses, factory walls and yard enclosures that have been standing for generations.
That history shows up in a few ways:
- Surfaces are worn and softened, with rounded corners and chipped edges.
- Cores may be less dense and more absorbent than contemporary, high‑compression bricks.
- Subtle variations in color and size reflect hand‑made or small‑batch manufacturing methods.
When you reclaim these bricks, you are taking material that has already proven it can work with lime‑rich, breathable mortar in this exact climate. Matching that behavior in your new project is often the safest way to keep them happy.
How Mortar Behaves in This Climate
Mortar does not just sit there in a New York wall. It soaks up water, dries out, expands, contracts and moves every time the weather swings. The more rigid and impermeable a mortar is, the more it tends to trap moisture and concentrate stress where the wall can least afford it.
In a freeze–thaw climate, that is asking for trouble. If water cannot escape through the joints, it stays in the brick body. When that water freezes, it looks for weak spots. On a reclaimed brick that has already done a hundred years of service, those weak spots are often the faces and arrises you love for their patina.
A good mortar for New York reclaimed brick does the opposite. It gives moisture an easier escape route through the joints, and it flexes just enough to absorb small building movements. When damage does show up decades down the road, it shows up in the mortar, which can be removed and replaced, not the bricks.
Why Breathable Mortar Matters for Reclaimed Brick
Breathability sounds abstract, but you can think of it in simple terms: where does the moisture go? In a wall built from reclaimed bricks, you want the path of least resistance to lead out through the joints, not through the brick faces.
Breathable mortars let vapor move in both directions. When a driving rain pushes moisture into the wall, the joints help it escape as conditions dry. When a winter thaw comes after a hard freeze, the wall can slowly release the water it took in, instead of locking it behind a dense mortar line.
For reclaimed bricks that already carry micro‑cracks and wear, this is a big deal. Breathable mortar acts like a pressure valve. It keeps the bricks from being the only way out for trapped moisture, which is when you start to see spalling, scaling and flaking on otherwise beautiful units.
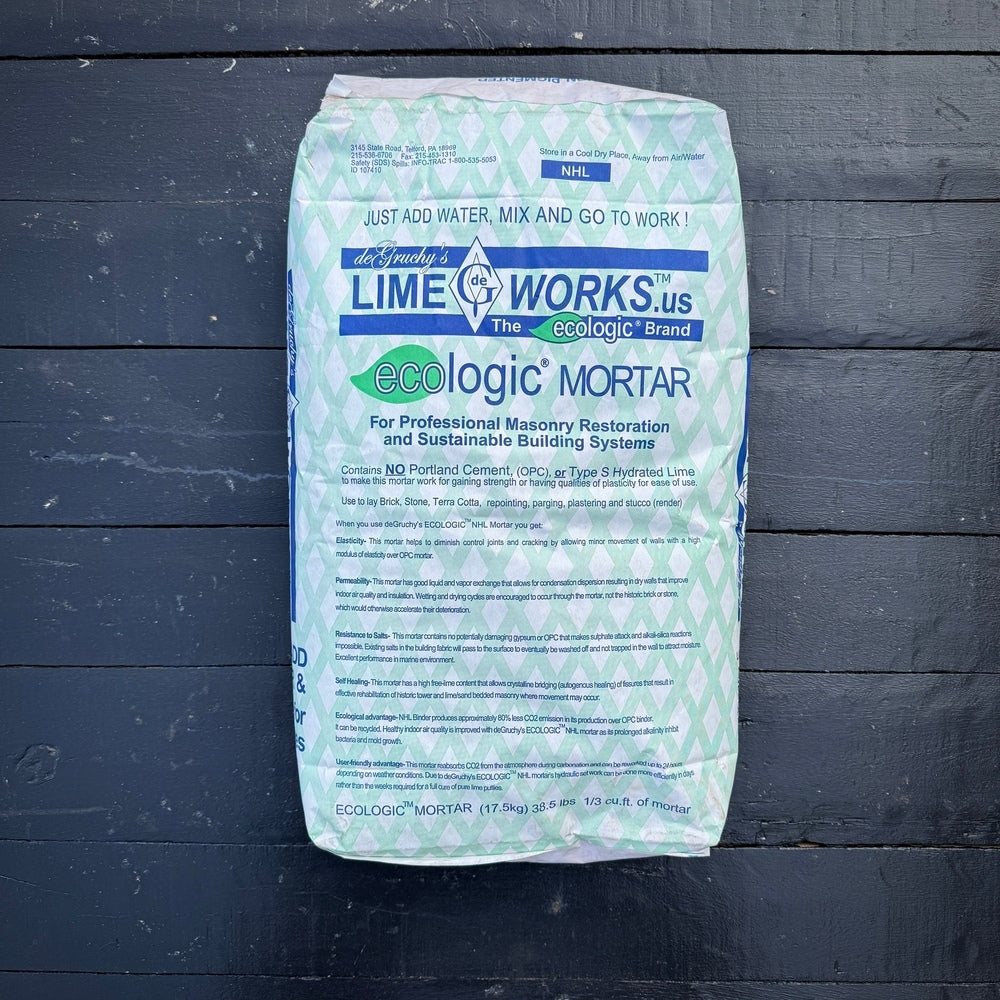
Using NHL 3.5 with New York Reclaimed Bricks
Natural Hydraulic Lime (NHL) 3.5 sits in a sweet spot for New York reclaimed brick projects. It develops enough strength to stand up to exterior conditions and everyday use, but it still behaves like a lime mortar rather than a rigid, cement‑heavy mix.
In a New York context, an NHL 3.5 mortar can:
- Stay slightly softer than many reclaimed bricks, so joints act as the sacrificial element.
- Handle repeated freeze–thaw cycles without becoming a brittle, unforgiving shell.
- Allow vapor to move through the joints, helping the wall dry between storms and seasons.
Pre‑blended NHL 3.5 mortars made specifically for reclaimed brick take into account the city’s brick stock and weather patterns. Instead of guessing at sand grading or proportions, you are working with a mix tuned for the very conditions that shaped the bricks in the first place.
Where to Pay Extra Attention on a NYC Project
Some parts of a New York project are more forgiving than others. A sheltered courtyard wall under a deep overhang is one thing. A street‑facing facade that catches every storm is another. If you are using reclaimed bricks, there are a few places where mortar choice really earns its keep.
- Lower courses near sidewalks and stoops – These see splash from rain, snow melt and road salts. A breathable, sacrificial mortar helps control damage here.
- Parapets and exposed tops of walls – Horizontal surfaces get saturated and take the brunt of freeze–thaw; compatible mortar and good detailing are crucial.
- Corners, returns and openings – These areas collect stress from building movement and wind. A slightly softer, flexible joint is less likely to telegraph cracks into the brick.
If you only have the budget or time to be picky about mortar in a few places, start with these zones. They are where New York’s climate usually shows its teeth first.
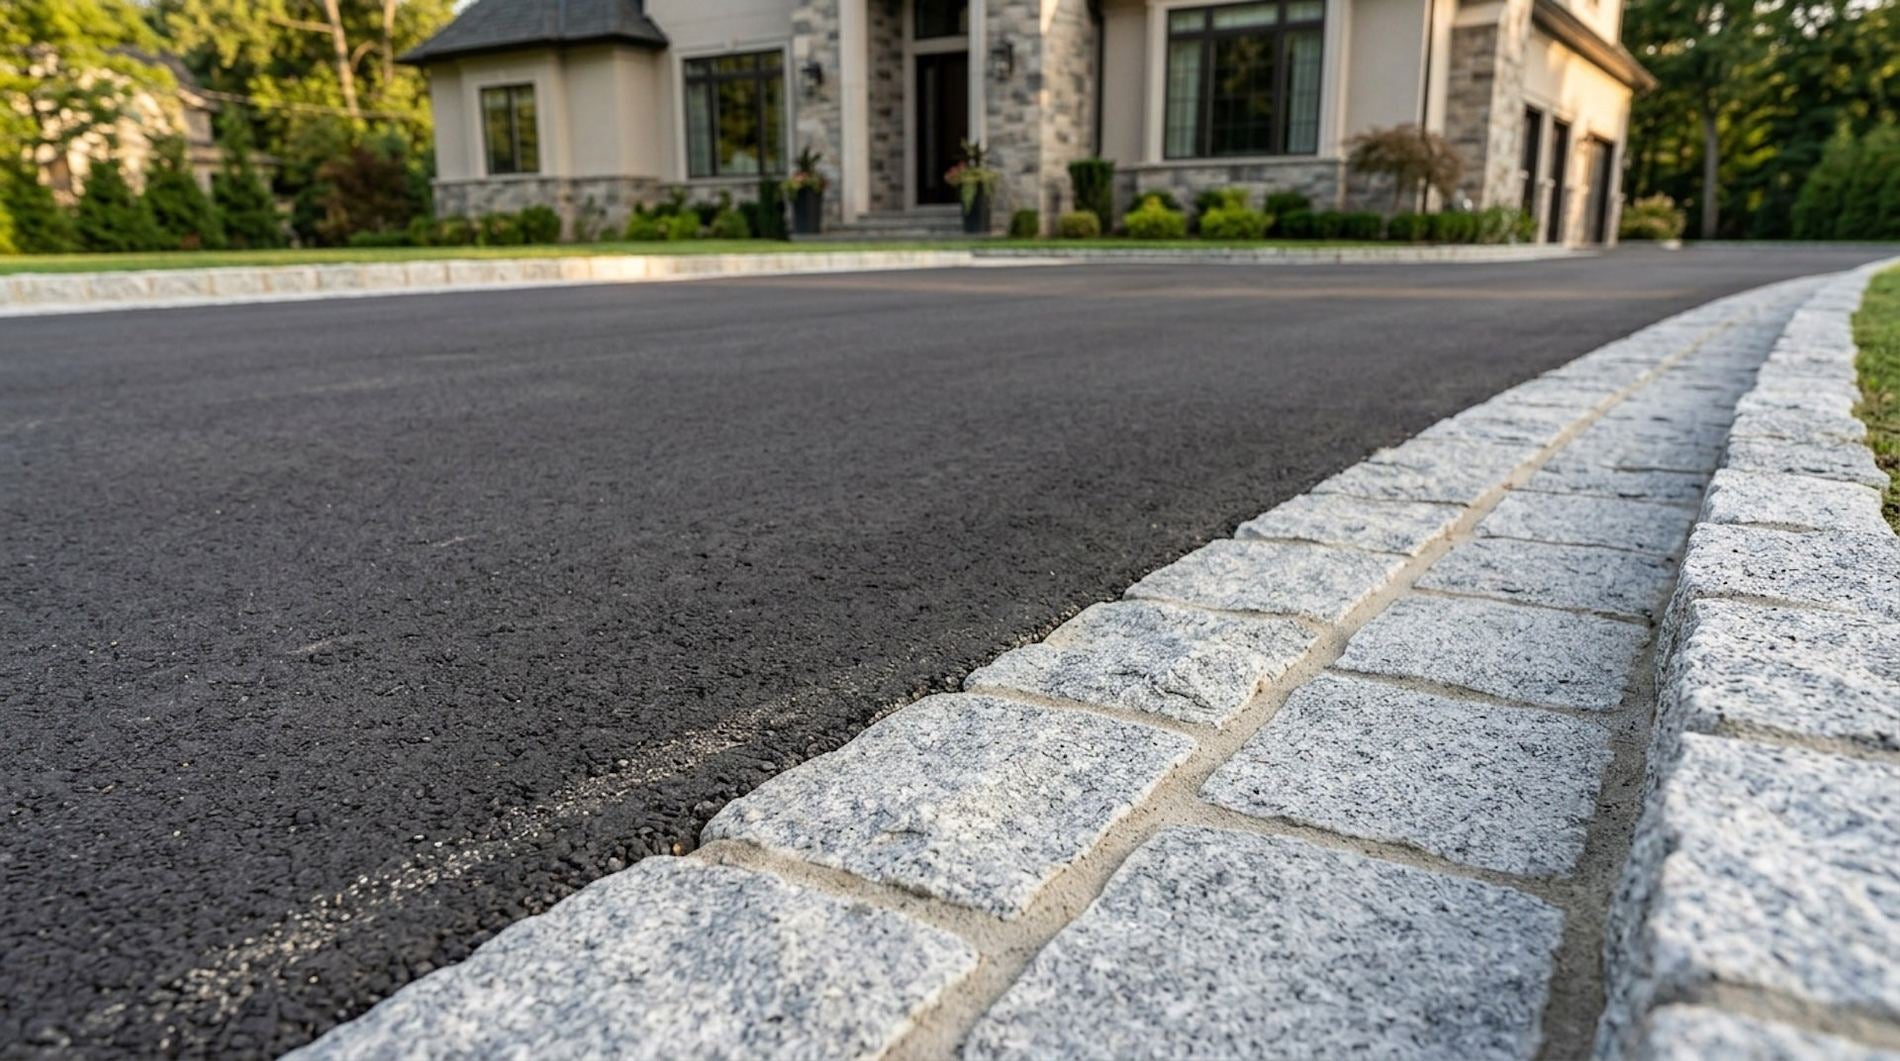
Design Decisions: Color, Profiles, and Joints
Mortar in New York is not just about survival; it is also about style. The color, texture and profile of your joints play a big role in how reclaimed bricks read from the street or across a room.
Here are a few levers you can pull:
- Color – A close color match to existing brownstone basements and facades creates continuity. A lighter or darker joint can sharpen the pattern and add contrast.
- Joint profile – Slightly recessed or brushed joints feel relaxed and historic. Flush or lightly tooled joints feel crisper and more contemporary.
- Texture – Coarser sands sit comfortably next to weathered brick faces. Finer sands give a smoother, more tailored look against cleaner units.
Lime‑based mortars, including NHL blends, often take pigment and texture beautifully. That makes it easier to tune the look of your New York reclaimed brick project without giving up the performance benefits you need for the local climate.
Working with Lime Mortar in Cold Weather (Quick Guide)

The basic temperature rule
Tip 1 – Go easy on the water
Tip 2 – Use hot mixing water (no additives)
Tip 3 – Cover and gently heat the work
Extra cold‑weather protection and monitoring
Tip 4 – Add curing days when temps drop
Tip 5 – Keep the surface open and breathable
Tip 6 – When in doubt, wait for spring
Source: Limeworks (2025). Working with lime in cold temperatures.
Talking to Your Team About Mortar Choice
Mortar should not be an afterthought buried in a spec sheet. A short conversation with your architect, engineer or mason can steer the project toward mixes that respect both the climate and the reclaimed material.
Good questions to ask include:
- What type and age of reclaimed brick are we using, and how does its strength compare to new units?
- Which parts of the project see the most exposure to freeze–thaw, rain and salts?
- Can we use a lime‑based or NHL 3.5 mortar so the joints stay slightly softer and more breathable than the bricks?
- What mortar color and joint profile make sense for this block or neighborhood?
- Are there details—like caps, flashing and drip edges—that will help the mortar and brick perform better over time?
Once everyone is thinking about mortar as part of the New York story your wall is telling, it becomes a design and durability choice, not just a line item. That is how reclaimed bricks and local climate end up on the same team.
Share: