
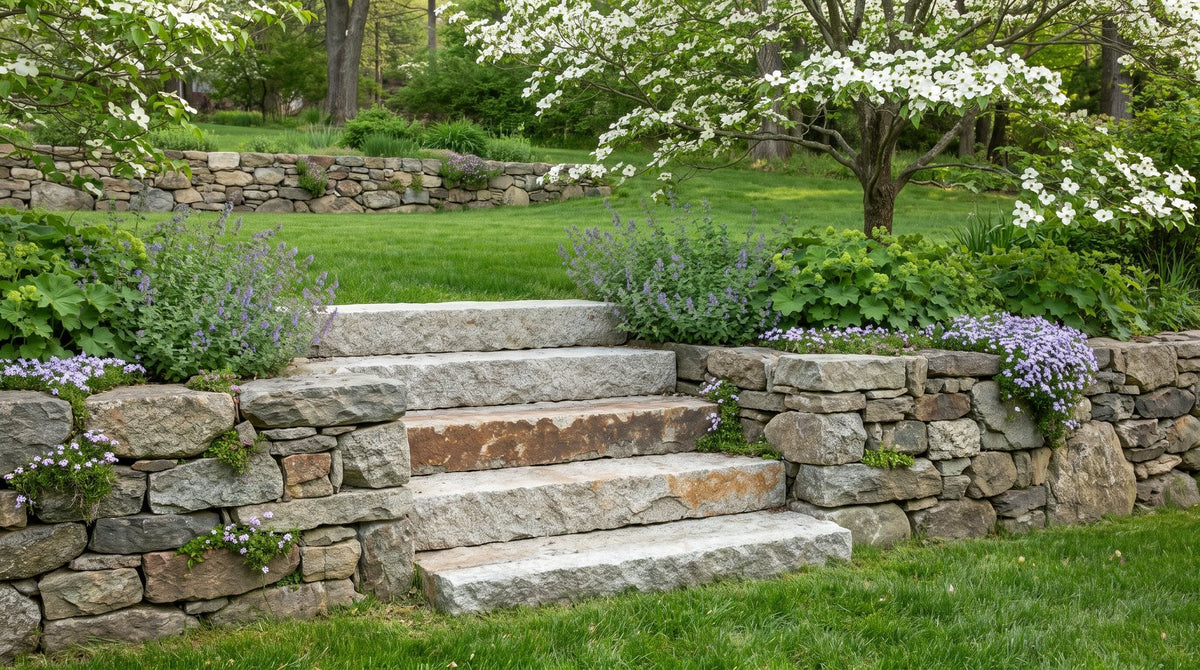
A granite curb spent decades holding back a city street. Turned on its side and set as a step, it will hold up your front entry for just as long, as long as what sits underneath it is right. The stone will not crack, wear out or rot. What makes a stone stair fail is a base that settles, steps that rise unevenly, or water that has nowhere to go.
The good news is that curbstone steps are simple. Each one is a single solid piece, so there are no risers to build and no fillers to fit. The front of each step simply rests on the back of the step below. The work is in the planning, the base, and moving stones that weigh several hundred pounds each.
Maybe you are a homeowner with a slope between the patio and the lawn. You might be a landscape designer specifying a stair for a client. Or maybe you are a contractor who has set plenty of pavers but not many 600-pound granite curbs. This guide walks through how reclaimed granite curbstone steps are installed, from the first measurement to the last shovel of backfill, so you know what the job involves before you start.
If you need the short version first, this table shows the main numbers. The rest of the guide explains how each one fits into the job.
| Item | Typical figure | Why it matters |
|---|---|---|
| Step size | 2 to 8 feet long, 14 to 20 inches deep, 5 to 7 inches thick | One piece can span the stair, and the depth gives a generous tread. |
| Weight | About 120 lb per linear foot | Decides how many people or what equipment you need. |
| Rise per step | About 5 to 7 inches, close to the step's own thickness | Low, even rises feel easy and safe outdoors. |
| Base under garden steps | 4 to 6 inches of compacted crushed stone, plus about 1 inch of stone dust | Keeps the steps from settling, rocking or heaving with frost. |
| Overlap | About 1 to 2 inches onto the step below | Ties the stair together and keeps each tread stable. |
| Pitch | About 1/4 inch per foot of depth, toward the front edge | Sheds water so it does not pool or freeze on the step. |
Note: Soil, frost depth and local code all affect how steps should be built. Treat these figures as a starting point and confirm the details with your installer.
The whole job on one page: counting and sorting the curbs, building the base and setting each step. Print it and keep it on site.

Download the printable PDF (one letter page)
Every good stair starts with two measurements: how high it has to climb and how far it has to travel. Run a straight board or string line level from the top of the slope out over the bottom, and measure straight down to the ground. That is the total rise. The horizontal distance from the top edge to where the stair will end is the run.
Divide the total rise by about 6 inches, the average thickness of a granite curbstone step, and round to a whole number. A 2-foot change in grade usually works out to four steps. Every step should rise the same amount; uneven steps are what make people trip. Our curbstone steps calculator works out the number of steps for your rise, along with their weight and price at the length you choose.
Check the run too. Each step keeps most of its 14- to 20-inch depth as tread, less the inch or two it overlaps the step below, so four steps need roughly 5 feet of run. If the slope is shorter than that, the stair will need to cut deeper into the hill or turn.
Next, choose lengths. A step that spans the full width of the path in one piece looks best and is the most stable. A 4-foot step suits a typical garden path, while front entries often call for 5- to 8-foot pieces to match the door and sidelights. Our guide to reclaimed granite curbstone steps covers sizes, weights and prices.
Finally, lay the stair out on the ground. Mark the front edge of each step with paint or stakes, and decide where a landing belongs if the slope is long. A landing every few steps makes a long stair far more comfortable.
This is the step most people skip, and it is the one that makes a reclaimed stair look right. Old curbs were cut to slightly different sizes, so each piece is a little different in thickness and depth.
Before you set anything, measure each stone's thickness at its front edge and lay them out in order. Because each step rests on the one below, its rise is close to its own thickness, so steps of similar thickness give you even rises. Put any odd piece at the bottom, where the bedding sets the height, or use it as a landing.
While the stones are laid out, choose a face for each one. Look for the flattest, best-looking side to face up, and the cleanest long edge to face front as the nosing. Chips and drill marks on the back edge will be hidden under the next step.
The base is the part of the job nobody sees, and it decides whether the steps stay put. What makes steps fail is soil that settles or heaves underneath them.
For garden steps, excavate each step location deep enough for the base, the setting bed and the part of the stone that sits below grade. Remove topsoil and roots down to firm subsoil, and dig about 6 inches wider than the steps at the sides. Then add 4 to 6 inches of processed gravel, 3/4- or 1-inch crushed stone, not pea stone, small crushed stone or sand, and compact it in thin layers of 2 to 3 inches with a plate compactor. Thin, well-compacted layers make a solid base; one thick, loose layer will settle.
On top of the compacted base, spread about an inch of stone dust for fine leveling. This is where you take up the natural variation in reclaimed stone: add a little bedding under a thinner piece, take a little away under a thicker one.
Heavier soils, wet sites and colder climates may call for a deeper base, or landscape fabric under the crushed stone to keep soil from mixing in. Your installer can judge what your site needs.
Reclaimed granite curbstone weighs about 120 lb per linear foot, a fifth more than bluestone curbstone. A 3-foot step is about 360 lb, a 4-foot step about 480 lb, a 6-foot step about 720 lb and an 8-foot step about 960 lb. That weight is why the steps feel so solid, and it is the part of the job that deserves the most respect.
For 2- and 3-foot pieces, plan on at least three people, a heavy-duty stone dolly, pry bars and lengths of pipe to roll the stone into place. For anything from 4 feet up, or where the stone has to travel uphill or across a lawn, a small machine such as a skid steer or mini excavator with lifting straps makes the job safer and faster. Many installers set the longest steps straight from the pallet with a machine.
One trick we recommend for the final few inches: set the step down on a few large ice cubes laid on its bed. The stone slides easily on the ice, so you can push it into exact position without dragging it through the bedding, and it settles onto the bed as the ice melts.
Plan the route before delivery. Know where the truck can park, where the pallets can sit and how each piece will get to its spot. Protect the edges with scrap wood when you lever the stone, keep fingers and feet out from under it, and never try to set a large piece alone.
Steps are always set from the bottom up, so each new step can rest on the one below it.
Before moving on from any step, stand on each end and in the middle. If it moves at all, lift it and fix the bedding. A step that rocks a little today will rock a lot after one winter.
Water is the main enemy of any outdoor stair. Water that sits on a tread freezes into ice, and water that soaks the base can freeze and heave the steps out of line.
The forward pitch on each tread keeps rain moving. The crushed-stone base and backfill let water drain down rather than pooling under the stone. At the bottom of the stair, make sure water has somewhere to go, a lawn, a planting bed or a gravel strip, so it does not collect against the bottom step.
Once the stone is set, finish the edges. Planting along both sides softens the stair and helps it settle into the landscape. On a steeper slope, low stone or brick cheek walls along the sides hold back the soil. At the top or bottom, a landing of reclaimed granite regulation cobblestones matches the curbs, since both came off the same kind of streets.

Steps that lead to a front door work the same way, with a few extra points. They carry more traffic, they sit right against the foundation, and any settling shows up as a gap at the door.

For that reason, front-door steps are usually set on a concrete pad about 6 inches thick over compacted gravel, formed level and a little larger than the steps, rather than on a gravel base alone. In cold climates, the pad or footing has to account for frost depth so the steps do not lift in winter, and very large step sets may need the pad tied to the foundation. Check your local code before you start; it may also set rules on rise, tread depth and handrails.
Plan the top step so it sits snug against the house, just below the door threshold, and pitch it away from the house so water never runs toward the door. If you plan a railing or step lights, decide where the posts and wiring go before the stone arrives.
Granite is dense and tolerates de-icing salt far better than concrete, which is one reason cities used it for curbs. Even so, skip rock salt (sodium chloride). Use calcium chloride or magnesium chloride sparingly, or sand for traction, and clear snow with a plastic shovel. Our guide on how to de-ice granite steps safely in the winter covers the details.
Each spring, walk the stair and check for any step that rocks. Resetting one step early is far easier than rebuilding a stair later.
| Mistake | What happens | How to avoid it |
|---|---|---|
| Skipping compaction | The base settles and the steps tip or rock. | Compact crushed stone in thin layers with a plate compactor. |
| Setting stones in random order | Rises vary with the thickness of each curb. | Measure and sort the stones by thickness before you start. |
| No overlap or backfill | The back of each step has nothing to bear on and the tread can tip. | Overlap 1 to 2 inches and compact fill behind every step. |
| Level or back-pitched treads | Water pools and freezes on the step. | Pitch each tread about 1/4 inch per foot toward its front edge. |
| Setting heavy pieces short-handed | Injuries and chipped stone. | Use enough people for short pieces and a machine for long ones. |
| Ignoring frost and code at the front door | Steps heave in winter and gaps open at the threshold. | Use a pad or footing sized for your climate and check local code. |
Setting new granite steps instead? They stack on pairs of fillers rather than on each other; see how to install granite steps and step fillers. For reclaimed bluestone curbs, the method is the same as here; see how to install reclaimed bluestone steps.
Granite curbstone steps ship on pallets of up to four pieces. Four 4-foot steps on one pallet come to about 1,980 lb. Add the steps to your cart and enter your address for a shipping quote. If it looks too high, call us at (718) 379-1232; we sometimes have alternative ways to get your steps to your door for a more reasonable price.
You can also see the curbs in person at our yard in Nanuet, NY (Rockland County), Monday to Friday from 7am to 3pm. No appointment is needed, but if you call ahead at (718) 379-1232, we will make sure you get our full attention.
For two or three short garden steps on easy ground, a handy homeowner with strong helpers and the right equipment can do it. The method is not complicated: measure, sort the stones, build a compacted base, set the steps from the bottom up with a little overlap, and keep water moving away.
For front entries, pieces of 4 feet and up, steps tied into walls or the house, or sites with poor drainage, an experienced mason or landscape contractor is the safer choice. The weight alone justifies it, and a pro will know how your soil, frost depth and local code affect the base. We are experts at the stone, so call us if you are not sure which lengths to order.
Either way, the result is a stair of solid, weathered New York granite that feels permanent from the first step. Shop Reclaimed Granite Curbstone Steps for entries, garden stairs and landings.
The information provided in our guides, installation tips, and blog content is for general reference only. Every project is unique, and site conditions can vary. We strongly recommend consulting a qualified professional installer to review your specific project and provide final guidance.

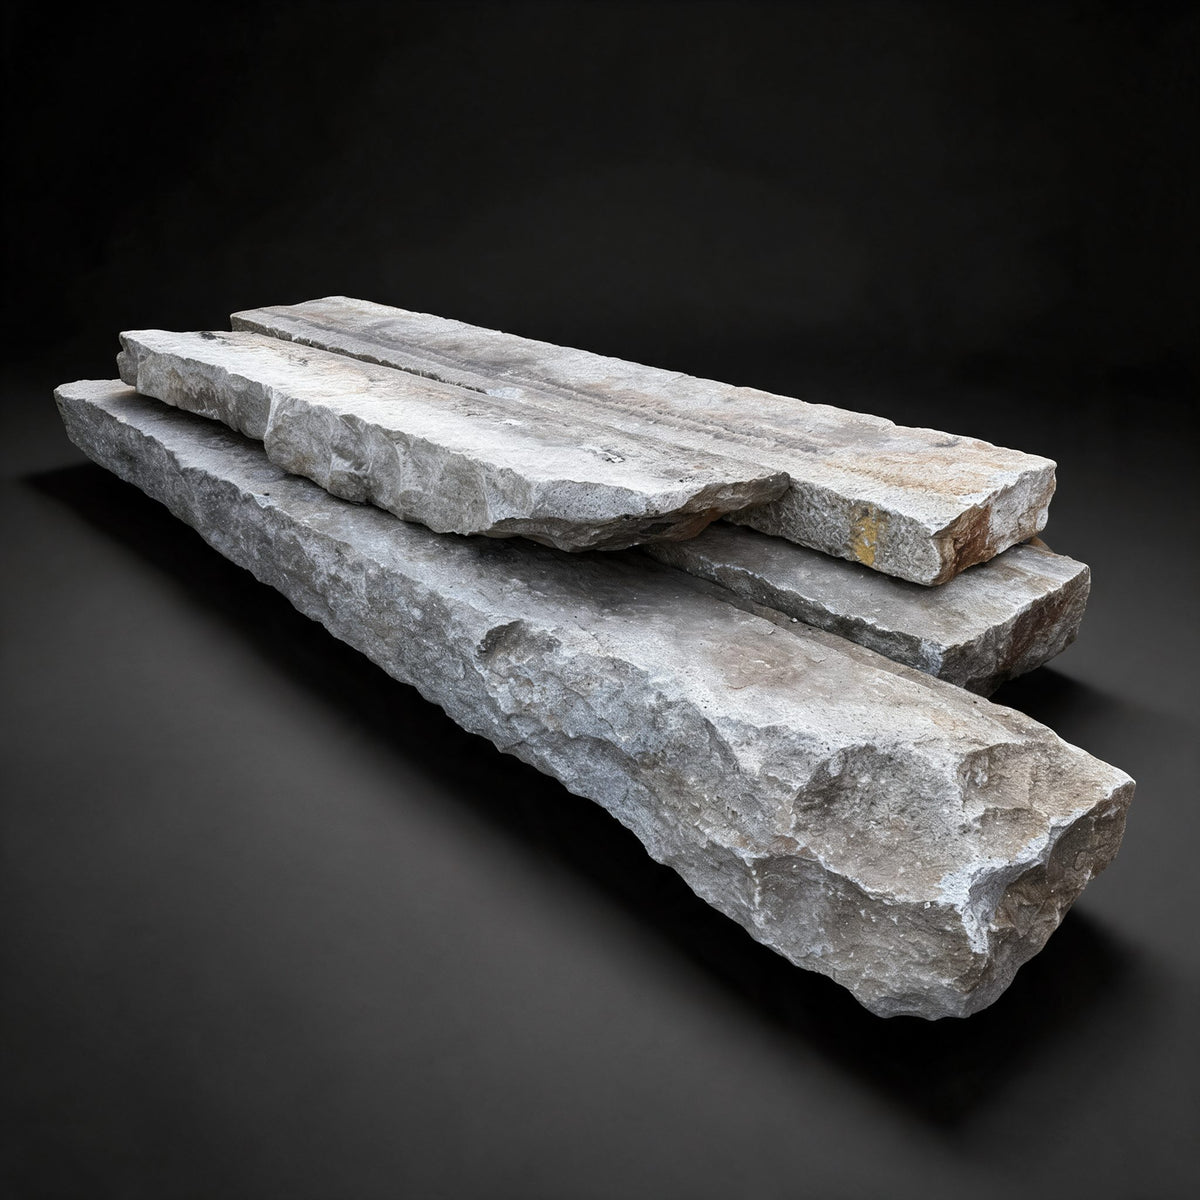

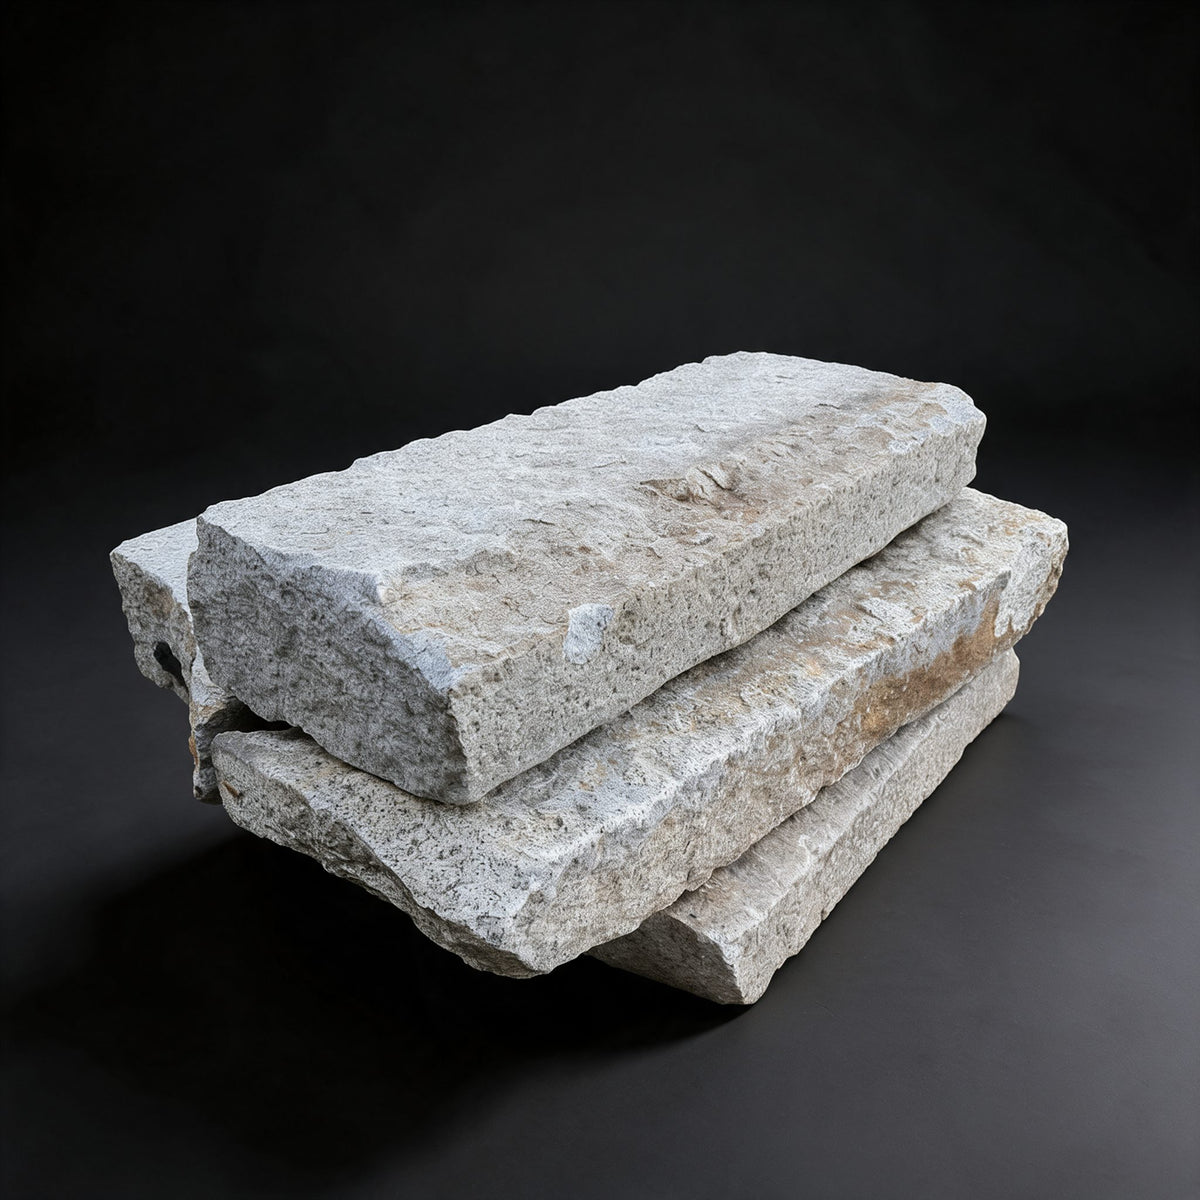
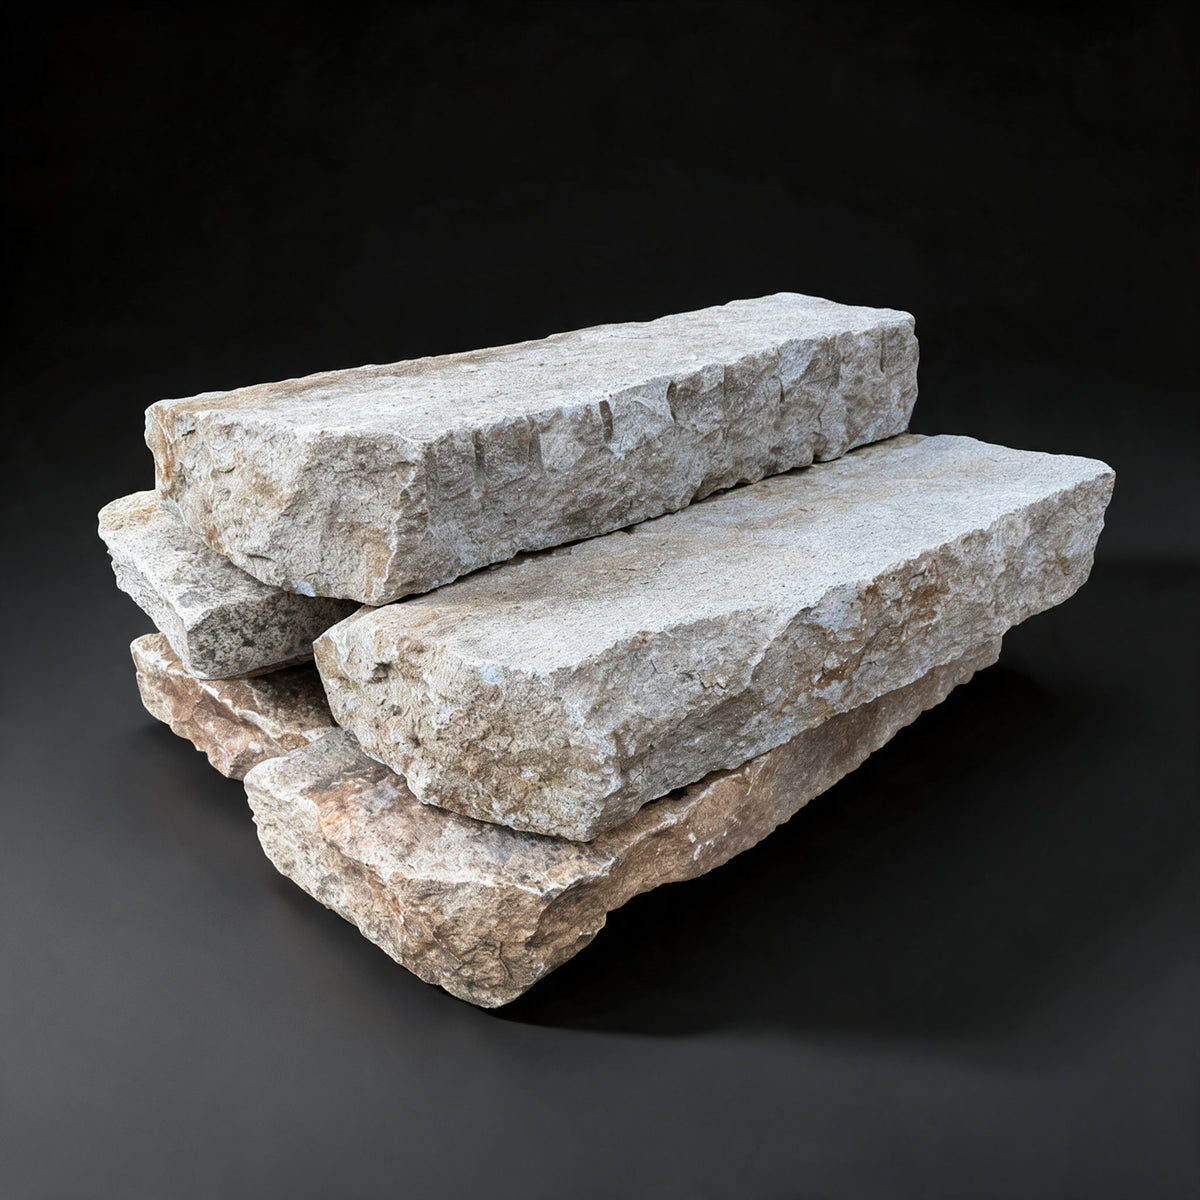
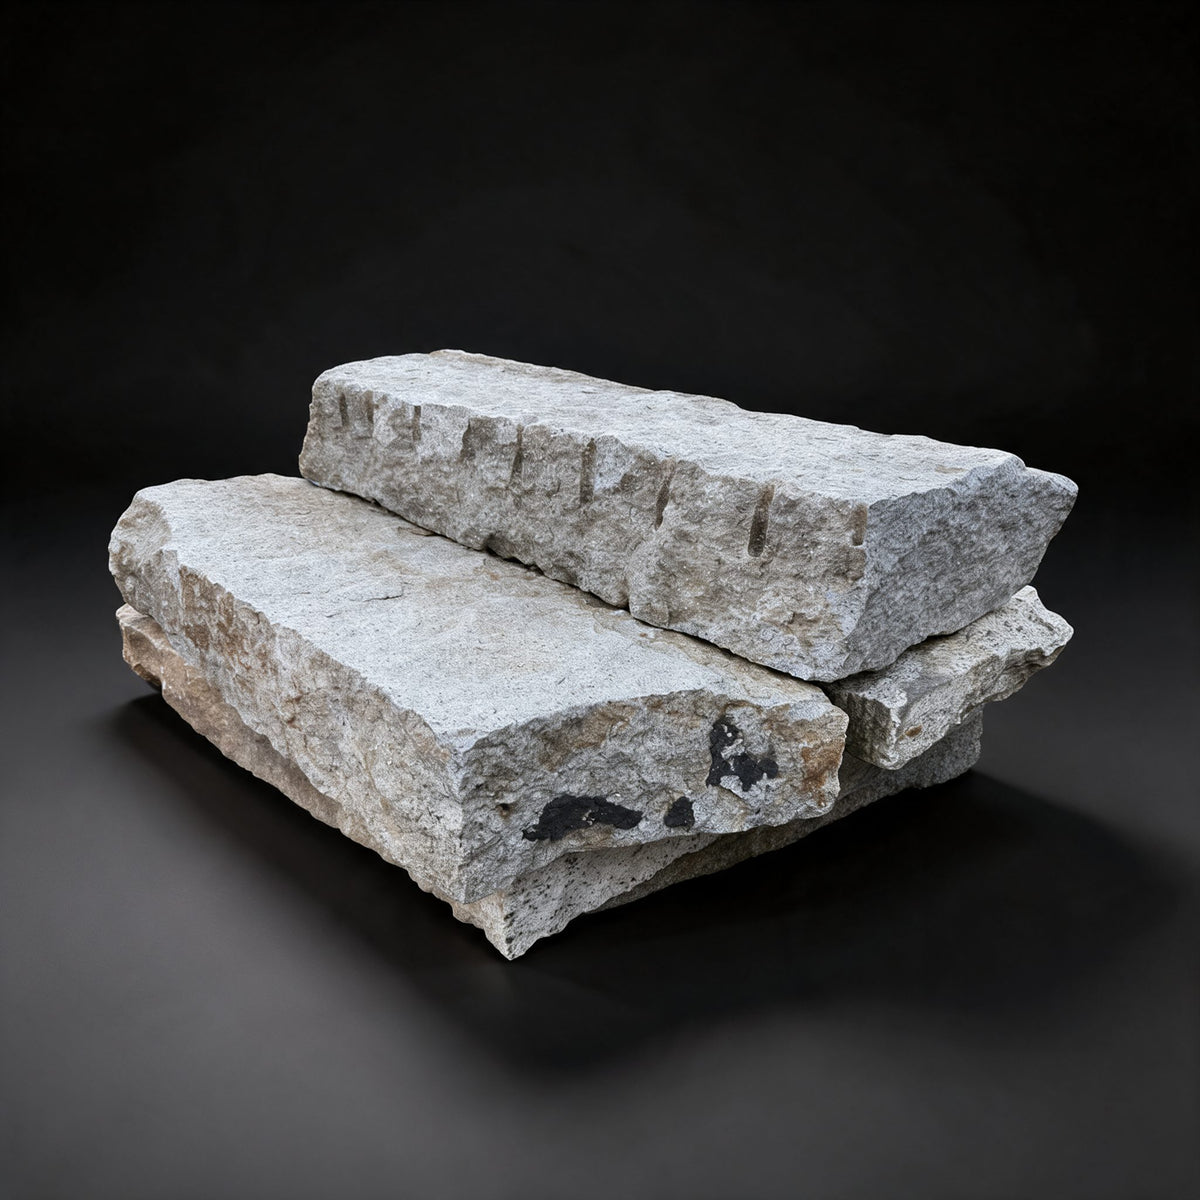
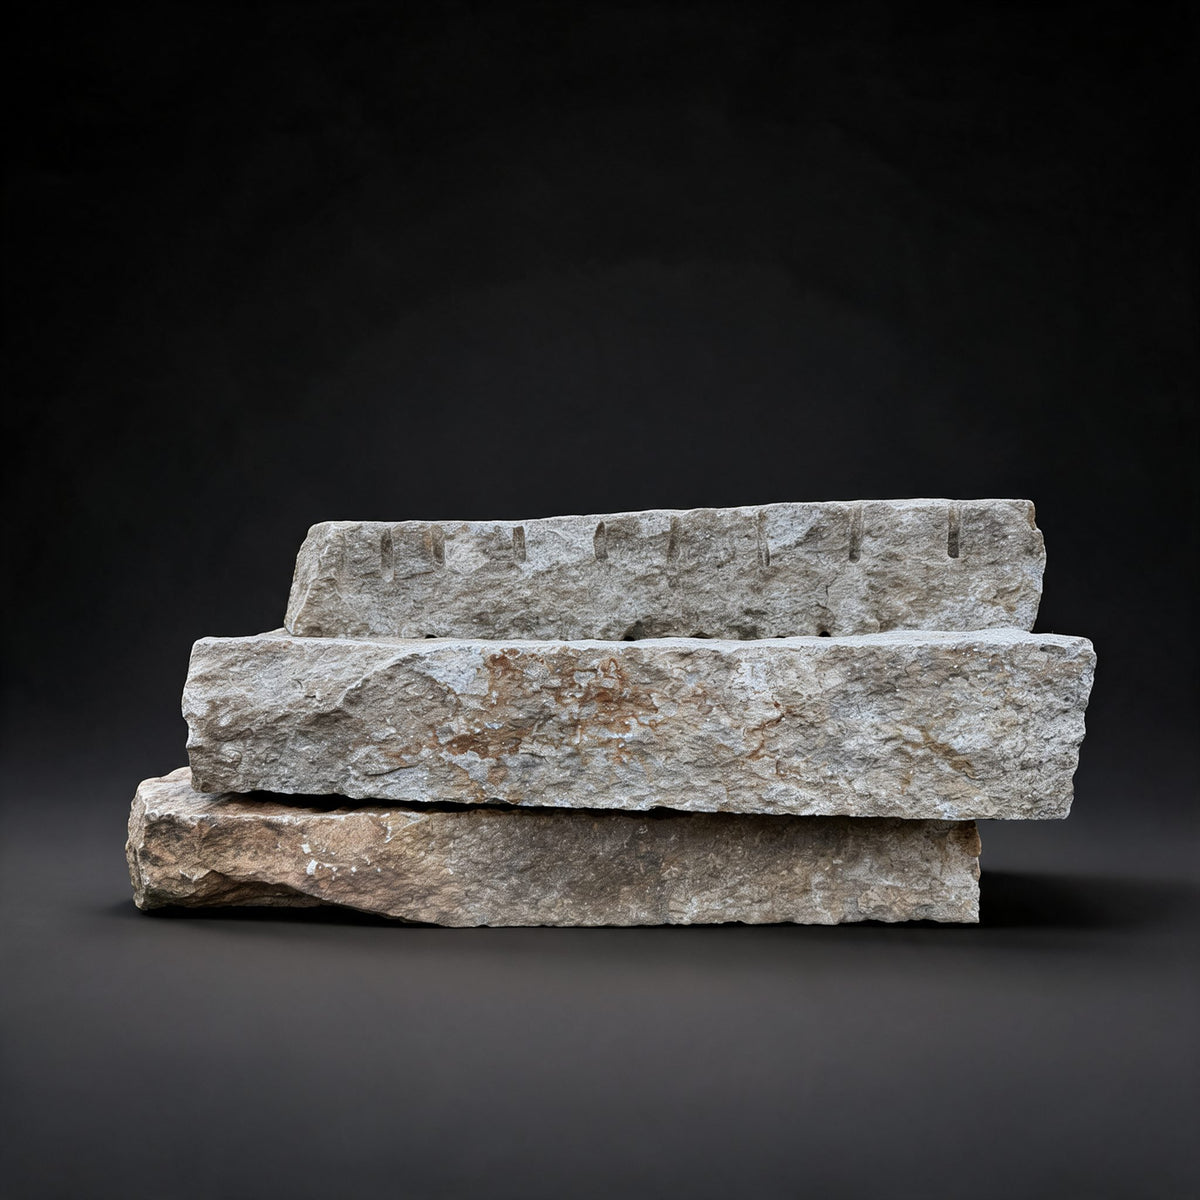


Give a front entry, garden stair or terrace the weight of real New York stone with Reclaimed Granite Curbstone Steps. These are solid granite curbs salvaged from streets and sidewalks in New York and the surrounding region. We keep them out of the landfill and select whole pieces that set well as steps, treads and landings.
They are the same granite as our reclaimed granite cobblestones: dense, hard-wearing and made for decades of traffic, frost and de-icing salt. Years on the street left softened edges, weathered split faces and grey stone with natural tan and rust tones that new granite can't copy. We offer them in lengths from 2 to 8 feet, about 14 to 20 inches wide and 5 to 7 inches thick.
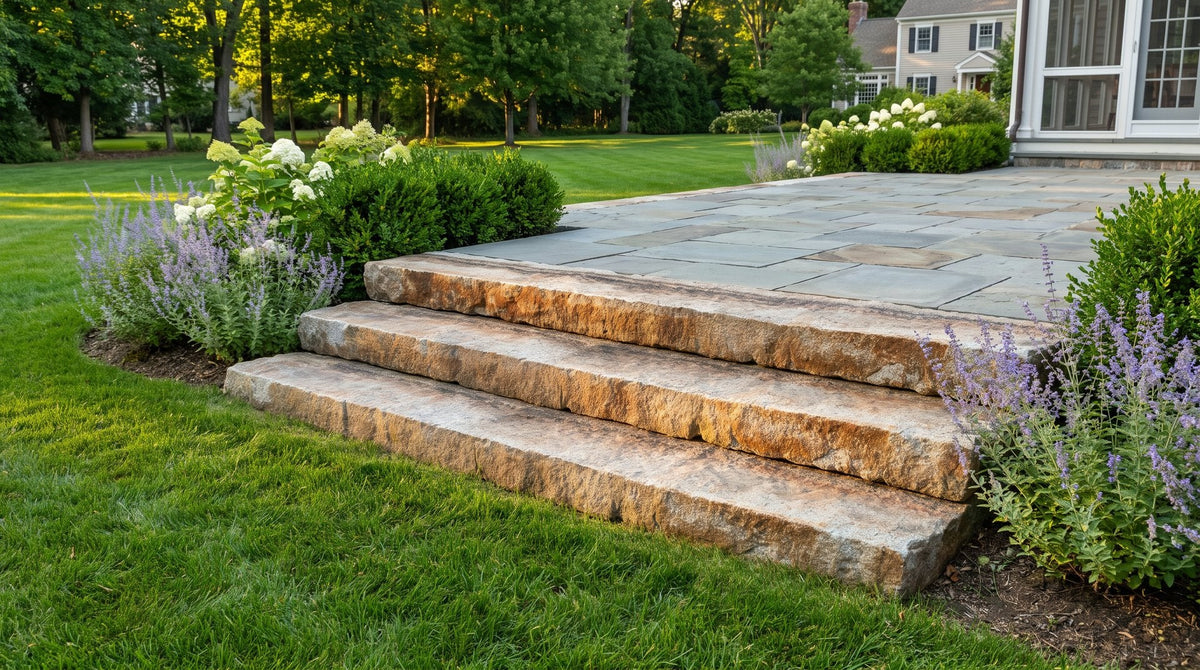
Set them on a compacted gravel base, each step resting on the one below with about a 2" overlap, the same way as our reclaimed bluestone curbstone steps. Work out how many steps you need with our curbstone steps calculator.
They pair well with our reclaimed granite regulation cobblestones for a landing, walkway or driveway apron in matching stone.
Pictures are an indication only. Feel, look and color differ from item to item.

Share: