

A granite stair goes together almost like building blocks. The crane swings each 7-inch slab into place, the fillers slide in behind, and in a few hours a front door that used to sit on cracked concrete has a stair that feels carved from a single piece of stone. Getting to that point is mostly about planning, and once the stone is on order, one question comes up fast: how does it all actually go together?
Solid granite steps are simple pieces. Every step is the same 7-inch height, every step filler is 7 inches high and 6 inches wide, and the stair is built from the bottom up, one course at a time. What makes the job go smoothly is the planning around them: the right number of steps for the height, a base that will not settle, fillers of the right length, a little overlap between steps, and a slight pitch so water runs off.
Maybe you are a homeowner replacing tired concrete steps at the front door. You might be a landscape designer drawing up a garden stair for a client. Or maybe you are a contractor who has set plenty of pavers but not many 800-pound granite steps. This guide walks through how granite steps and step fillers are installed, from the first measurement to the last shim, so you know what the job involves before the truck arrives.
Table of Contents
- Granite Step Installation at a Glance
- How a Granite Stair Goes Together
- Plan the Stair Before You Dig
- Size and Cut the Step Fillers
- Build a Base That Will Not Move
- Delivery and Handling Heavy Stone
- Setting the Steps and Fillers
- Front Entries and Steps Against the House
- Common Mistakes to Avoid
- Nationwide Shipping and Seeing the Stone
- Should You Install Granite Steps Yourself?
Granite Step Installation at a Glance
If you need the short version first, this table shows the main numbers. The rest of the guide explains how each one fits into the job.
| Item | Typical figure | Why it matters |
|---|---|---|
| Step height | 7 inches, every step | Sets the number of steps and keeps every rise the same. |
| Step sizes | 3 to 6 feet long; 13, 18 or 24 inches deep, plus 36- and 48-inch landings | One piece spans the stair; depth sets how much room you have on each step. |
| Step fillers | 6 inches wide, 7 inches high, 11 to 71 inches long | Support the back of every step above the first. |
| Base | About 12 inches of compacted gravel, 6 inches past the stone; or a concrete pad over gravel | Keeps the stair from settling or heaving. |
| Overlap | About 1 inch, up to 5 inches | Ties each step to the one below; every step keeps at least 12 inches of exposed tread. |
| Pitch | 1/4 inch per foot of depth, toward the front | Sheds water so it does not pool or freeze on the steps. |
| Setting | Dry, on hidden plastic shims or large ice cubes | Fine adjustment for level, pitch and height. |
Note: Site conditions, soil, frost depth and local code all affect how steps should be built. Treat these figures as a starting point and confirm the details with your installer.
How a Granite Stair Goes Together
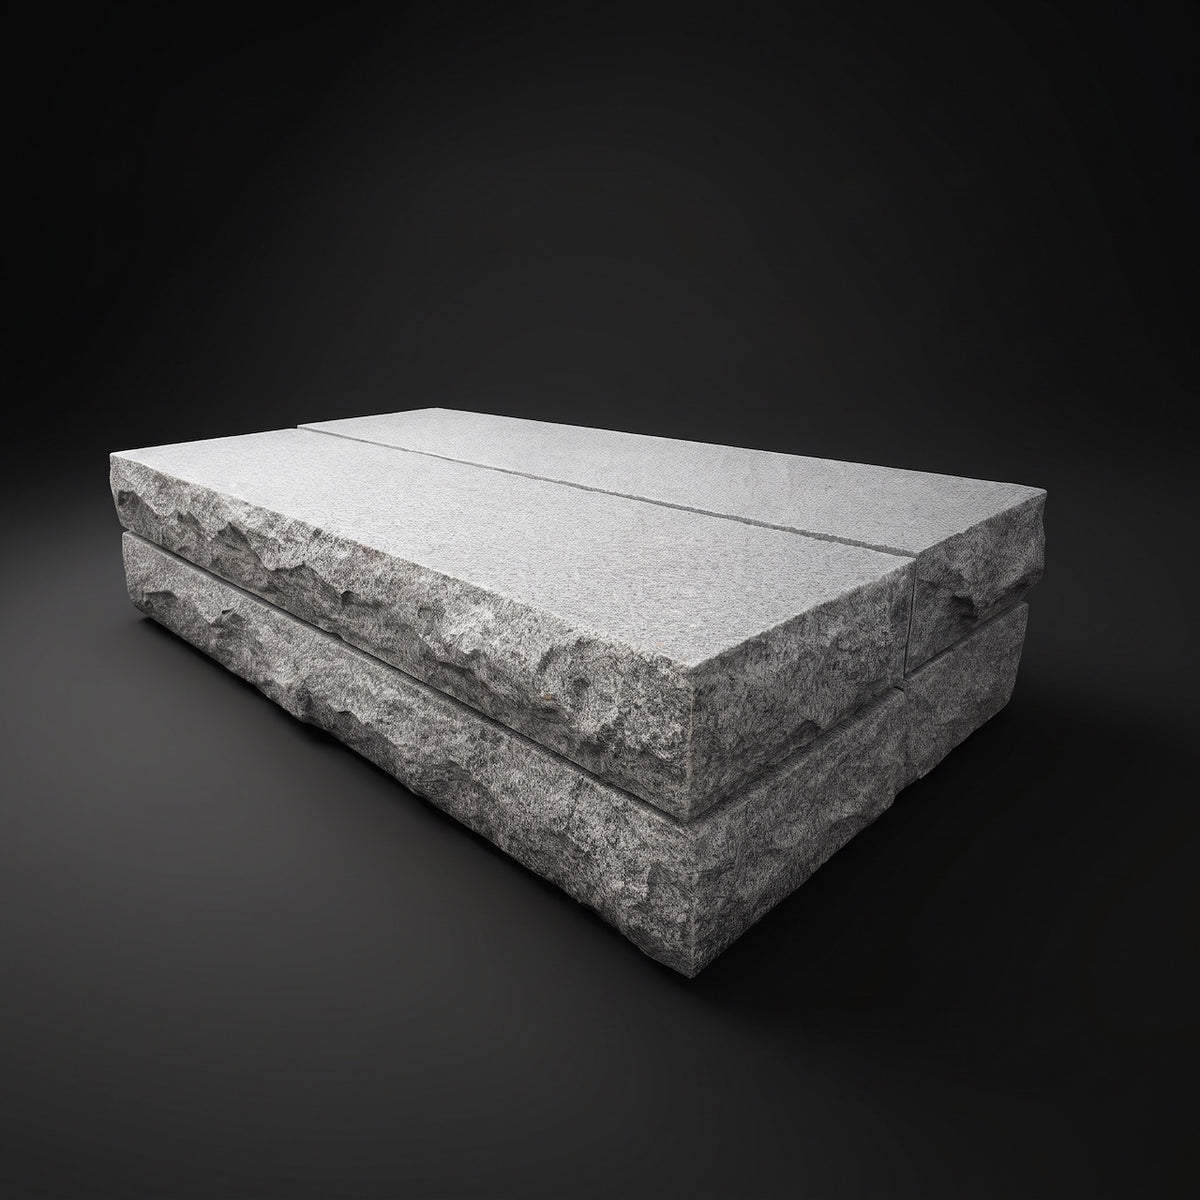
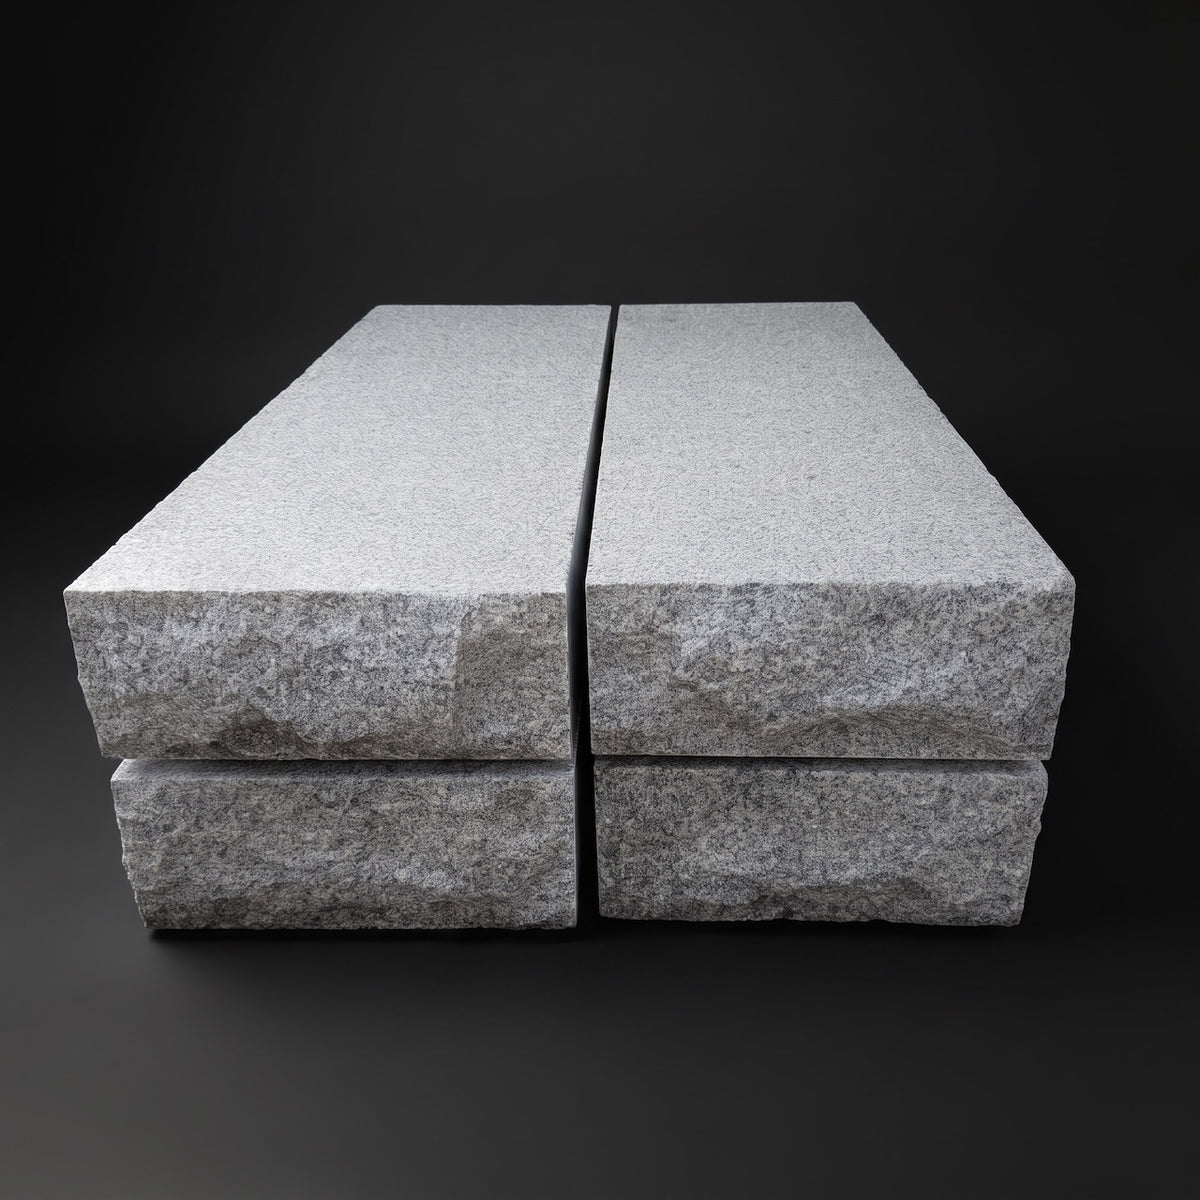
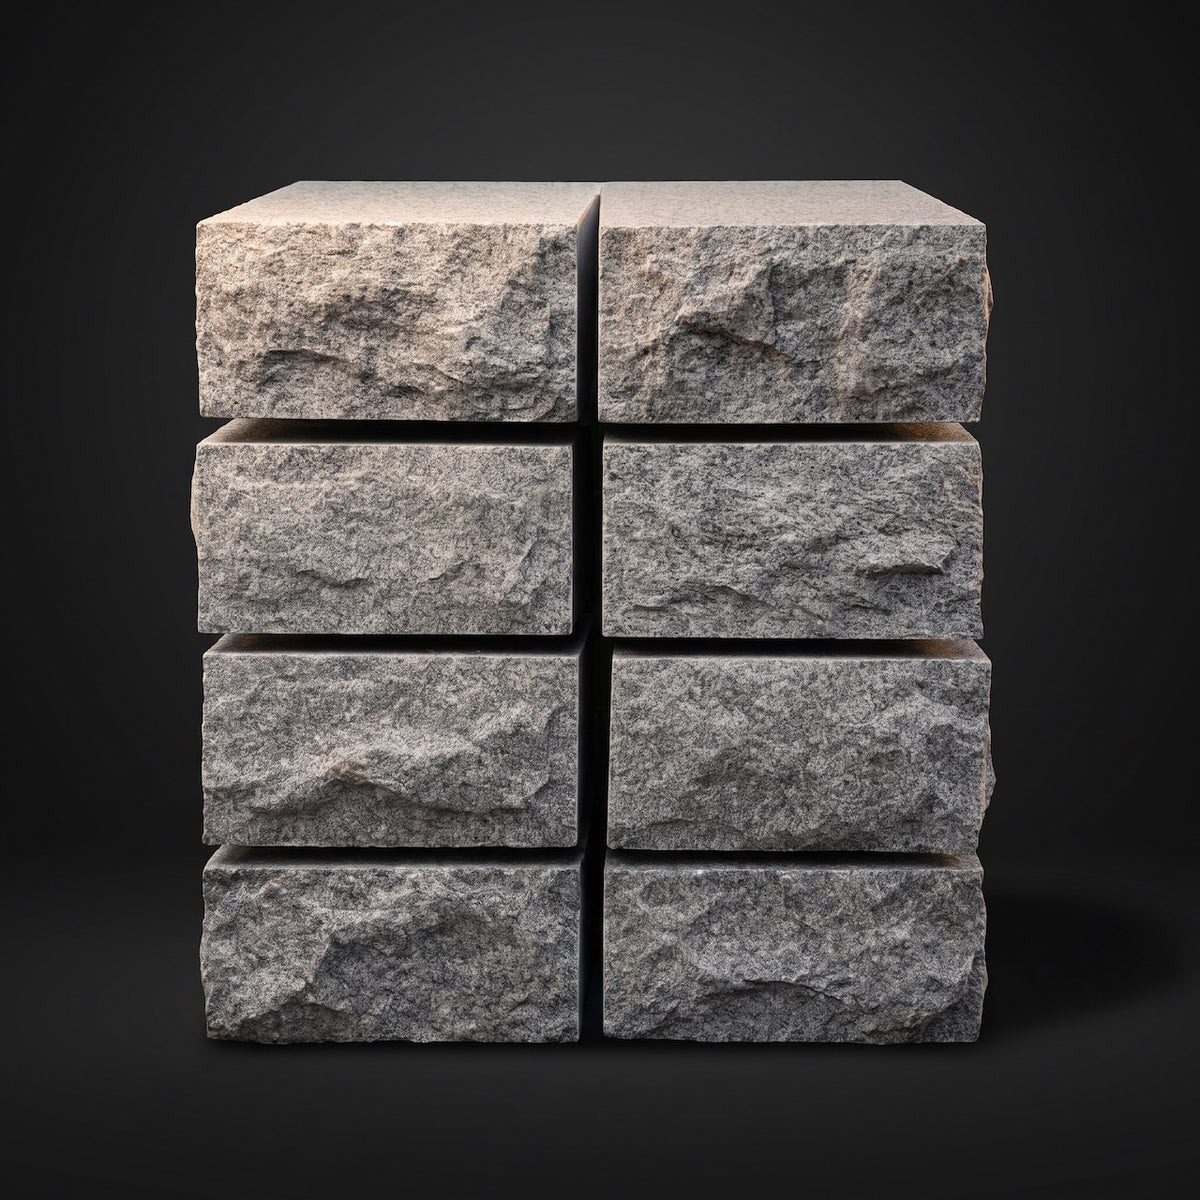
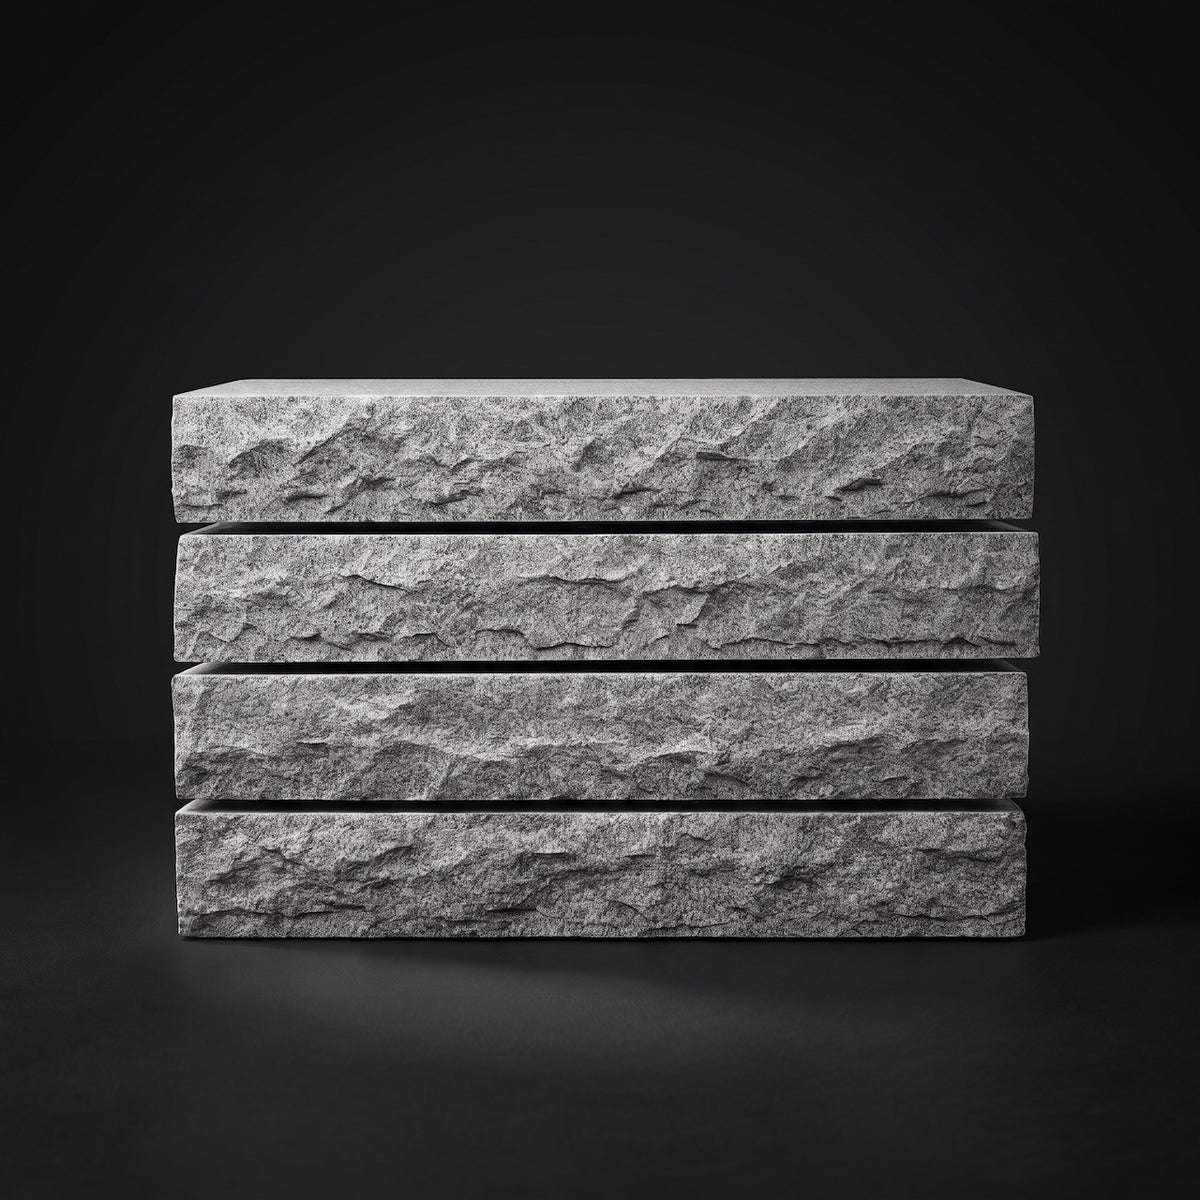
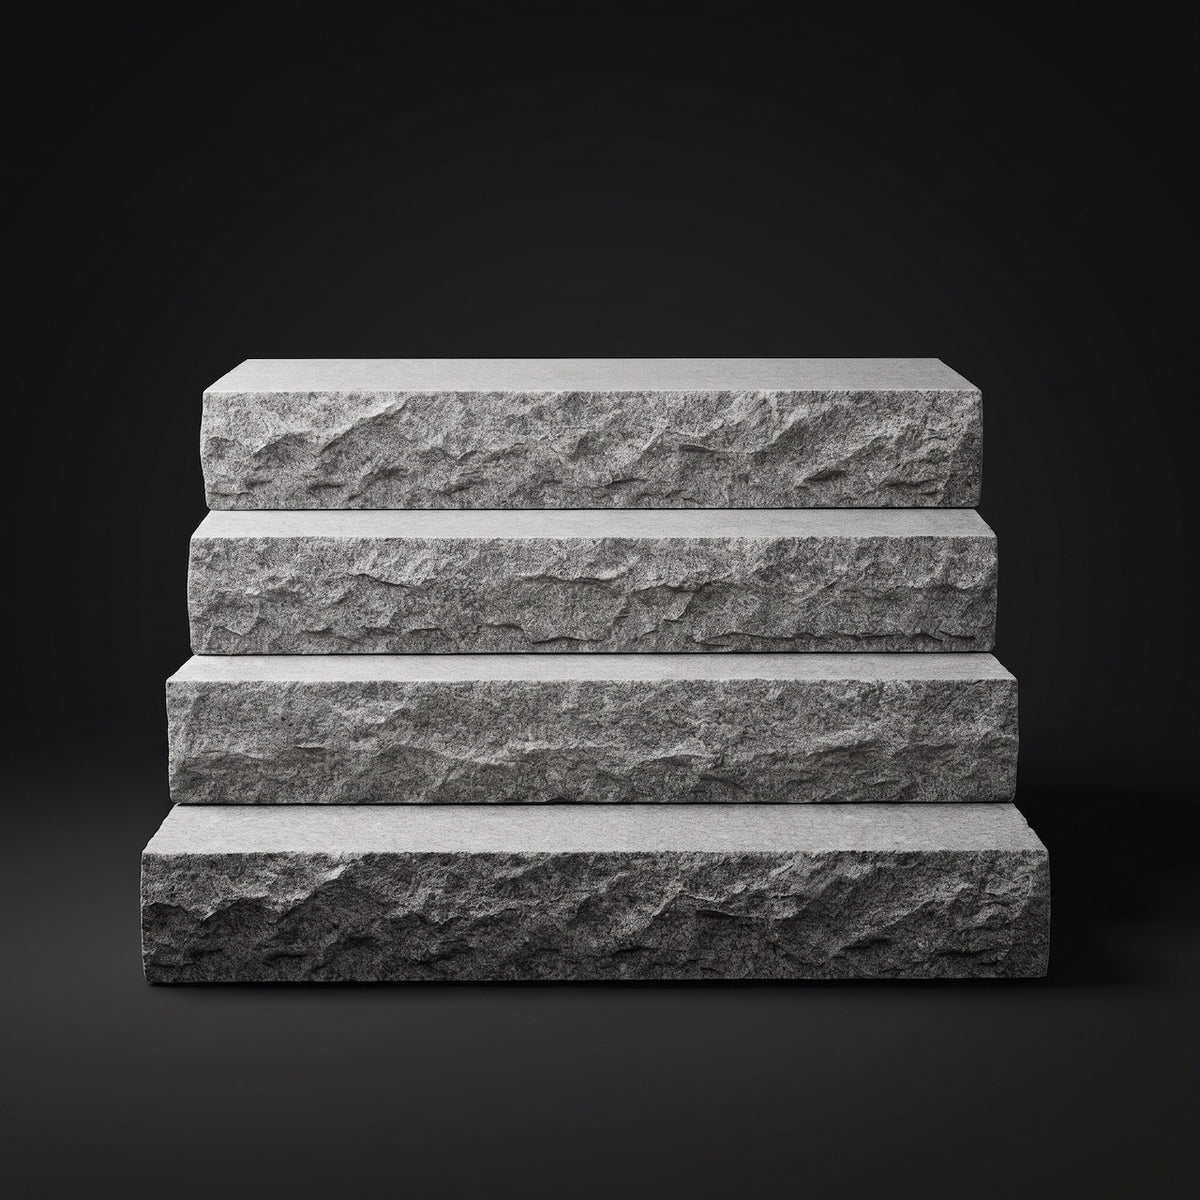
Before any digging, it helps to picture the stair from the side. The bottom step sits directly on the base. Every step above it rests in two places: its front edge sits on the back of the step below, and its back edge sits on a pair of Granite Step Fillers, one at each end of the step, set in about 1/2 inch so they do not show past the ends.
The fillers are stacked in courses, just like the steps. The lowest course sits on the base behind the bottom step and runs back under all the steps above it. Each course above sits on the course below and runs back under the remaining steps. The backs of the top step and of every filler line up, so the back of the stair is one flat face.
That is why the filler count is so easy to work out. Every step above the first needs a pair, so a three-step stair takes 4 fillers and a four-step stair takes 6. The space between each pair stays open; we recommend leaving it that way rather than filling it.
Building with fillers instead of stacking solid steps under each other keeps the stone cost down, and from the front it looks exactly the same. Our granite step cost guide shows what fillers add to the budget.
Plan the Stair Before You Dig
Every good stair starts with one measurement: how high it has to climb. Measure from the finished ground or walkway at the bottom to just below the door threshold, or to the top of the slope for a garden stair. That is your total rise.
Because every Granite Step is 7 inches high, divide the total rise by 7 to get the number of steps. A 21-inch rise takes three steps and a 28-inch rise takes four. If the number does not come out even, you can adjust the height of the base or the finished grade at the bottom by an inch or two; what you cannot do is make one step taller than the others. Uneven steps are what make people trip.
Next, choose depths. A 13-inch step is the classic choice for a stair. An 18-inch step gives you more room to stand and is often used as a single step at a back door. A 24-inch step makes a small landing, and 36- and 48-inch pieces are landings, used only as the top step, where they give you room to stand while you open the door.
Then choose lengths. A step that spans the full width of the stair in one piece looks best and is the most stable. A 4-foot step suits most single doors, while wider entries and doors with sidelights often call for 5- or 6-foot steps. Lengths of 3 to 6 feet are in stock, and 7- and 8-foot steps are available by custom order. Our complete homeowner guide to granite steps covers choosing sizes in more detail.
Finally, lay the stair out on the ground. Mark where the front of the bottom step will sit and where the back of the stair will end, and check that the whole set fits the space you have, with room for the base to extend past it.
Size and Cut the Step Fillers
The one piece of arithmetic in the job is the filler length. Each filler runs from the back of the step in front of it to the back of the stair, so its length depends on the steps sitting above it. To work it out, add the depth of every step above the filler, then subtract each of those steps' overlaps.
Take a front entry with two 13-inch steps and a 48-inch landing, each overlapping the step below by 1 inch. The fillers under the second step carry the second step and the landing: 12 + 47 = 59 inches. The fillers under the landing carry only the landing: 47 inches. Both are stock lengths, so nothing needs cutting.
When no filler is the exact length, order the next longer size and cut it to length on site. Three 18-inch steps with 1-inch overlaps need fillers of 34 inches and 17 inches, so the lower pair is cut from 35-inch fillers, taking just an inch off each. Three 13-inch steps need 24-inch and 12-inch fillers, so the lower pair is cut from 35-inch fillers. With our current stock lengths, every three-step combination works with stock fillers, and none needs more than one pair cut. Our Granite Stair Planner does this math for you: choose a step length and the number of steps, and it lists the steps and fillers your stair needs, ready to add to your cart.
The overlap gives you some room to play with. You can overlap a step by anywhere from 1 to 5 inches, as long as the step below still keeps at least 12 inches of exposed tread to stand on. That means a step sitting on a 13-inch step can only overlap it by 1 inch, but a step on an 18- or 24-inch step can overlap more. Four 18-inch steps, for example, come out at 47, 34 and 17 inches if the second step overlaps the bottom one by 5 inches, so only one pair needs a cut.
Cut fillers with a diamond saw, and wear eye, ear and dust protection. Keep the factory end at the back, where the backs of the stair line up, and put the cut end at the front against the step below, where the step above covers it.
Build a Base That Will Not Move
The base is the part of the job nobody sees, and it is the part that decides whether the stair stays put. Granite will not crack or wear out on its own; what makes steps fail is ground that settles or heaves underneath them.
Most granite stairs sit on a pad of compacted crushed gravel about 12 inches deep, extending about 6 inches past the stone on every side. Remember that the pad has to carry the whole footprint of the stair, from the front of the bottom step to the back of the fillers, not just the bottom step. Dig out topsoil and roots down to firm ground, then add crushed stone in layers of 3 to 4 inches, compacting each layer with a plate compactor before adding the next. Thin, well-compacted layers make a solid base; one thick, loose layer will settle.
Large sets and front-door stoops are often set on a concrete pad about 6 inches thick, poured over a compacted gravel base. It adds cost, but it gives the heaviest stairs a footing that stays flat for good. Wet sites, heavy clay and cold climates may call for more depth; your installer can judge what your site needs.
Finish the base level from side to side and at the right height, so the bottom step lands where you planned. The pitch comes later, from the shims under each step.
Delivery and Handling Heavy Stone
Granite steps are heavy. A 4-foot by 13-inch step weighs about 437 lb, a 6-foot by 18-inch step about 908 lb, and a 4-foot by 48-inch landing about 1,613 lb. Fillers are lighter, from about 46 lb for an 11-inch filler to about 297 lb for a 71-inch one.
That weight is why the base should be finished before the crane truck arrives. With the pad ready, the crane can lift each step off the truck and set it straight into place, instead of setting it down on the lawn and moving it twice. Plan where the truck will park, make sure it can reach the stair, and clear the route of anything in the way.
Use proper lifting straps, keep hands and feet out from under the stone at every stage, and never stand under a suspended load. The smaller fillers can be carried by two people or moved with a stone dolly, but the steps themselves are a job for the machine.
Setting the Steps and Fillers
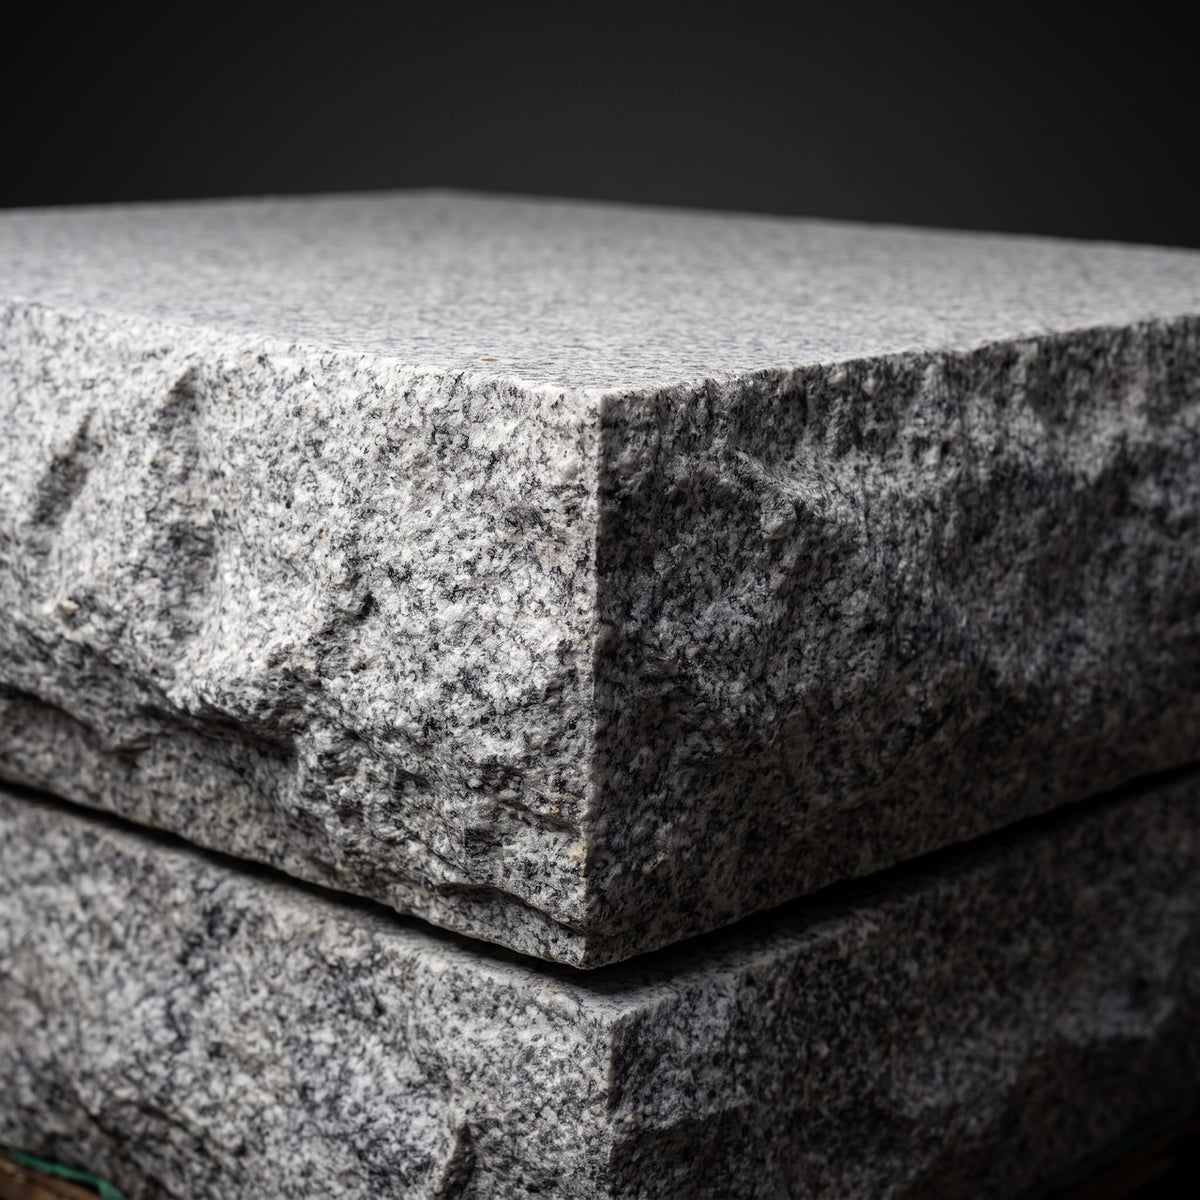
Granite steps are set dry, with no mortar, on small plastic shims. The shims let you fine-tune level, pitch and height, and they are kept back from the edges so they do not show. Large ice cubes are another option: set a step down on them and you can slide it into its exact position without scraping or chipping the step below, and as the ice melts, the step settles into place. The stair is always built from the bottom up.
- Set the bottom step. Place it on the base at its marked position. Check it with a level from side to side, and shim it until it sits firm with no rocking.
- Give it the pitch. Every step falls toward its front edge by 1/4 inch per foot of depth: about 1/4 inch on a 13-inch step, 3/8 inch on an 18-inch step, 1/2 inch on a 24-inch step and 1 inch on a 48-inch landing. Working per foot means every step in the set has the same slope; a fixed amount per step would leave the deeper steps flatter.
- Set the first course of fillers. Place a pair behind the bottom step, one at each end, set in about 1/2 inch from the ends of the step above. Their backs mark the back of the stair. Leave the space between them open.
- Set the next step. Lower the second step so its front edge overlaps the bottom step by the planned amount and its back rests on the fillers. Shim at the fillers to give it the same pitch, and check that it rises 7 inches above the step below.
- Repeat to the top. Each new course of fillers sits on the course below and against the back of the step just set, then the next step goes on. Keep the backs of the fillers and the top step in one line, and run a string along the front edges to keep the stair straight.
- Check everything. Stand on each step at both ends and in the middle. If anything moves, lift it and adjust the shims. A step that rocks a little today will rock more after one winter.
Once the stone is set, backfill along the sides and the back of the stair with compacted gravel, then finish with soil, mulch or planting. Make sure water running off the front of the stair has somewhere to go, so it does not collect against the bottom step.
Front Entries and Steps Against the House
Steps at a front door work the same way, with a few extra things to watch. They carry more traffic, they sit right against the foundation, and any settling shows up as a gap at the door. That is why front-door stairs are so often set on a concrete pad over gravel.
Plan the top step to sit just below the threshold, so it never blocks the door from opening. Because every step pitches toward the front, the top step or landing falls away from the house and water runs away from the door. In cold climates, the base or pad needs to account for frost depth so the stair does not lift in winter. Check your local code before you start; it may also set rules on the number of steps, landings and handrails.
For design ideas, see granite steps and treads for front entries. For sloped yards, our guide to granite garden stairs and hillside paths covers longer layouts. If you are covering an existing concrete stair instead, our granite treads guide explains how treads are installed.
Common Mistakes to Avoid
| Mistake | What happens | How to avoid it |
|---|---|---|
| Base too small | The fillers at the back settle and the steps tip backward. | Extend the base 6 inches past the whole stair, fillers included. |
| Skipping compaction | The base settles and the steps rock. | Compact gravel in 3- to 4-inch layers with a plate compactor. |
| Base not ready on delivery day | The steps get set down on the lawn and moved twice. | Finish the base before the crane truck arrives. |
| Too much overlap on a shallow step | The step below is left with too little tread to stand on. | Keep at least 12 inches of exposed tread on every step. |
| Same pitch amount on every step | Deeper steps and landings end up flatter and hold water. | Pitch 1/4 inch per foot of depth, toward the front. |
| Top step too high | The door scrapes or will not clear. | Measure to just below the threshold before ordering. |
Once the stair is in, it needs very little attention. If you live where winters are hard, our guides on de-icing granite steps safely and granite steps in cold climates are worth a read.
Nationwide Shipping and Seeing the Stone
Chief Bricks ships granite steps, treads and fillers nationwide. Add them to your cart and enter your address for a shipping quote. If it looks too high, call us at (718) 379-1232; we sometimes have alternative ways to get your stone to your door for a more reasonable price.
Want to see the stone before you commit? A sample granite step costs $41 and is sent by priority mail. You can also see the full-size stone at our yard in Nanuet, NY; no appointment is needed, but if you call ahead at (718) 379-1232, we will make sure you get our full attention.
Should You Install Granite Steps Yourself?
The method itself is not complicated: count the steps, build a solid base, work out the filler lengths, and set each piece from the bottom up with the right overlap and pitch. A handy homeowner can do the planning, the layout and even much of the base work.
Setting the stone is another matter. Steps that weigh 400 to more than 1,600 pounds need a crane truck and a crew that knows how to place them safely, and front-door stairs bring frost depth, thresholds and local code into the picture. For most projects, an experienced mason or landscape contractor is the right call for the setting, and the planning in this guide will help you talk through the job with them.
Either way, the result is a stair that is the same height, color and finish from bottom to top, set on a base built to last. Shop Granite Steps and Granite Step Fillers to plan your stair, or Granite Treads if you are covering an existing one.



Share: