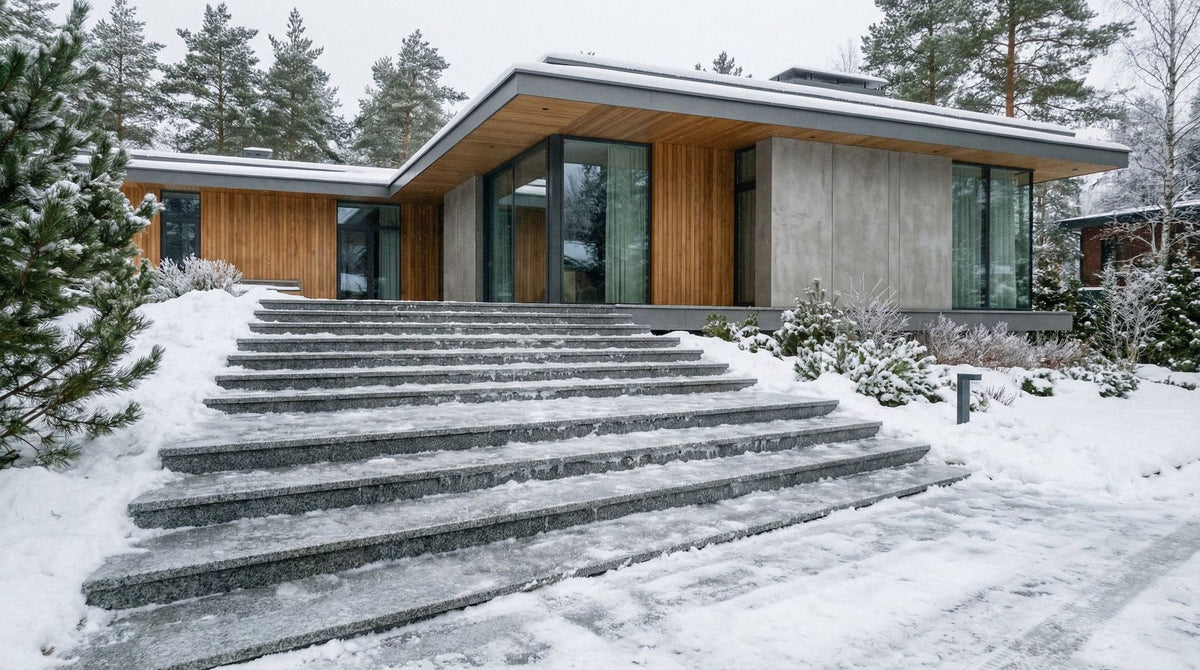
If you have granite steps, winter probably makes you a little nervous. You want safe footing, but you also do not want to wreck that stone with the wrong ice melt or tools. Learning How to De‑Ice Granite Steps Safely in The Winter is about more than convenience.
It is about protecting an investment in your home or project and keeping people out of the emergency room. Falls on ice are a real problem, and icy steps are one of the most common places they happen.
So if you are an architect, builder, homeowner, or landscaper working with granite treads and stoops, this topic is worth taking seriously. You do not have to choose between safety and beautiful stone. You can have both if you use the right deicers, tools, and habits.
Maybe you are a homeowner standing at the door with a bag of rock salt, wondering if it will hurt your new steps. You might be a property manager or landscaper responsible for keeping a granite entry safe for tenants and visitors all winter. Or maybe you are an architect or builder who wants to hand clients a simple winter routine along with their new stone stairs.
Let us walk through how to keep those granite steps grippy, clean, and structurally sound season after season. With the right approach to ice removal, your granite will stay in good shape for decades.
Granite looks tough, and it is. However, it is still a natural stone that reacts to moisture, salt, temperature swings, and impact. In cold climates, granite can suffer from spalling, pitting, and staining if it gets abused every winter with harsh chemicals and bad snow removal habits.
Many common deicing products are formulated with performance on concrete or asphalt in mind, not natural stone. That mismatch is where trouble starts. You might not see the damage right away.
Hairline cracks, flaked edges, and surface roughness can sneak up after a few hard winters. This deterioration is often caused by salt fretting, where salt crystals grow inside the stone's pores and exert pressure. If your project pairs granite steps with reclaimed cobblestones, the stakes are even higher.
Those stones have history and character you do not want to destroy with a bag of cheap rock salt. A little education up front saves a lot of cost and frustration later. Keeping walkways clear safely is a vital part of masonry building maintenance.
Most ice melt products work in one of two basic ways. They either lower the freezing point of water, or they create a brine that seeps under the ice and helps it release from the surface. Both paths are chemistry driven.
The catch is that these same chemicals do not stop at melting ice. They soak into joints, stone pores, soil, and even nearby planting beds. That is where you start to see staining, plant stress, or white crusty deposits that will not go away without hard scrubbing.
Every winter, tons of ice melting material go down on sidewalks and steps without much thought. That extra salt then washes into local streams and bays as soon as things start to thaw. This excess runoff can pollute streams and harm aquatic life.
Some products are simply poor choices around granite. They may cause scaling on nearby concrete, discolor stone, harm soil, or create long term structural issues. If you care about stone performance and landscape design, be picky here.
Here are the main categories that cause the most trouble.
Rock salt is cheap, easy to find, and fast acting in moderate cold. That is why so many bags end up on front steps each winter. However, sodium chloride is a common deicing salt that is very hard on almost every material it touches over time.
Sodium ions are rough on mortar joints and on many types of stone, especially once freeze and thaw cycles start working them into cracks. Rock salt releases heat during the melting process, but the leftover crystals can pull moisture into the surface. This increases scaling and flaking risk during cold snaps.
Runoff carries salt into nearby soil and waterways. That is a good reason to be far more careful with how much salt goes on your hardscapes each winter. Granite may handle salt a bit better than some softer stones, but that does not mean it is a free pass.
You might see suggestions online to throw fertilizer on icy surfaces as a "two for one" trick. Do not do this around granite or any paved area you care about. It is hard on stone surfaces and very rough on the environment.
Fertilizer makes a poor deicer because its nitrogen and phosphorus cause water pollution. These chemicals harm vegetation and water quality once they wash into streams and bays. Those nutrients feed algae blooms and hurt aquatic life downstream.
Urea and similar fertilizer based products also add a lot of nitrogen to nearby soils. High nitrogen runoff drives algae growth and causes algal blooms in waterways. That is the last thing you want linked to a well designed landscape project.
Some niche ice melt products are based on ammonium salts, like ammonium sulfate. They are sometimes promoted as fertilizer style deicers. These are a red flag around any stone or concrete.
Ammonium sulfate is very corrosive. It can chemically attack concrete and damage masonry structures significantly. It can also cause lethal effects on wildlife if it moves into water through runoff.
Those same reactions can spell trouble for mortars, stone faces, and metal railings connected to granite stairs. This ingredient creates an acidic reaction that eats away at the cement paste. For residential and light commercial sites, there is rarely a reason to pick an ammonium based product when safer options exist.
So what does work well with granite in cold climates? The answer is a mix of gentler chemicals, more physical removal, and sometimes a shift in mindset. Instead of trying to instantly turn an ice rink into bare stone, think about creating safe traction and slower, controlled melting.
There are yard-friendly ways to manage winter precipitation without causing damage. Look for products that list ingredients safe for masonry building materials.
The short rule: avoid rock salt (sodium chloride), and use calcium chloride or magnesium chloride sparingly, or sand when you only need traction. You want products that melt at the temperatures you deal with, but that are easier on stone and soils. Check the label for the lowest temperature each product works at, and compare it with your average winter lows as you choose.
| Deicer Type | Pros For Granite Steps | Main Drawbacks |
|---|---|---|
| Calcium Magnesium Acetate (CMA) | Gentler on stone and metal, lower environmental impact | Costs more, works best just below freezing |
| Magnesium Chloride | Less harsh than rock salt, works at lower temps | Can still add chloride to soil, may leave residue |
| Calcium Chloride | Fast acting in very cold weather, smaller amounts needed | Can be irritating to skin, some risk to nearby soil and stone if overused |
| Potassium Chloride | A common deicing ingredient that is gentler on plants | Works slower than other salts, not good for very low temps |
Calcium Magnesium Acetate: This is widely considered a good choice for stone. It is often biodegradable and less likely to chemically attack concrete or mortar. It stops ice particles from sticking to each other.
Magnesium Chloride: This often comes in rounded white pellets. It is effective even when the temperature reaches fairly low degrees. It releases less chloride than rock salt, making it a common deicing alternative.
Calcium Chloride: This powerful deicing ingredient typically appears as white pellets. It generates heat to melts ice quickly. However, it can be a skin irritant, so wear gloves.
Potassium Chloride: Often sold as a safe option for pet owners. It is a common deicing ingredient that is generally kinder to vegetation. It does not work well in extreme cold.
If you want an easy solution that you can make at home, consider mixing rubbing alcohol or isopropyl alcohol with water. This homemade mixture has a much lower freezing point than water alone. It can be sprayed directly on icy surfaces to help break the bond.
Some people try using hot water mixed with a little dish soap. This can be effective to remove ice in a pinch, but be careful. The excess water can refreeze quickly if the air temperature is too low.
Another yard-friendly option is sugar beet juice mixtures. These provide additional melting power when mixed with other deicers. They are becoming a popular alternative because they are effective and less corrosive.
If the goal is preventing slips, traction matters more than seeing bare stone ten minutes after a storm. Sand, crushed stone, or gritty mineral products sit on top of ice and give shoe treads something to grip. You can also use kitty litter to provide traction in a pinch.
These options will not chemically attack concrete or granite faces. You may see some particles work into joints, but that is usually not harmful if the steps are well built. The tradeoff is that you must sweep or vacuum in spring so the material does not end up in drains or lawns.
For entry steps with frequent visitors or aging residents, consider pairing limited chemical melt with regular grit. This ensures you never have a slippery surface, even during long cold stretches. This is one of the best ways salt can be supplemented for safety.
For busy entrances or high end stone stairs, heated systems are worth a look. Surface heating avoids many of the chemical and shoveling headaches people deal with every winter. It is a fantastic way to prevent ice entirely.
Removable heated snow melting mats can be rolled out on treads before storms. They plug into standard power and keep surfaces warm enough that snow turns to slush instead of solid ice. This option works well for small stoops, townhouse entries, or apartment doors.
Built in electric or hydronic snow melting systems under granite treads are a bigger investment. However, they are appealing for architects and builders planning new construction. They can protect stone from constant freeze thaw stress and eliminate the need for most chemical products.

Even the safest deicer will not help if you scrape and hammer your granite every storm with rough tools. A smart physical removal plan is half the battle. It protects the finish and makes any product you use work better.
Stay away from bare steel blades that can gouge edges or leave dark marks. Go for shovels with plastic blades or metal blades that have plastic edges. Rounded corners are much less likely to catch on stone noses.
A flat sidewalk scraper can help with thin ice if you use a careful, low angle. Do not slam the tool down on the step face. A simple hand broom is useful for getting snow and slush out of joints where a sidewalk ice scraper cannot reach.
If you deal with very stubborn patches, some professionals use a propane weed torch to soften ice on hardscapes. This takes a gentle hand and real care. Open flame near railings, doors, or dry plantings is risky, so most homeowners should skip this approach.
Think of winter maintenance as a few light passes instead of one big heroic effort. You get better results and put less stress on the stone that way. This applies at every scale, from a small front stoop to a long granite staircase.
A good shovel and a simple sidewalk scraper often do more than people expect when used this way. Shoveling and mechanical removal are still some of the best ways to cut back on how much chemical melt you use in the first place.
If you care about design, you probably also care about what happens just beyond the steps. Landscape beds, street trees, and local creeks feel the effect of every deicer spread through a long winter. That is true even if you never see direct burn on leaves or branches.
Excess salt and fertilizer products wash into storm drains and water bodies. Smarter deicer use is one of the simplest ways property owners can cut that pollution. It starts with putting down less material overall.
If you already have plant beds near your granite steps that have taken years of splash and runoff, there are amendments that help. Certain soil amendments can buffer some of the damage from salts. That said, these fixes add one more step and cost to a winter routine.
Knowing what to buy is step one. Knowing how to apply deicers on granite steps is where projects either thrive or start slipping. Small habits add up to big differences in surface life, indoor cleanliness, and stormwater impact.
More deicer on the steps does not equal more melting. Once a brine forms on the surface, any extra product mostly just waits around to be tracked indoors or washed into the garden. Excess water and chemical runoff are never good.
Check the manufacturer's instructions for the spread rate printed on your chosen product. Follow it with a simple scoop or cup. A light, even pattern across the granite gives better melt than thick piles near the top tread and none below.
If your stairs keep refreezing, consider whether water is flowing from higher grades, roofs, or gutters onto the steps. Adjusting drainage might help more than piling on white pellets every day. Fixing the source of the water is always the best prevention.
Pre treating before a storm hits often means you can use smaller amounts of product and get faster release later. On granite steps, a light pre storm application paired with prompt shoveling protects both footing and finish. This prevents heavy ice buildup from forming.
If you wait until three inches of snow have been walked flat, the job gets much harder. You will lean on heavier doses and rougher scraping. This raises the odds of chipped edges, etching stone surfaces, and surface scratches.
Watch the weather and aim to do a quick pass as flakes taper off rather than letting everything sit overnight in a deep freeze. The less time snow spends melting and refreezing on your granite, the longer that stone will look like the day it was set. Quick action makes it easier to remove snow.
No single product checks every box for cost, performance, plant safety, and stone health. You are looking for a reasonable compromise that respects your climate and site layout. That is true for architects designing stairs as much as for a homeowner shopping the hardware aisle.
For many properties, a two part strategy works best. Pick a gentler deicer you trust for stubborn ice and heavy foot traffic, like calcium chloride or magnesium chloride used sparingly, or calcium magnesium acetate (CMA). Then lean on sand or grit on top for ongoing traction during cold snaps.
The newest deicing salt products often combine ingredients to try and balance these needs. Always read the label. If you have elderly residents, children, or customers using your granite steps daily, weight the safety side of that trade a little heavier.
Slips can be serious on slippery surfaces. Offer alternative paths if the ice is too thick to manage safely.
If you are still in planning stages, you can make a few smart calls that simplify winter maintenance for decades. Design has more power here than any chemical product. Thoughtful stair layout reduces the need for harsh treatment later.
Use enough depth in treads so people have a full, stable landing. Slight texture on granite faces, like the thermal (flamed) top on Chief Bricks’ granite steps and granite treads, helps shoes grip even if a light film of slush is present. Good handrails add a safety backup for the worst weather days.
Grading also matters significantly. Direct drainage away from stair runs so meltwater does not cross every tread and refreeze at night. Catch basins, French drains, or simply pulling the landscape grade back from the risers will reduce the constant wet and dry cycle that ruins steps over time. Pitching each step 1/4 inch per foot of depth away from the house helps meltwater run off instead of freezing in place. Our article on whether granite steps are worth it in New England and cold climates covers the base, frost, and drainage side in more detail.
Consider installing electric melting mats during the construction phase. This investment completely changes how you manage the winter months. It allows you to keep the stone clean without any salt releases affecting the integrity of the material.
For most owners, yes. A few minutes of shoveling and a light hand with ice melt cost far less than repairing chipped edges, cleaning salt stains, or replacing plantings that took the runoff. That does not mean you can never use a chemical melt; it means using the right one, sparingly, and letting tools and traction do most of the work.
Learning How to De‑Ice Granite Steps Safely in The Winter is really about respect for the material, the people using it, and the landscape around it. Granite can stand up to harsh climates, but it does much better if you are thoughtful with chemicals and tools. Avoiding rock salt prevents salt fretting and damage.
Skip fertilizer based melts and ammonium products. Skip rock salt, use gentler deicers like calcium chloride, magnesium chloride, or CMA sparingly, and support them with regular shoveling, sand, or even heated mats where the budget allows. That choice protects stonework and also keeps excess nutrients and salts out of local streams and bays.
It is worth keeping the environmental impact in mind every year. In the end, the safest winter stair is one that is treated with a light hand, checked often, and cleared in layers. Clear snow before it packs down.
Whether you are overseeing a multi story granite entry or just your own front stoop, those habits help your stone age gracefully. More importantly, they help the people who use it get through winter without a trip to the emergency room. A little care goes a long way in keeping walkways safe and beautiful.
The same winter rules apply to bluestone; our guide on how to care for reclaimed bluestone covers cleaning, sealing, and winter care. If you are still choosing stone for a new entry, see our granite steps, treads and patterns collection or lay out a run in our Granite Stair Planner.
The information provided in our guides, installation tips, and blog content is for general reference only. Every project is unique, and site conditions can vary. We strongly recommend consulting a qualified professional installer to review your specific project and provide final guidance.
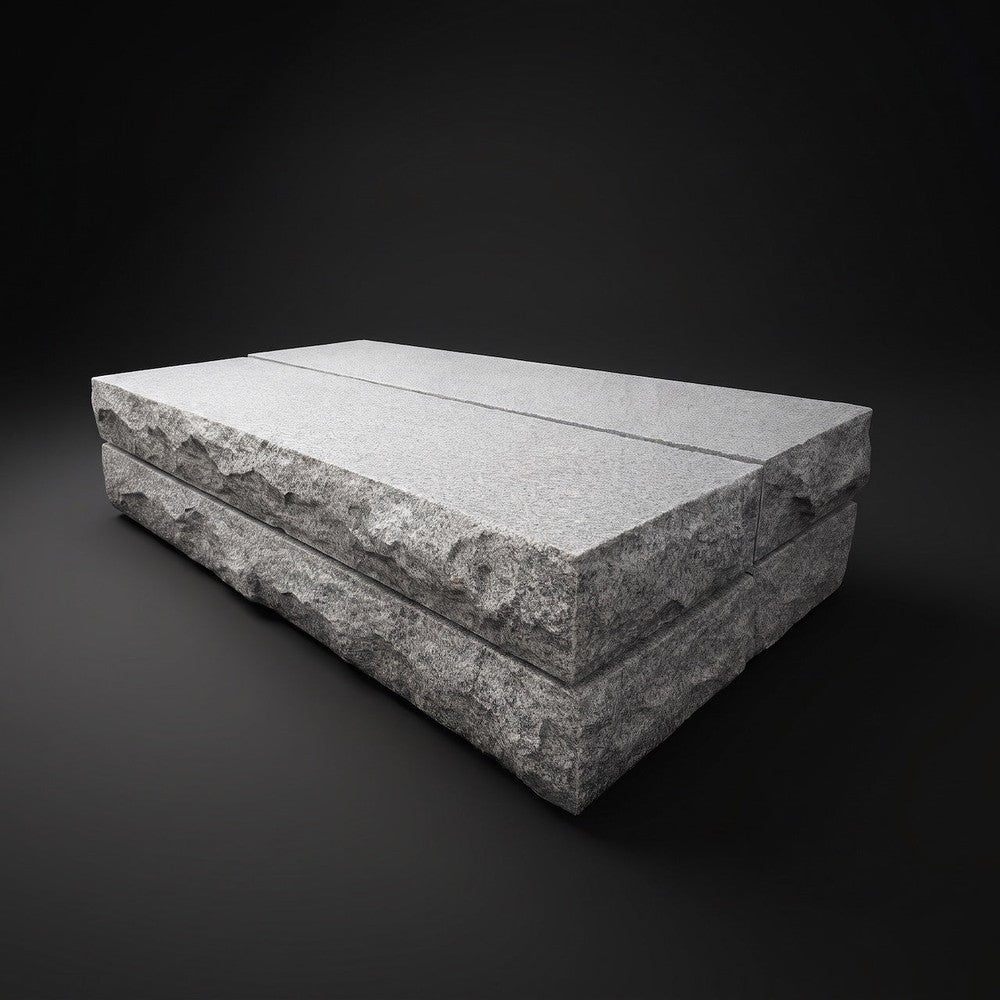
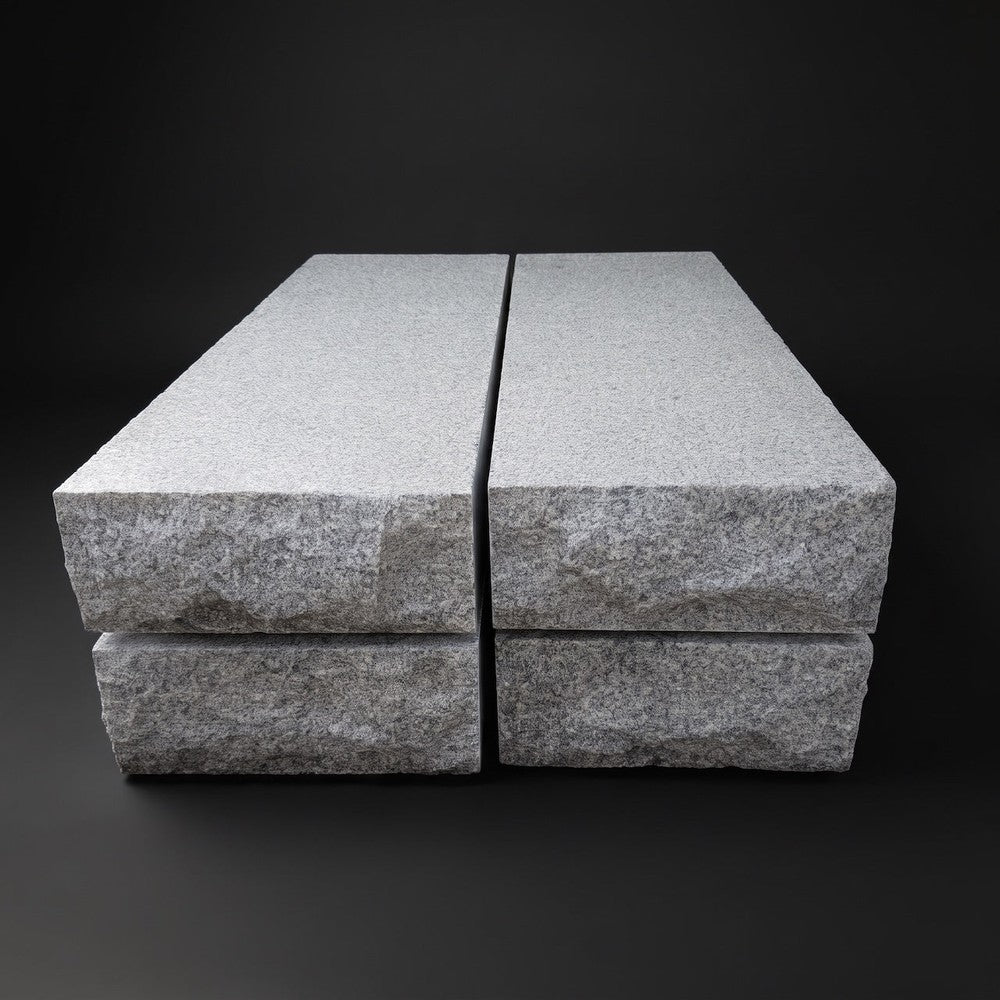
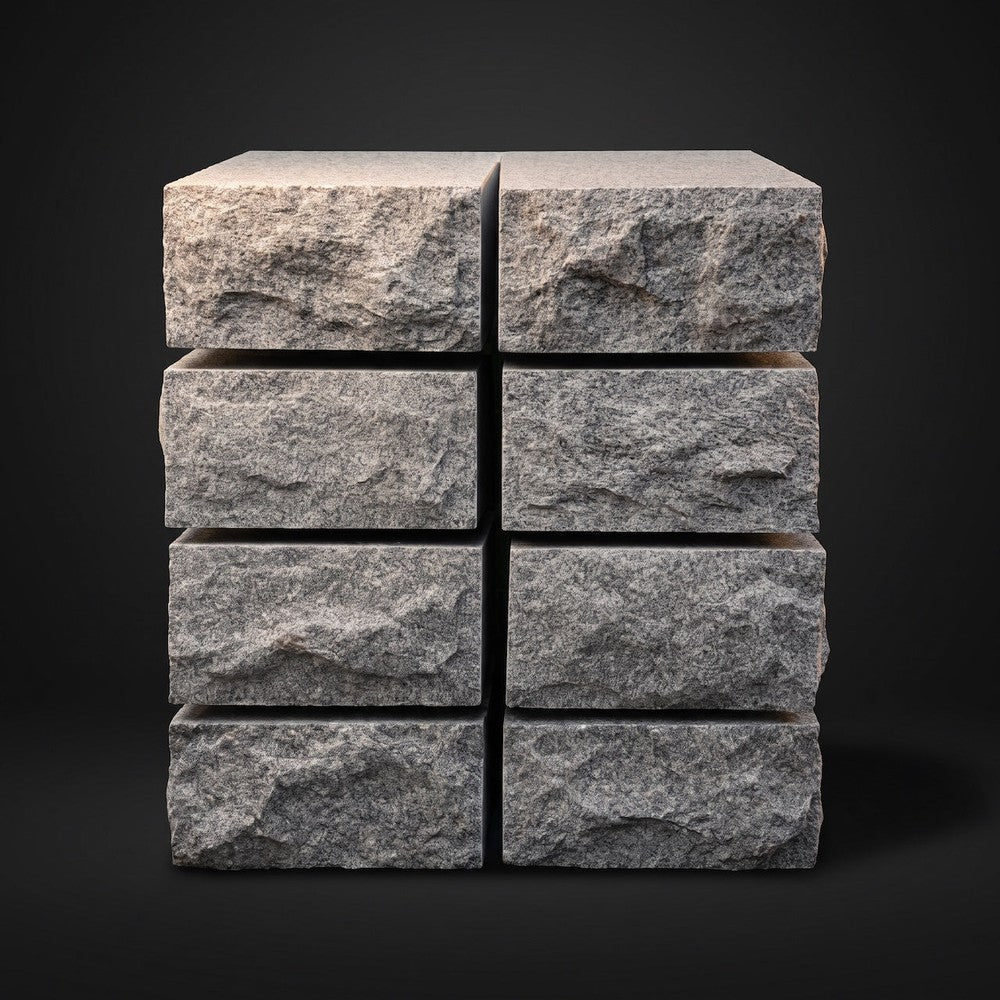
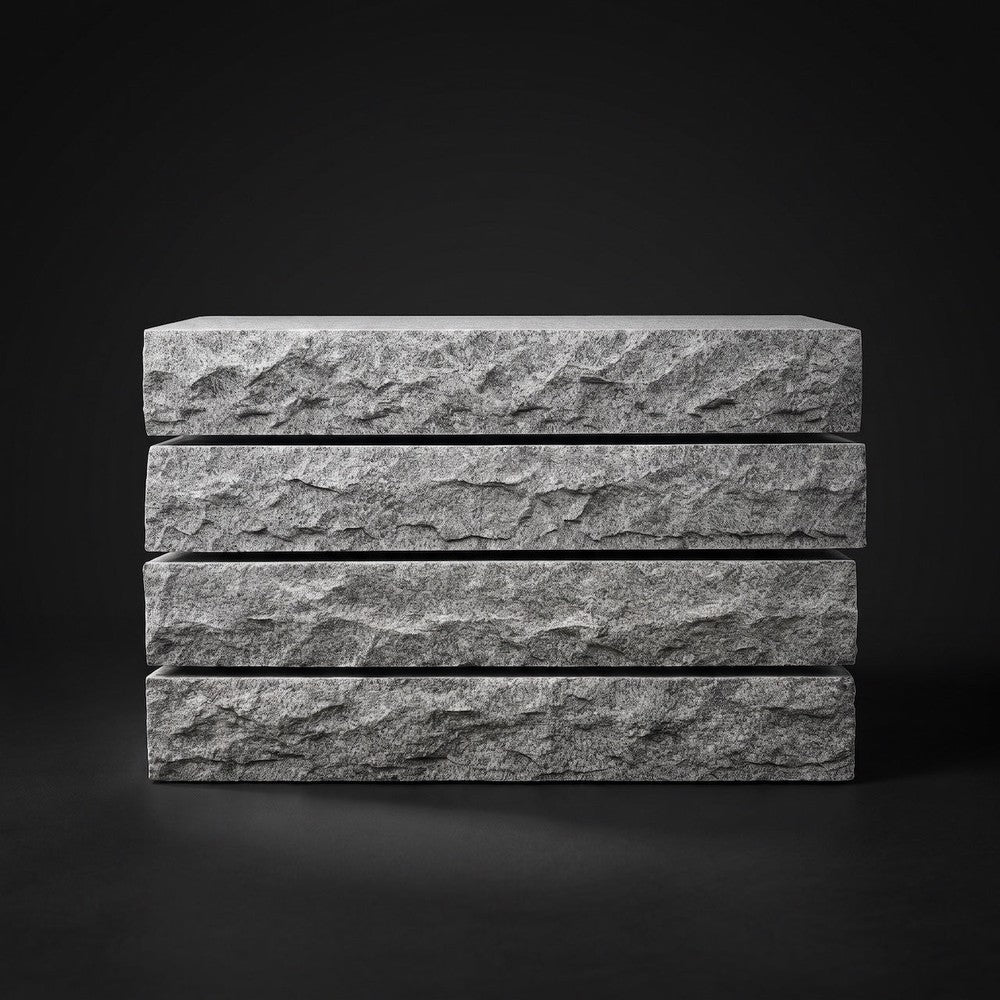
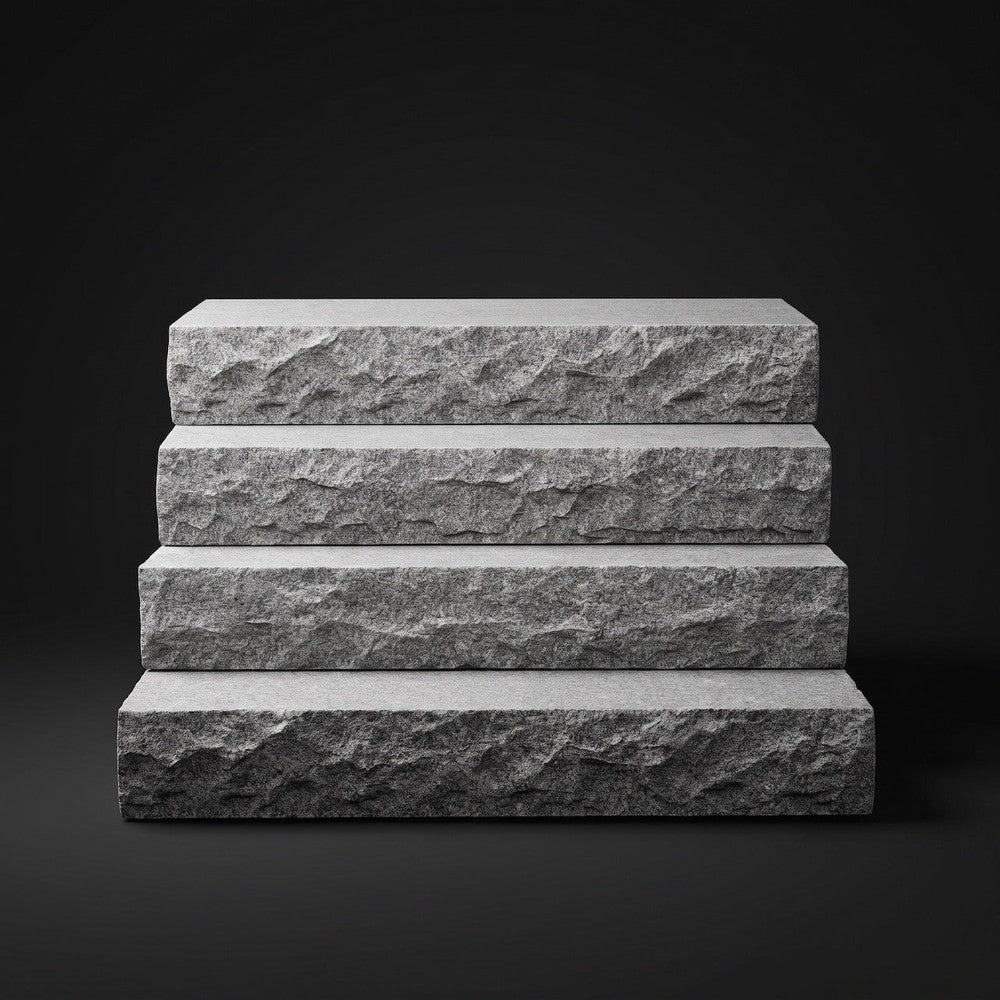
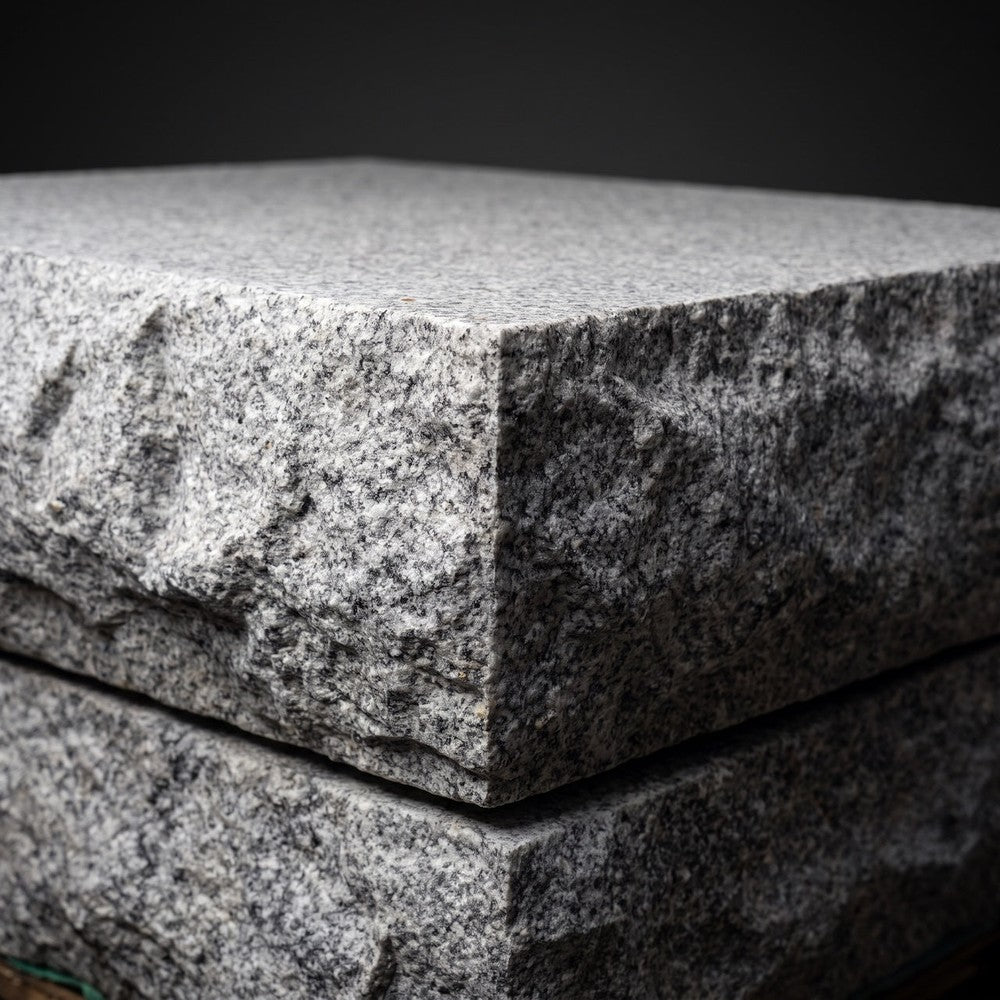

Our Granite Steps are crafted from the same premium grey granite as our Belgian Block cobblestones, offering a seamless and timeless look for any hardscape project. Sourced for durability and beauty, each granite step features a thermal top surface for added slip resistance, sawn top and bottom for uniform installation, and rock-faced edges that bring out the natural character of the stone.
Available in lengths from 3 to 6 feet and depths from 13 to 48 inches, these granite step treads are the ideal choice for exterior stairways, entryways, retaining walls, or any project that calls for a bold architectural element. With their substantial thickness and refined finish, our granite steps strike the perfect balance between rugged elegance and structural integrity.
Whether you’re building classic garden steps or enhancing the entrance to a commercial building, our grey granite step treads deliver unmatched durability, low maintenance, and timeless appeal.
Need help with layout and filler requirements? Check our Granite Step Planner.
Pictures are an indication only. Feel, look and color differ from item to item.



Share: