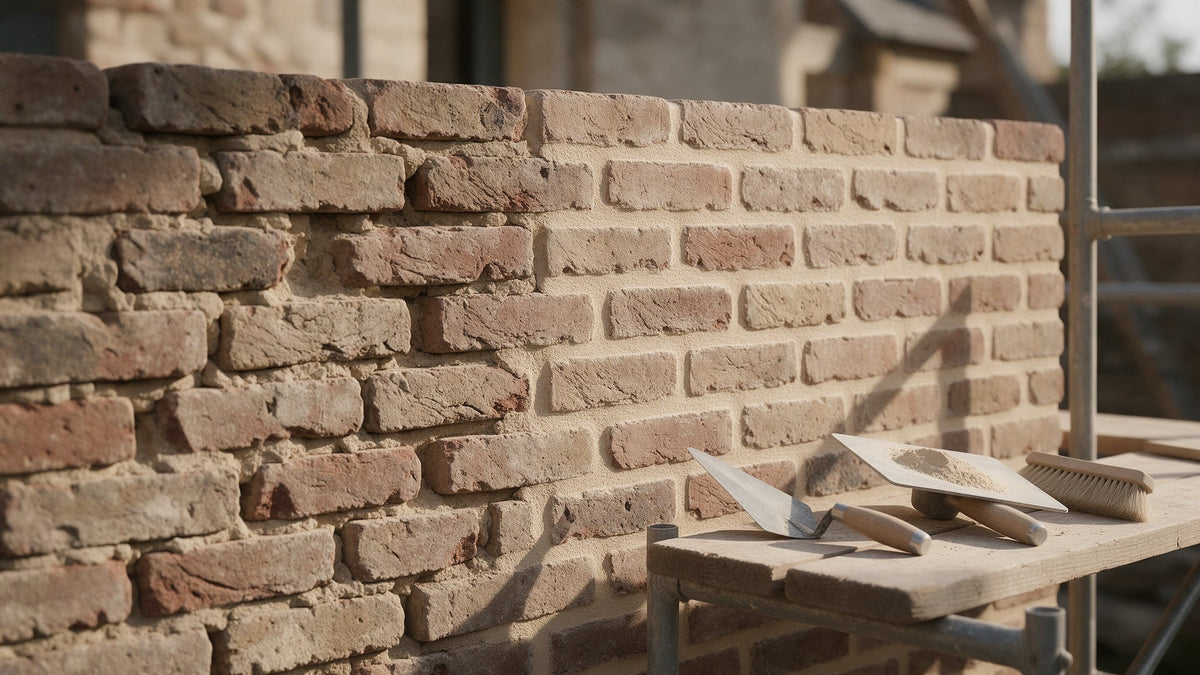
Reclaimed bricks can survive a lot. They handled decades of weather on their first building and still look good enough that you want them on your next one. But they are not invincible, and one thing can age them faster than anything else: the wrong mortar and the wrong approach.
Most problems with reclaimed brick do not come from the bricks themselves. They come from small decisions around mortar—using mixes that are too strong or too dense, rushing the prep, or finishing joints in a way that traps water and stress where it does not belong. The result shows up years later as cracking, spalling and repairs that are more expensive than they needed to be.
Maybe you are a homeowner building a garden wall with reclaimed bricks for the first time. You might be a mason who usually works with cement mortar and new brick. Or maybe you are repointing an old wall and want to get it right the first time.
This article walks through the most common mortar mistakes people make with reclaimed bricks and offers simple ways to avoid them. Think of it as a quick checklist to keep your bricks happy, your joints sacrificial and your wall looking like it belongs in the long run.
Table of Contents
- Mistake 1: Using Mortar That Is Too Strong
- Mistake 2: Ignoring Breathability and Moisture Paths
- Mistake 3: Aggressive Removal of Old Mortar
- Mistake 4: Bad Prep and Dusty Joints
- Mistake 5: Mixing and Curing Like It’s Ordinary Cement
- Mistake 6: Working in the Wrong Weather
- Mistake 7: Adding Cement or Other Additives
- Mistake 8: Cleaning the Wall Too Soon
- How to Set Yourself Up for Success
- Is It Worth Using Lime Mortar With Reclaimed Bricks?
Mistake 1: Using Mortar That Is Too Strong
The most common mistake with reclaimed brick is also the simplest: assuming “stronger is better.” It is an easy trap to fall into. A bag that promises extra strength sounds reassuring—until you remember that your bricks are older, softer and made for a different kind of mortar.
When mortar is much harder than the bricks around it, the wall loses its safety valve. Instead of minor cracks happening in the joints (where they can be repointed), they start happening in the bricks themselves. Over time, you see faces flaking off, corners popping and whole units starting to crumble under stress they were never meant to carry.
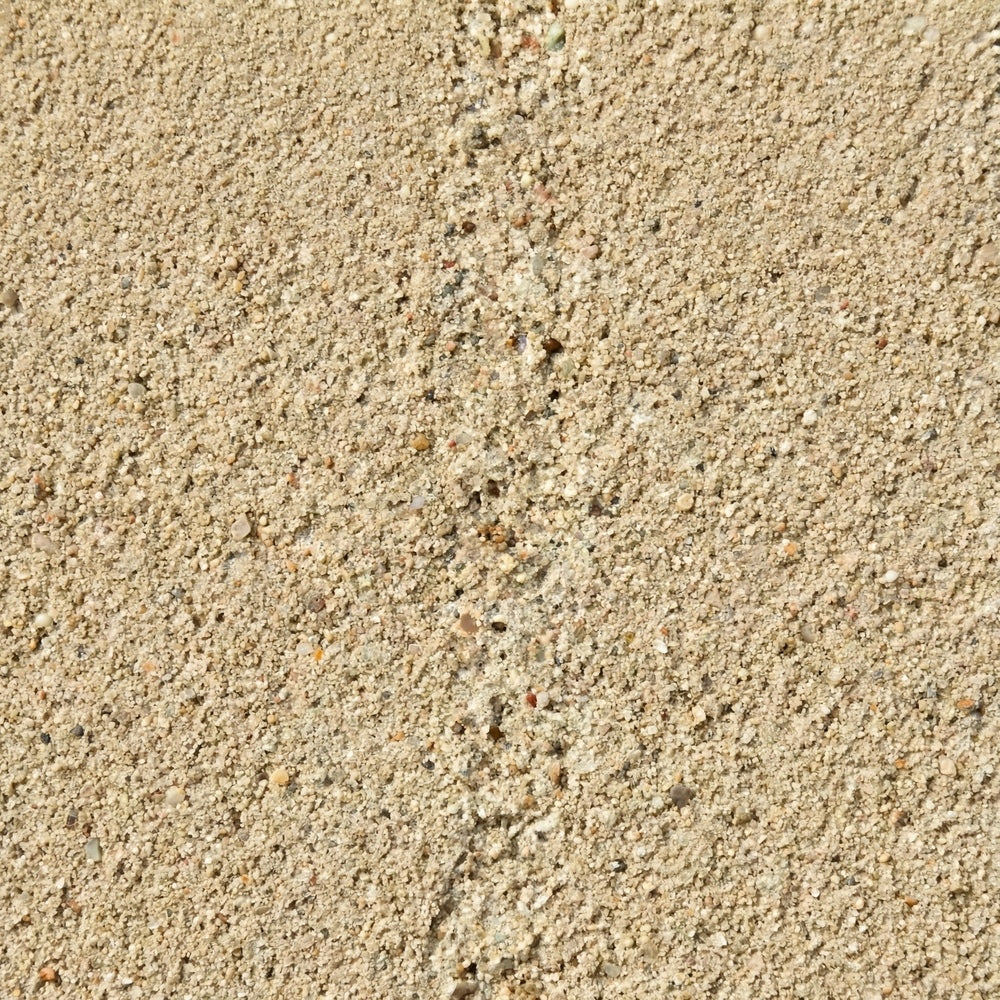
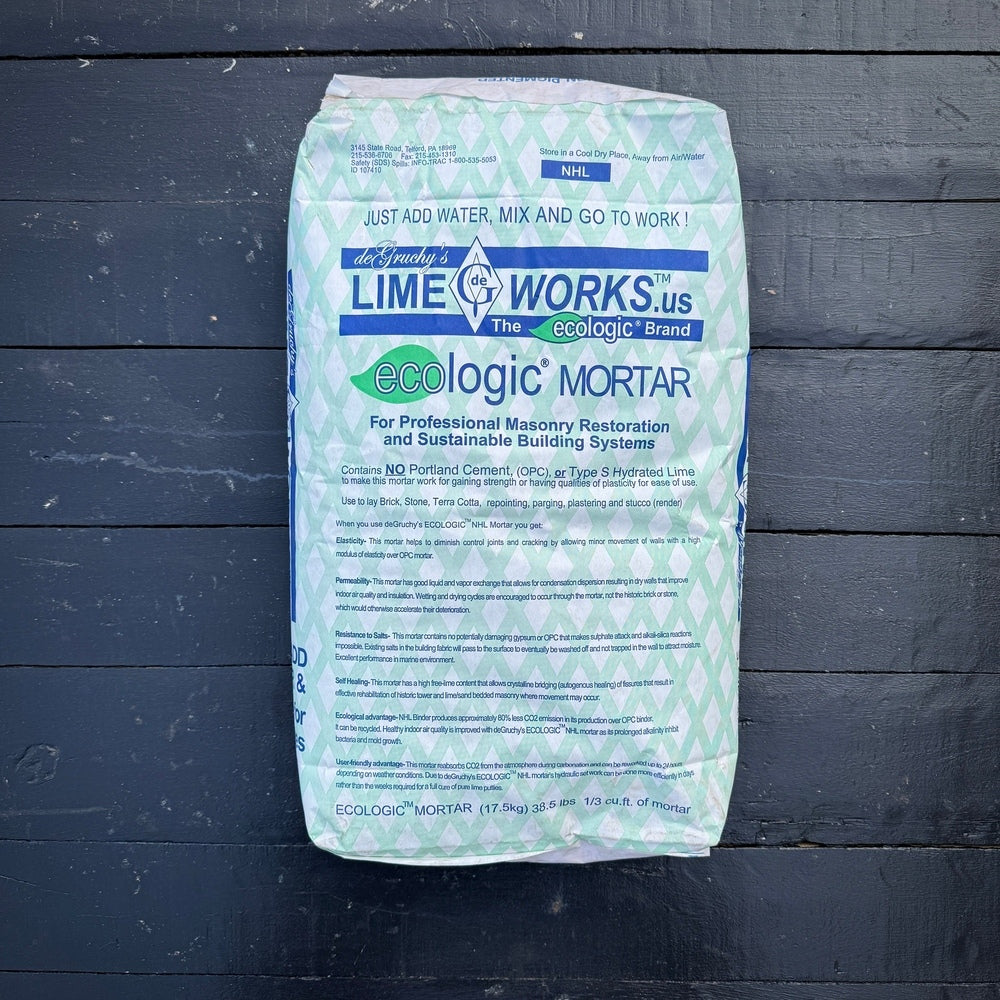
The fix is to flip the mindset. Mortar should be the sacrificial part of the system, intentionally a bit weaker and more forgiving than the reclaimed bricks. Choosing a lime-based mix, often in the NHL 3.5 range for many reclaimed projects, is one way to keep that balance in your favor. The Ecologic NHL 3.5 mortar we carry has a compressive strength of about 750 psi, in the same range as a Type N mortar.
Mistake 2: Ignoring Breathability and Moisture Paths
Bricks and mortar do more than hold up a wall; they manage water. In real life, rain, humidity and splash from grade all work their way into masonry. What happens next depends on how breathable your joints are.
Dense, non-breathable mortars tend to trap moisture in the wall. When temperatures drop, that trapped water expands as it freezes, and the pressure looks for an exit. On reclaimed bricks with worn faces and existing hairline cracks, that “exit” is often the surface of the brick itself, which starts to spall and scale away.
Breathable mortars, especially lime-rich and NHL-based mixes, act differently. They let vapor pass through, giving moisture a clear path out through the joints. That simple shift—joints as the easiest way out—turns the mortar into a pressure valve and keeps your reclaimed bricks from becoming the sacrificial layer.
Mistake 3: Aggressive Removal of Old Mortar
Before new mortar goes in, old mortar usually has to come out. This is where many reclaimed brick projects go sideways. Power grinders, hammer drills and heavy-handed chipping can do more damage in a weekend than a century of weather ever did.
The problem is that reclaimed bricks do not have a lot of extra material to give. Their edges are already softened, and their faces may be slightly friable. A spinning disc or a wide chisel can easily scar the arrises, remove the protective fired surface and leave permanent burn marks or gouges.
A better approach is slower and more deliberate: hand tools, narrow chisels, careful blows and attention to the joint rather than the brick. It takes more time, but it keeps the wall’s character intact and gives the new mortar a clean, well-shaped cavity to bond to.
Depth matters too. Rake joints to at least 1.5 times their width and never less than 3/4", until you reach sound mortar, and keep the back of the joint square. Shallow joints give the new mortar too little grip and fail early.
Mistake 4: Bad Prep and Dusty Joints
Another quiet way to sabotage reclaimed brickwork is to rush through prep. Even a perfectly chosen mortar cannot perform if it is sitting on a bed of dust and loose crumbs. That is when you see joints debond, crack early or flake out long before their time.
Good prep is simple but non-negotiable. After removing old mortar, joints need to be brushed out thoroughly so the sides and back are clean and solid. Any loose material should be gone. For many reclaimed walls, a final pass with a stiff brush or a gentle vacuum attachment is enough to take the joint from “looks fine” to “ready to bond.”
Skipping this step might not show up immediately, but it will show up. Weak bonds mean the mortar gets blamed for failures that were really caused by what was left behind in the joint.
Mistake 5: Mixing and Curing Like It’s Ordinary Cement
Lime-based mortars, including NHL 3.5 blends, do not like to be treated exactly like standard cement mixes. They are more forgiving in some ways, but they also ask for more attention around water and curing. This is good news if you know what to watch for—and a problem if you do not.
On the mixing side, too much water is a common issue. A soupy mix is easier to spread at first but dries weak and overly porous. On the curing side, allowing fresh joints to dry too fast in hot sun or wind can lead to surface crazing, chalky skins and reduced strength deeper in the joint.
The antidote is simple: follow the recommended water ratios and protect fresh work from extremes. With our Ecologic NHL 3.5, start with about half a gallon of water per bag, mix for a full five minutes, and add more water only if the mix is still too stiff. Mix only what you can use in about an hour. Before you lay or point, wet the wall and wait until no water is standing on the surface. After, cover the work with damp burlap held off the wall and mist it twice a day for the first three days, more often in sun or wind. Our step-by-step mortar instructions cover every stage.
Mistake 6: Working in the Wrong Weather
Lime mortar is patient, but it is not tough while it is fresh. Lay or point only when temperatures stay between 40°F and 85°F, from 24 hours before you start until 72 hours after you finish. Fresh lime mortar must never freeze, and in hot sun it can dry out before it has a chance to set.
Spring and fall are usually the easiest seasons. If a winter job cannot wait, plan for covers and gentle heat, or read the cold-weather guide in Mortar for New York Reclaimed Bricks before you start.
Mistake 7: Adding Cement or Other Additives
It is tempting to throw a shovel of Portland cement into a lime mix to “toughen it up,” or to reach for an accelerator or antifreeze on a cold day. Both undo the reasons you chose lime in the first place. Cement makes the joint harder and less breathable, and additives interfere with how lime cures.
A pre-blended NHL 3.5 mortar is already balanced. Water is the only thing it needs.
Mistake 8: Cleaning the Wall Too Soon
Wiping wet mortar off the brick faces with a sponge feels tidy, but it smears lime into the pores of the brick and leaves a haze. Let crumbs and smears firm up, then brush them off with a dry natural-bristle brush once the joints are thumbprint hard.
The same patience applies afterward. Lime mortar takes about 28 days to cure fully. Hold off on pressure washing, sealing or acid cleaners until then.
How to Set Yourself Up for Success
Avoiding common mistakes is half the battle. The other half is building a small set of habits into every reclaimed brick project so the wall is set up to age well from day one.
Here are a few simple principles to keep in your back pocket:
- Choose mortar for compatibility, not just strength—slightly softer and more breathable than the reclaimed bricks.
- Remove old mortar with care, using hand tools and aiming for clean, squared joints without scarring brick edges.
- Clean joints thoroughly and pre-dampen the wall, then wait until no water is standing before you start.
- Mix with water only, in batches you can use within about an hour.
- Work between 40°F and 85°F, and keep fresh mortar damp and protected for the first three days.
- Build a small test panel before committing to the whole wall.
None of these steps are complicated. Together, they are the difference between a wall where the joints quietly take the hits and one where the bricks pay the price. If you are renewing joints on an existing wall, our guide on how to repoint reclaimed brick with NHL 3.5 walks through the full process, and Why Reclaimed Bricks Need Different Mortar Than New Bricks explains the reasoning behind lime.
Is It Worth Using Lime Mortar With Reclaimed Bricks?
For almost every reclaimed brick wall, yes. Old bricks are softer and more porous than modern ones, and a breathable lime mortar lets the joints take the stress and the moisture instead of the bricks. That is what keeps a wall looking good for decades instead of spalling within a few winters.
It does ask for a little more care: the right weather, slower curing, and patience before cleaning. Those habits are easy to learn, and they protect the investment you made in the bricks.
Ecologic NHL 3.5 mortar ships nationwide from our yard in Nanuet, NY. One 38.5 lb bag lays about 30 bricks with 1/2" joints. Add it to your cart and enter your address for a shipping quote. If it looks too high, call us at (718) 379-1232; we sometimes have alternative ways to get your order to your door for a more reasonable price. You can also see our reclaimed New York bricks in person at the yard; no appointment is needed, but if you call ahead at (718) 379-1232, we will make sure you get our full attention.

Share: