
Granite Belgian blocks instantly give any driveway, walkway, or garden edge that solid, timeless look. They’re heavy, durable, and beautiful, but they’re also unforgiving if you install them wrong. So the big question is simple: should you roll up your sleeves and tackle the job yourself, or is this one of those projects that really belongs in a professional’s hands?
Let’s walk through what DIY actually looks like, what pros do differently, where the real costs hide, and how to decide which route makes sense for your project and your comfort level.
Table of Contents
- Why Granite Belgian Blocks Are Worth the Effort
- What DIY Installation Really Involves
- When DIY Makes Sense
- What Professionals Do Differently
- The True Costs: DIY vs Professional Installation
- How to Choose the Right Route for Your Project
- Common Mistakes to Avoid Either Way
Why Granite Belgian Blocks Are Worth the Effort
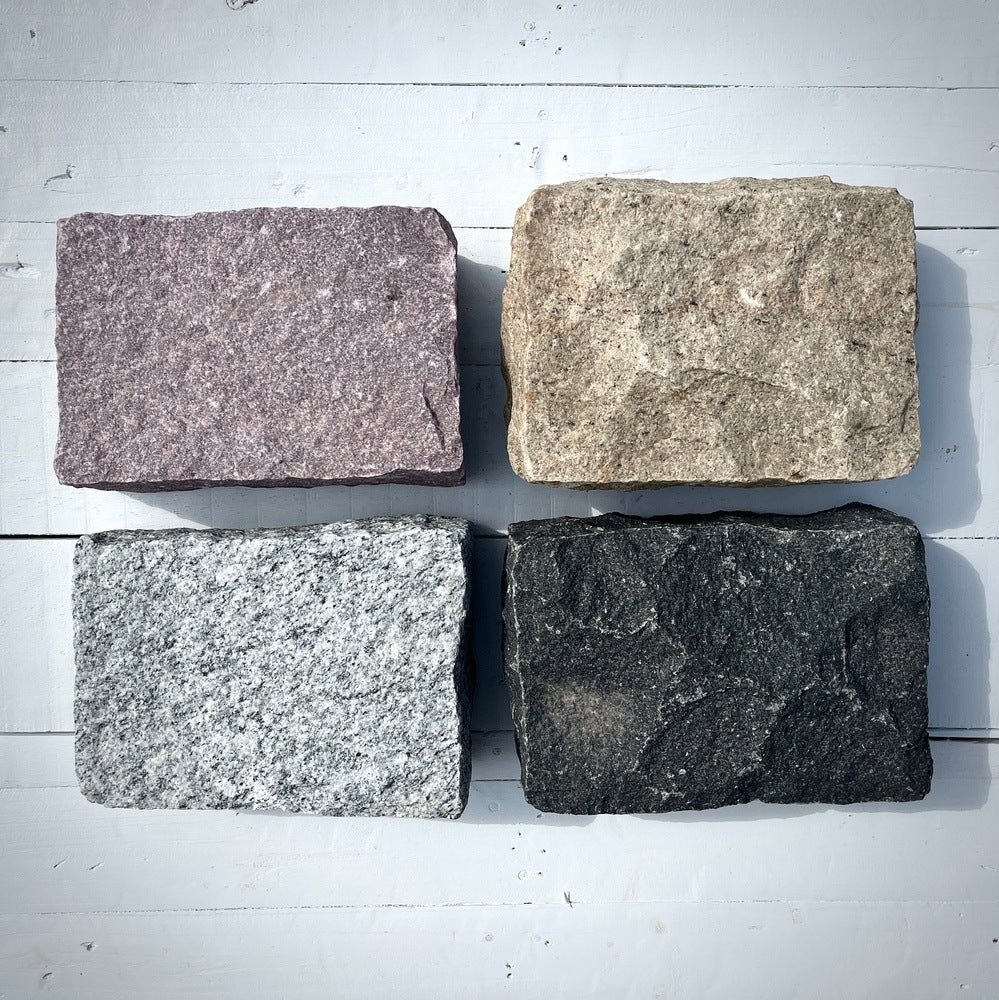
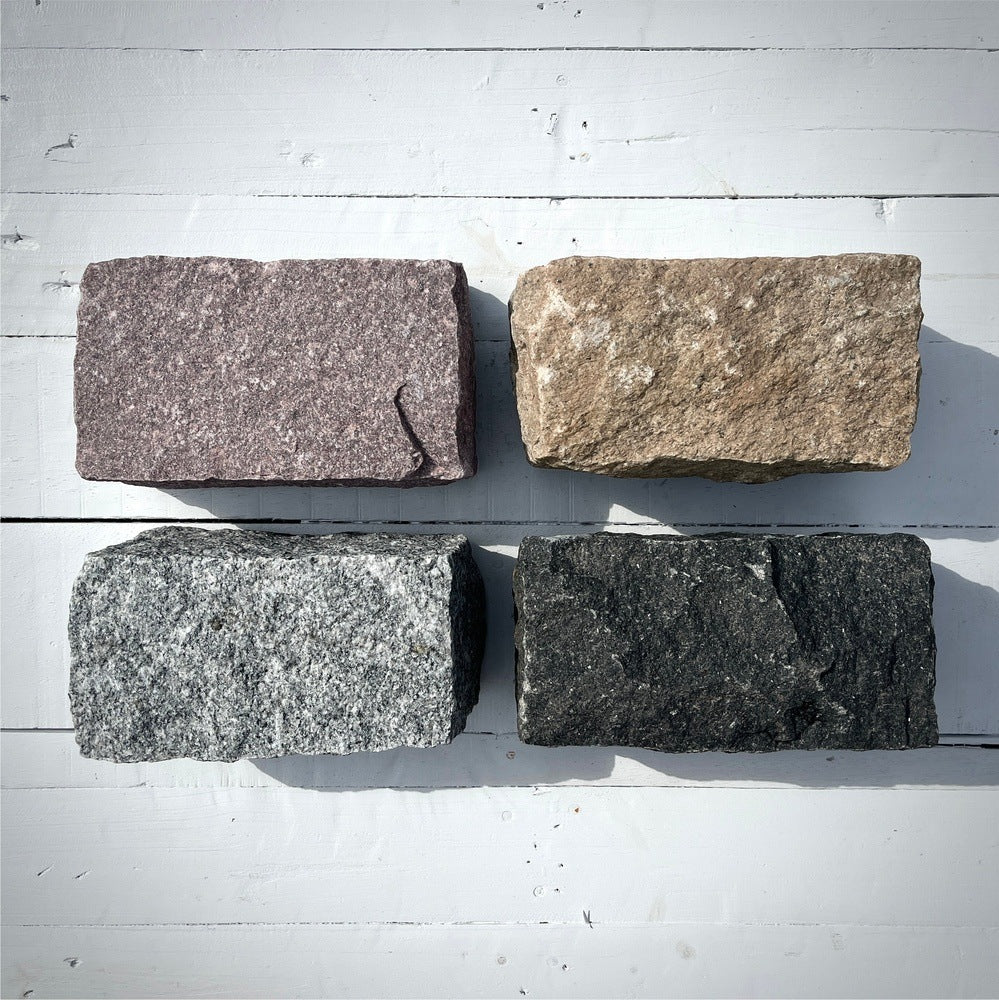
Granite Belgian blocks are essentially oversized, rough‑cut granite cobbles. They’re incredibly dense and resistant to weather, de‑icing salts, tire wear, and everyday abuse. Unlike poured concrete or plastic edging that can crack, heave, or shift after a few seasons, a properly installed line of granite blocks is built to outlast most other parts of your landscape.
That durability comes with a catch: the blocks themselves are only as good as the base beneath them. If the foundation is sloppy or rushed, you’ll see it in the form of wavy lines, leaning stones, and joints that open up over time. That’s exactly why the decision between DIY and hiring a professional matters so much.
What DIY Installation Really Involves
A lot of people picture DIY Belgian block edging as “dig a shallow trench, drop in some stones, and call it a day.” The reality is closer to a small construction project. Even for a simple border, you’re looking at careful layout, excavation, base prep, and a lot of lifting.
Typical DIY steps
- Planning and layout: Measuring the line, marking curves, accounting for slopes and drainage, and calculating how many blocks you actually need.
- Excavation: Digging a trench deep and wide enough to hold a compacted gravel base, a bedding layer, and the blocks themselves at the finished height you want.
- Base preparation: Adding and compacting layers of crushed stone, then adding a bedding layer of sand or mortar, depending on the installation method you choose.
- Setting the blocks: Placing each block by hand, checking alignment, keeping a straight or smooth line, and maintaining a consistent top height as you go.
- Joint filling and final compaction: Sweeping sand or mortar into the joints, compacting, and making final adjustments.
The work is repetitive and physical. You’ll be moving dozens or hundreds of heavy blocks, managing wheelbarrows of gravel, and spending a lot of time on your knees with a level in hand. If you enjoy hands‑on projects and already own some basic tools, that can be satisfying. If not, it can quickly feel overwhelming.
When DIY Makes Sense
DIY installation can be a smart choice in the right conditions. The key is to be honest about your skills, tools, and the scope of the project. Not every job needs a full crew and a truckload of equipment, but some definitely do.
Good candidates for DIY
- Short, simple borders: Garden edges, small walkways, or a short stretch of driveway edging with gentle curves or straight lines.
- Non‑structural projects: Decorative borders that won’t be supporting vehicle loads or holding back large amounts of soil.
- Homeowners with some experience: Anyone comfortable with basic excavation, using a compactor, and reading a level will be far more successful.
- Flexible timelines: If you can spread the work over a few weekends, the physical labor is easier to manage.
What you’ll need for DIY
- Layout tools (tape measure, string line, stakes, spray paint).
- Digging and base tools (shovel, rake, tamper or plate compactor).
- Setting tools (rubber mallet, level, possibly a saw with a stone blade for cuts).
- Materials (crushed stone, sand or mortar, the granite Belgian blocks themselves).
If you have to rent or buy most of this equipment, the “savings” on labor can shrink quickly. It still may be worth it for the learning experience and the satisfaction of doing the work yourself, but it’s important to run the numbers ahead of time.
What Professionals Do Differently
Professional installers approach granite Belgian blocks as a long‑term hardscape system, not just a decorative trim. The biggest difference is in how seriously they treat the foundation. That’s what keeps the line straight, the surface smooth, and the blocks locked in place for years.
Key advantages of hiring a pro
- Consistent base preparation: Pros know how deep to excavate for your soil conditions, how much crushed stone to use, and how to achieve proper compaction and drainage.
- Clean lines and smooth curves: Experienced crews can keep long stretches straight and curves flowing naturally, even with irregular‑shaped granite blocks.
- Speed and efficiency: What might take a DIYer several weekends can often be completed by a team in a fraction of the time.
- Access to tools and materials: Plate compactors, masonry saws, and delivery equipment are standard for installers, which reduces delays and material waste.
- Workmanship warranties: Many contractors back their work for a set number of years, giving you some security if issues arise.
Professionals are especially valuable for more demanding applications – like driveway aprons, full driveways, steep slopes, or areas exposed to frequent vehicle traffic. These projects put a lot more stress on the installation, and a weak base will show its flaws quickly.
The True Costs: DIY vs Professional Installation
On paper, DIY almost always looks cheaper: you’re not paying labor, just materials and tool costs. In reality, the comparison is more nuanced. You have to account for your time, tool rentals, potential mistakes, and the cost of fixing (or redoing) a project that doesn’t hold up.
Where DIY can save
- Labor cost: You’re investing your own time instead of paying a crew by the hour or by the meter.
- Small projects: Short runs of edging or simple borders can be completed with fewer materials and shorter rental periods.
- Reusing materials: If you source reclaimed blocks or already have base materials on site, your material costs drop even further.
Hidden costs to watch for
- Tool rentals that stretch over multiple weekends if the job takes longer than planned.
- Ordering extra material to compensate for mistakes or miscalculations.
- Repairs if blocks shift, lean, or sink after the first winter.
Professional installation, on the other hand, is usually a higher upfront investment. But that cost often includes design help, proper base work, cleanup, and a warranty. When you spread that investment over the lifespan of the installation, the “cost per year” can be more competitive than it looks at first glance.
How to Choose the Right Route for Your Project
Instead of asking “Is DIY cheaper?” a better question is “What am I willing to take responsibility for?” If you’re comfortable owning every part of the process – from layout to compaction to final alignment – then DIY can be a rewarding project. If not, hiring a pro might actually be the more affordable decision in the long run.
Questions to ask yourself
- Is this purely decorative, or will it need to handle vehicles and heavy loads?
- How long is the run of edging, and how complex is the layout?
- Do I have the physical ability and time to move and set every block myself?
- Am I comfortable renting and safely using heavier equipment?
- How important are perfectly straight lines and long‑term stability to me?
If you feel confident answering “yes” to most of these and your project is modest in size, DIY is a realistic option. If you’re hesitating, talking with a professional installer and getting a detailed quote will give you a clearer picture of what you’d be taking on alone.
Common Mistakes to Avoid Either Way
Whether you do the work yourself or bring in a crew, the same core principles apply. The blocks are only as good as the base, and shortcuts always show up later. Knowing the most common mistakes helps you spot potential issues early.
Typical errors in DIY projects
- Shallow excavation: Not digging deep enough for a proper base, which leads to heaving, shifting, or sinking.
- Skipping compaction: Leaving loose soil or stone under the blocks, which compresses over time and ruins your level line.
- Inconsistent heights: Setting blocks without constantly checking with a level, creating a wavy appearance.
- Poor drainage: Forgetting to pitch the line slightly so water doesn’t sit against the blocks or your driveway.
What to expect from a good pro
- A clear explanation of how they’ll prepare the base and manage drainage.
- Details on the installation method (dry‑laid, mortar‑set, or concrete base) and why it suits your project.
- A realistic timeline and transparent pricing.
- Photos of past granite Belgian block work or references from previous clients.
In the end, granite Belgian block edging is a long‑term upgrade. Whether you install it yourself or hire a professional, the goal is the same: a clean, solid line of stone that still looks great many seasons from now. Choosing the approach that matches your skills, time, and expectations is the best way to get there.

Share: