
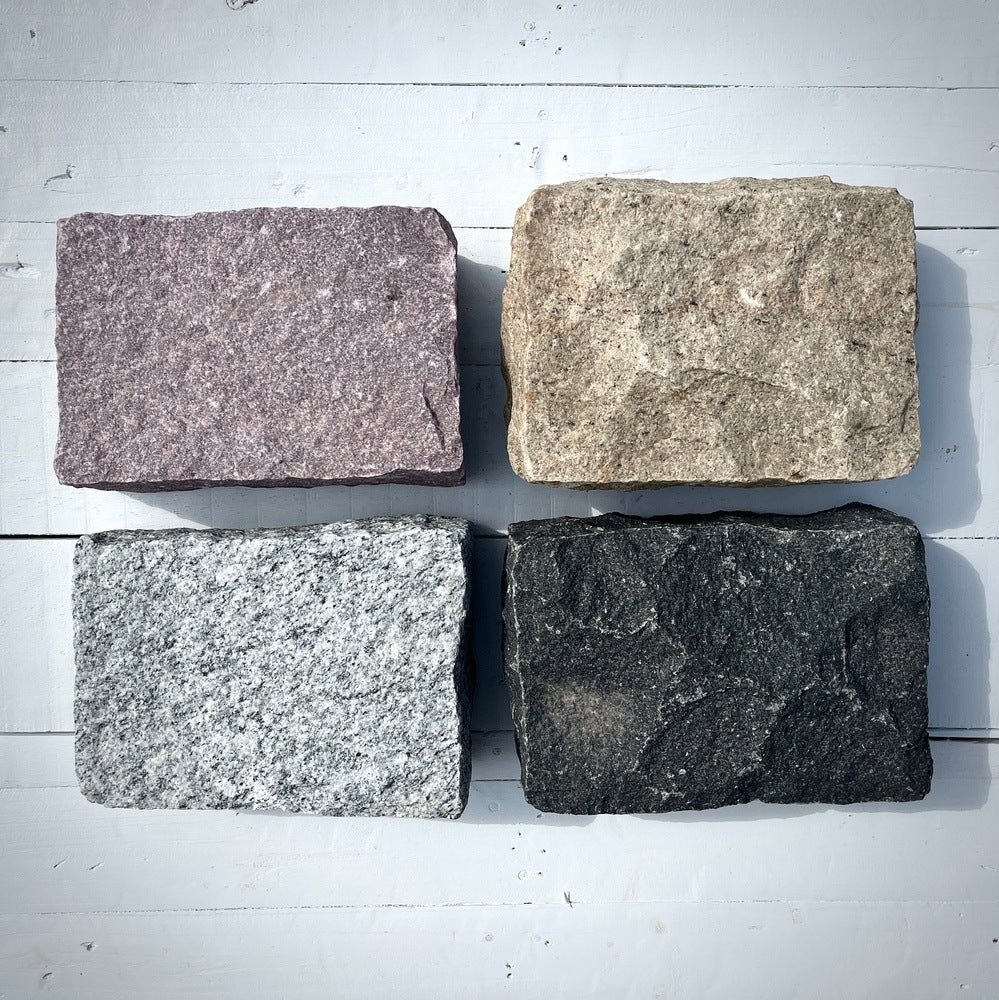
Granite Belgian blocks are one of those materials that look like they’ve always been there. Set in a clean line along a driveway, they instantly make the whole entrance feel more finished, more solid, and frankly, more expensive. The good news: with the right prep and a bit of patience, you can get that look without rebuilding the entire driveway.
This guide walks you through a practical, step‑by‑step approach to installing granite Belgian block driveway edging — from layout and excavation to base prep, setting the stones, and finishing the joints — so your new border doesn’t just look good on day one, but keeps its shape through freeze‑thaw cycles and daily traffic.
Table of Contents
- Why Granite Belgian Block Edging Matters
- Infographic
- Step 1 – Plan and Measure Your Driveway Edge
- Step 2 – Gather Tools and Materials
- Step 3 – Excavation and Edge Preparation
- Step 4 – Build a Solid Base
- Step 5 – Set and Level the Granite Belgian Blocks
- Step 6 – Finish Joints, Backfill, and Clean Up
- Long‑Term Maintenance Tips
- Common Mistakes to Avoid
Why Granite Belgian Block Edging Matters
Driveway edges take a beating: tires roll off the side, water runs along them, and soil tends to crumble into the pavement. Without a solid border, even a new driveway can start to look ragged in just a few seasons. Granite Belgian blocks solve all of that at once.
The blocks act as a permanent curb that keeps asphalt or pavers in place, protects the edge from crumbling, and gives you a crisp line to landscape against. Because they’re carved from dense granite, they shrug off road salts, temperature swings, and occasional bumps from tires better than almost any other edging material.
Infographic

Step 1 – Plan and Measure Your Driveway Edge
Before you touch a shovel, you want a clear plan. Walk the full length of the driveway and decide where the edging starts, where it ends, and how it handles curves, flares, and transitions to walkways or street.
Layout and measurements
- Define the line: Use marking paint or a tight string line along the existing driveway edge to visualize the finished curb.
- Decide your reveal: Choose how much of the block will sit above the driveway surface — enough to define the edge, but not so high that it becomes a hazard.
- Measure the run: Measure the full length of each side you plan to edge, then divide by the average block length plus joint gap to estimate quantity.
- Account for cuts: Add extra blocks for cuts at corners, curves, or tight transitions.
A few minutes with a tape measure and string line here saves you from last‑minute runs for more stone or awkward gaps at the end of the run.
Step 2 – Gather Tools and Materials
Installing granite Belgian block driveway edging is straightforward work, but it does demand the right tools and a firm base. Having everything on site before you start makes the process much smoother.
Basic tools
- Measuring tape, string line, stakes, and marking paint.
- Flat shovel, trenching spade, and a sturdy rake.
- Hand tamper or plate compactor for base compaction.
- Rubber mallet and a 600–1200 mm level.
- Masonry saw or angle grinder with a stone blade (for cuts).
- Wheelbarrow, buckets, and a stiff broom.
Materials
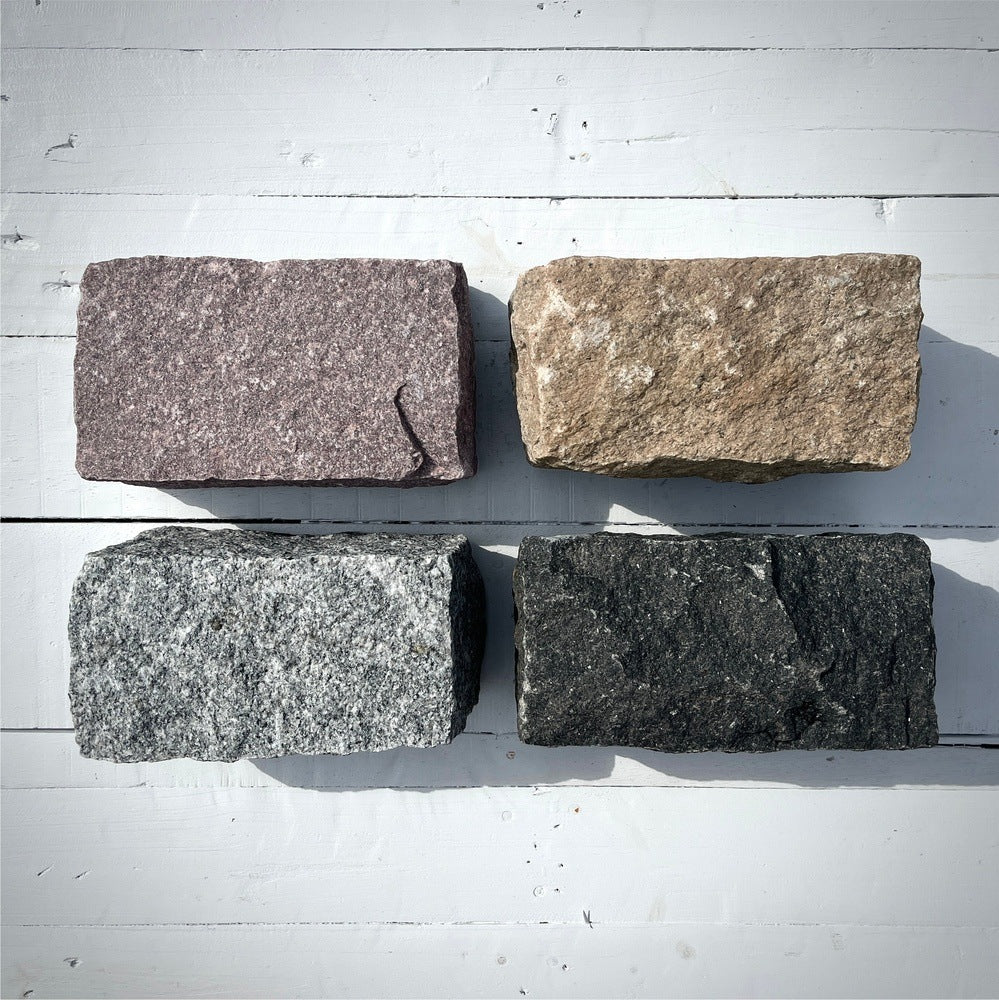
- Granite Belgian blocks sized for driveway edging (often “jumbo” or "regulation" size pieces).
- Crushed stone or gravel for the base (well‑graded, compactable material).
- Sharp sand and/or a concrete or mortar mix, depending on installation method.
- Jointing material: sand, mortar, or polymeric sand for the top joints.
- Topsoil and mulch or gravel for the landscape side of the curb.
Choosing dense, quality granite blocks and a proper base material is what turns this from a quick visual upgrade into a long‑term hardscape investment.
Step 3 – Excavation and Edge Preparation
Most failures with driveway edging come from shortcuts below the surface. A well‑cut trench and clean edge give you room to build a base that actually supports the stones.
Cut and clear the edge
- Score the line: If you’re edging an existing asphalt driveway, cut a clean line using a saw so the edge is straight and stable.
- Excavate the trench: Dig a trench along the edge that is slightly wider than the blocks and deep enough to hold a compacted base, bedding layer, and roughly half the block buried below finished grade.
- Allow for base thickness: Many installations use at least 100–150 mm of compacted crushed stone under the blocks, plus a bedding layer.
Keep the trench consistent in depth as you go. Small variations get amplified once you start setting blocks, so it’s worth taking the time to check with a level and adjust as you dig.
Step 4 – Build a Solid Base
Think of the base as the foundation of a wall. The blocks are just the visible part. If the base is soft or uneven, you’ll see it in wavy lines, tilted stones, and gaps opening over time.
Layer and compact
- Add crushed stone: Place the base material in lifts (for example, 50–75 mm at a time) so each layer can be compacted properly.
- Compact thoroughly: Use a hand tamper for shorter runs or a plate compactor for longer driveways. The base should feel firm underfoot, without “spongy” spots.
- Shape the bed: Rake the surface to match the pitch of the driveway so water flows away rather than pooling against the blocks.
- Add a bedding layer: Depending on your method, add a thin layer of sand for a flexible installation or prepare a shallow concrete or mortar bed for a more rigid curb.
Well‑compacted stone and a flat, pitched bedding layer are what let you set a straight, level course of granite blocks and keep it that way season after season.
Step 5 – Set and Level the Granite Belgian Blocks
With the base ready, it’s time for the most visible part of the project: setting the stone. This is where patience pays off. Small adjustments in the first few blocks set the tone for the entire run.
Dry layout and first course
- Dry fit a few blocks: Lay out several blocks without bedding to check spacing, joint size, and how they follow the driveway line.
- Set a reference string: Run a tight string line at the finished top height and face line of the blocks to guide your work.
- Bed the first block: Place the first block into the bedding layer, gently tap with a mallet, and check both level and alignment to the string line.
Continue along the driveway
- Work one block at a time, pressing each into the bed and tapping it into place so the top matches the string and adjacent stones.
- Keep joints consistent; slightly tight joints often look best with granite Belgian blocks, even when the faces are irregular.
- Check level frequently across the driveway and along the run. Adjust by adding or removing bedding material under individual blocks.
- At curves or flares, rotate each block slightly to follow the line, and make cuts only where necessary to avoid awkward gaps.
By the time you reach the end of the run, you want a smooth, continuous line that looks like it was set all at once, not a series of starts and stops.
Step 6 – Finish Joints, Backfill, and Clean Up
Once all blocks are set and you’re happy with the alignment, it’s time to lock everything together. The joint treatment and backfill protect the base, help shed water, and give the edging its finished look.
Secure and fill joints
- Lock the back of the curb: For rigid installs, pack concrete or mortar against the back of the blocks in the trench, sloping it away from the driveway to encourage drainage.
- Fill top joints: Sweep sand, polymeric sand, or mortar into the joints between blocks and between the blocks and driveway surface, depending on your chosen system.
- Compact and top up: Gently tap the tops with a mallet, refill any joints that settle, and brush off excess material.
Backfill and landscape
- Backfill the outer side of the trench with compacted soil or gravel up to the back of the blocks.
- Shape the grade so water flows away from both the driveway and the curb.
- Finish with mulch, plantings, or decorative stone to tie the new edging into the rest of your landscape.
A final rinse to remove dust from the granite faces and a careful sweep of the driveway surface is usually all it takes to make the new edging look like it has always belonged there.
Long‑Term Maintenance Tips
One of the main reasons people choose granite Belgian blocks is that they age gracefully. A bit of patina just makes them look better. Still, a few simple habits will keep the border performing at its best.
- Inspect after the first winter and refill any joints that have washed out or settled.
- Keep soil and mulch slightly below the top of the blocks to prevent organic buildup and staining.
- Avoid aggressive snowplow blades scraping directly against the granite faces.
- Occasionally rinse off de‑icing products and dirt to keep the stone looking clean.
With a solid base and minimal upkeep, your driveway edging becomes a long‑term upgrade rather than another line item on your maintenance list.
Common Mistakes to Avoid
Most problems with driveway edging show up months or years after installation, when the weather and traffic have had time to test the work. Knowing the usual trouble spots up front helps you avoid them.
- Shallow trenches: Not burying enough of each block or skimping on base depth leads to movement and leaning over time.
- Skipping compaction: Leaving base layers loose so they compress later and throw off your carefully set heights.
- No drainage pitch: Setting the curb dead‑level so water sits against the driveway instead of moving away.
- Rushing alignment: Ignoring the string line and level, which creates wavy, uneven edges that are hard to unsee once the project is finished.
If you’d rather avoid those headaches entirely, this same sequence of steps is exactly what a good installer will follow — just with a crew, heavier equipment, and the benefit of repetition. Either way, a properly installed granite Belgian block edge turns your driveway into a defined, durable entrance that looks and feels intentional every time you pull in.

Share:
Styles of Driveway Edging & Aprons with Granite Belgian Blocks
What Are Granite Belgian Blocks? History, Uses, and Lasting Curb Appeal