
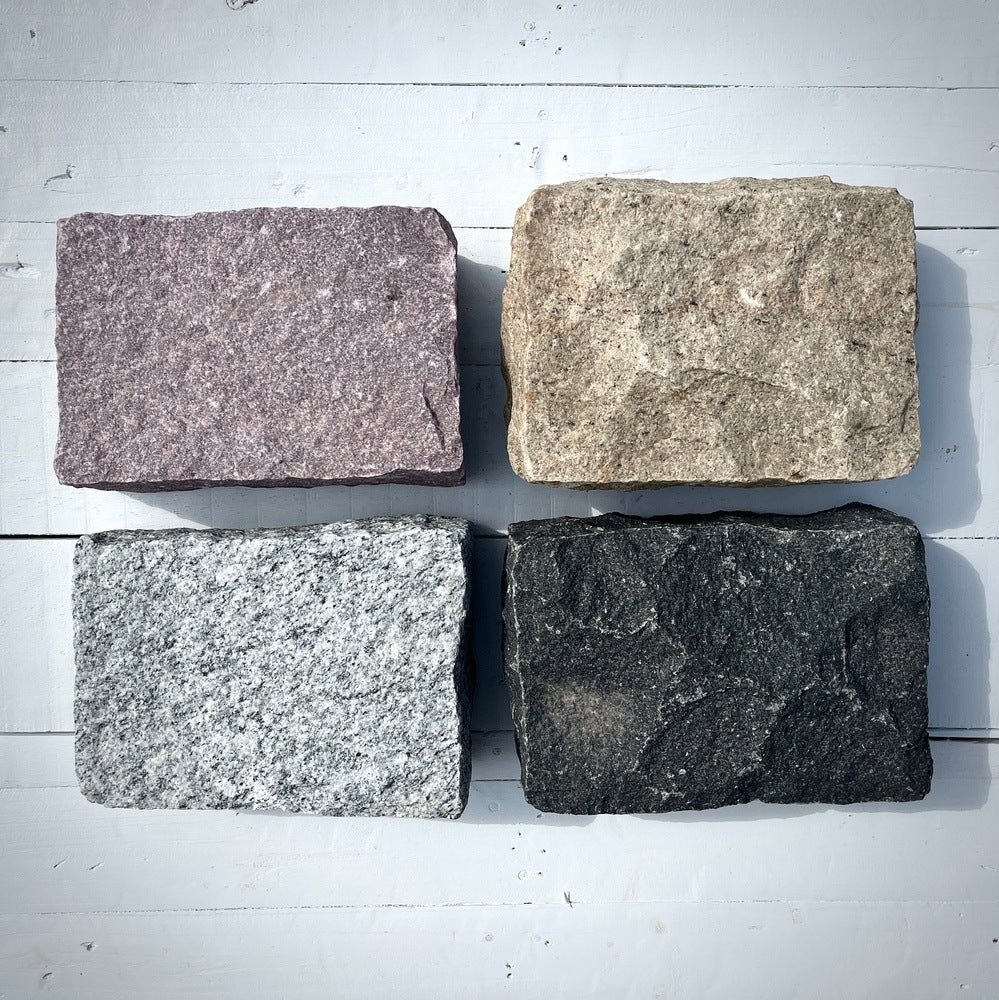
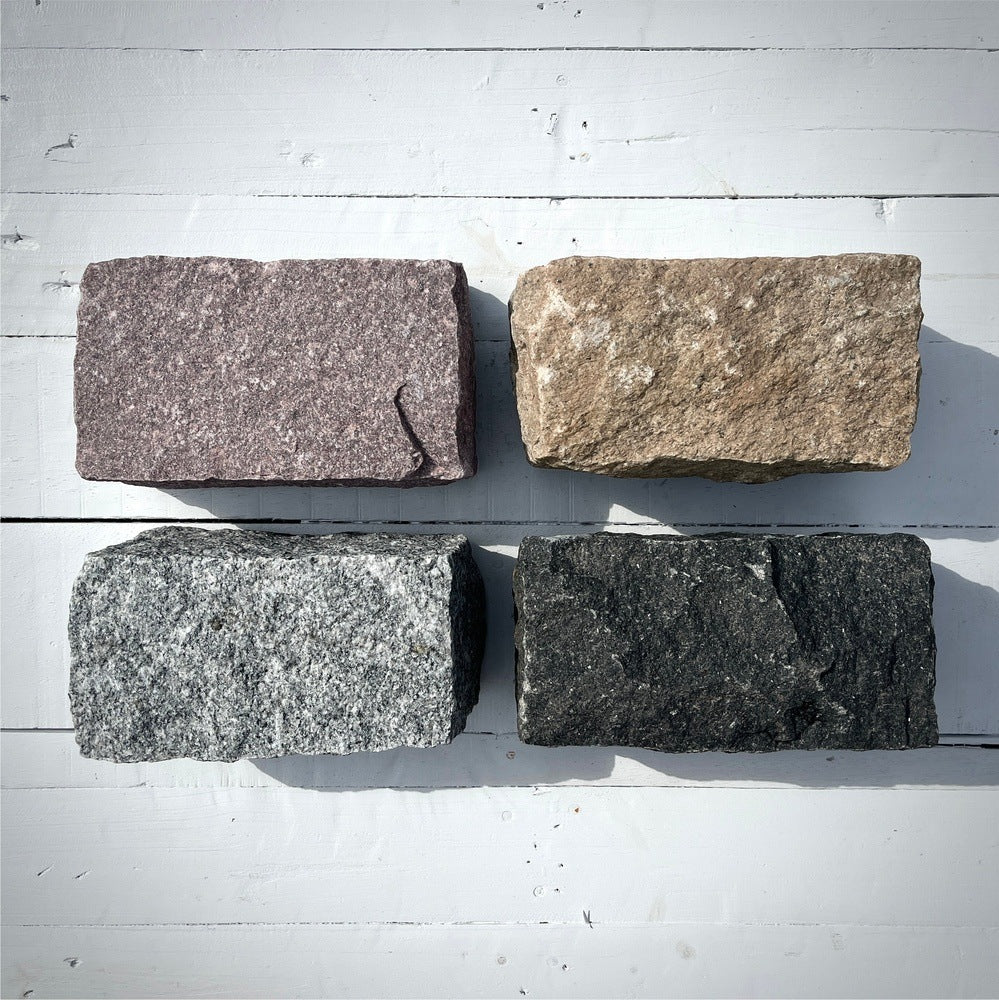
Granite Belgian blocks have a reputation for being “set and forget”, and to be fair, they mostly are. Once they’re sitting on a solid base, those heavy blocks don’t need constant attention or complicated products to keep doing their job. But just like any hardscape, a few small habits go a long way toward keeping them clean, safe, and looking intentional years after they were installed.
This guide breaks maintenance down into simple routines you can actually stick to: quick weekly habits, seasonal checkups, easy cleaning methods, and the right moment to call in a crew instead of fighting with a problem on your own. The goal isn’t perfection; it’s keeping your granite Belgian blocks working as quietly and reliably as the day they were set.
Table of Contents
- Why Granite Belgian Blocks Are Naturally Low Maintenance
- Routine Care: Weekly and Monthly Habits
- Seasonal Checkups and After‑Winter Repairs
- How to Clean Granite Belgian Blocks Without Damaging Them
- Keeping Joints Tight and Fixing Minor Movement
- Winter Care: Snow, Ice, and De‑icing Products
Why Granite Belgian Blocks Are Naturally Low Maintenance
Granite is one of the hardest, most stable stones you can use in a landscape. It doesn’t soften in the rain, fade quickly in the sun, or soak up every stain that lands on it. That’s a big part of why Belgian blocks were used for streets and heavy traffic zones in the first place: they can take abuse and keep going.
Most of the “maintenance” you’ll do has less to do with the stone itself and more to do with what’s around it — joints, surrounding soil, and whatever ends up sitting on the surface. When you think of Belgian block care as protecting the installation rather than babying the granite, the to‑do list gets much shorter and more manageable.
Routine Care: Weekly and Monthly Habits
Day‑to‑day, granite Belgian blocks don’t ask much from you. A bit of basic housekeeping keeps dirt, organic matter, and weeds from gaining a foothold, which helps the joints stay full and the stone stay visible rather than buried.
Simple tasks that make a difference
- Sweep debris regularly: Use a stiff broom to clear leaves, soil, and grit off the surface and out of joints, especially along driveways, paths, and garden edges.
- Rinse as needed: A garden hose is usually enough to remove light dirt and dust after sweeping, especially near parking areas and entrances.
- Spot‑check high‑traffic zones: Look along drive lanes, turning spots, and entrances for early signs of joint loss or a block that’s starting to sit low.
- Watch for early weed growth: Pull young weeds by hand before roots get deep and disturb the joints.
These small habits take minutes, but they prevent bigger issues like stubborn staining, moss buildup, and loose, hollow joints that are much harder to fix later.
Seasonal Checkups and After‑Winter Repairs
Even in moderate climates, seasons put different kinds of stress on stone borders, edging, and paved areas. Spring is usually when you see what winter left behind: a little joint loss here, a settled block there, maybe a light film from de‑icing products near the driveway.
What to do a few times a year
- Give everything a deep sweep and rinse: Clear off leftover sand, leaves, and grit, then hose the blocks down to reveal the actual condition of the surface.
- Inspect edges and transitions: Walk the lines where Belgian block meets asphalt, concrete, or lawn to spot gaps, settlement, or leaning blocks.
- Check slopes and drainage: Make sure water still runs away from buildings and doesn’t sit against blocks or in joints for long periods.
- Mark small issues to fix: A low block or a cluster of open joints is easiest to fix when you catch it early and still remember where you saw it.
Most of the time, these seasonal tweaks are simple: top up some sand, reset a stone or two, and rinse away residues. Leaving them alone for years is when you start to see wobbly blocks and larger sections shifting out of alignment.
How to Clean Granite Belgian Blocks Without Damaging Them
Granite doesn’t love harsh chemicals, and the joints around it definitely don’t. The good news is that you usually don’t need aggressive cleaners to get Belgian blocks looking fresh again. A gentle, methodical approach is safer and more than enough in most situations.
Routine cleaning
- Start dry: Sweep thoroughly to remove loose grit that could scratch the stone while you wash.
- Use mild cleaners: Mix a pH‑neutral stone cleaner or mild detergent with water in a bucket for general dirt and grime.
- Scrub gently: Apply with a soft brush or mop, focusing on stained or high‑traffic patches rather than scrubbing aggressively everywhere.
- Rinse well: Hose the area down to remove all cleaner residue so it doesn’t leave a film on the surface.
Dealing with tougher spots
- Oil and grease: Blot fresh spills instead of smearing them; then use a stone‑safe degreaser and a brush, working in small sections.
- Organic stains: For leaf marks, dirt, or light algae, repeat gentle scrubbing with a mild cleaner rather than reaching for harsh, acidic products.
- Asphalt or tar smears: Let them cool and harden before carefully scraping, then wash what’s left with a suitable cleaner.
Avoid acid‑based products, harsh bleach, or highly abrasive pads on granite Belgian blocks. They often do more harm to the finish and joints than good, especially when used repeatedly in the same spots.
Keeping Joints Tight and Fixing Minor Movement
Joints do a quiet but important job: they help lock the blocks together, support their edges, and manage how water moves through the surface. When joints wash out or break down, you’ll usually feel it first underfoot or under tires before you really see it.
Maintaining healthy joints
- Top up joint material when needed: Add sand or your chosen joint material where it has sunk or washed out, especially along drive edges and turning areas.
- Compact after filling: Lightly tamp or use a plate compactor with a protective pad so new joint material settles properly instead of disappearing after the first rain.
- Match the original joint style: Use similar sand, polymeric sand, or mortar to keep performance and appearance consistent.
Fixing a single low or wobbly block
- Carefully lift the affected block without chipping the edges.
- Clean any loose material from the bedding beneath.
- Adjust and re‑compact the base or bedding layer to the right height.
- Reset the block so it lines up with its neighbors, then refill and compact the joints around it.
Small, targeted fixes like this are well within reach for most homeowners and keep a minor issue from turning into a bigger repair later on.
Winter Care: Snow, Ice, and De‑icing Products
Cold‑weather care is mostly about protecting the joints and surrounding materials rather than the granite itself. The stone can handle freezing temperatures; it’s the repeated scraping, prying, and chemical cycles that tend to show up in the joints and nearby surfaces.
Snow and ice tips
- Use the right tools: Shovel with plastic edges where possible, and if you use a plow, keep the blade just above the blocks or use a protective edge.
- Clear early and often: Removing snow before it compacts into ice makes everything easier and gentler on the surface.
- Choose stone‑friendly de‑icers: Use products that are labeled safe for natural stone and follow the recommended application rates.
- Sand for traction: In tricky spots, sand can add grip without adding more chemicals to the surface.
When the season changes, a good rinse and a close look at joints, edges, and transitions will tell you if anything needs a quick reset. Dealing with those small winter leftovers promptly is one of the best ways to keep your granite Belgian blocks looking solid year after year.


Share: