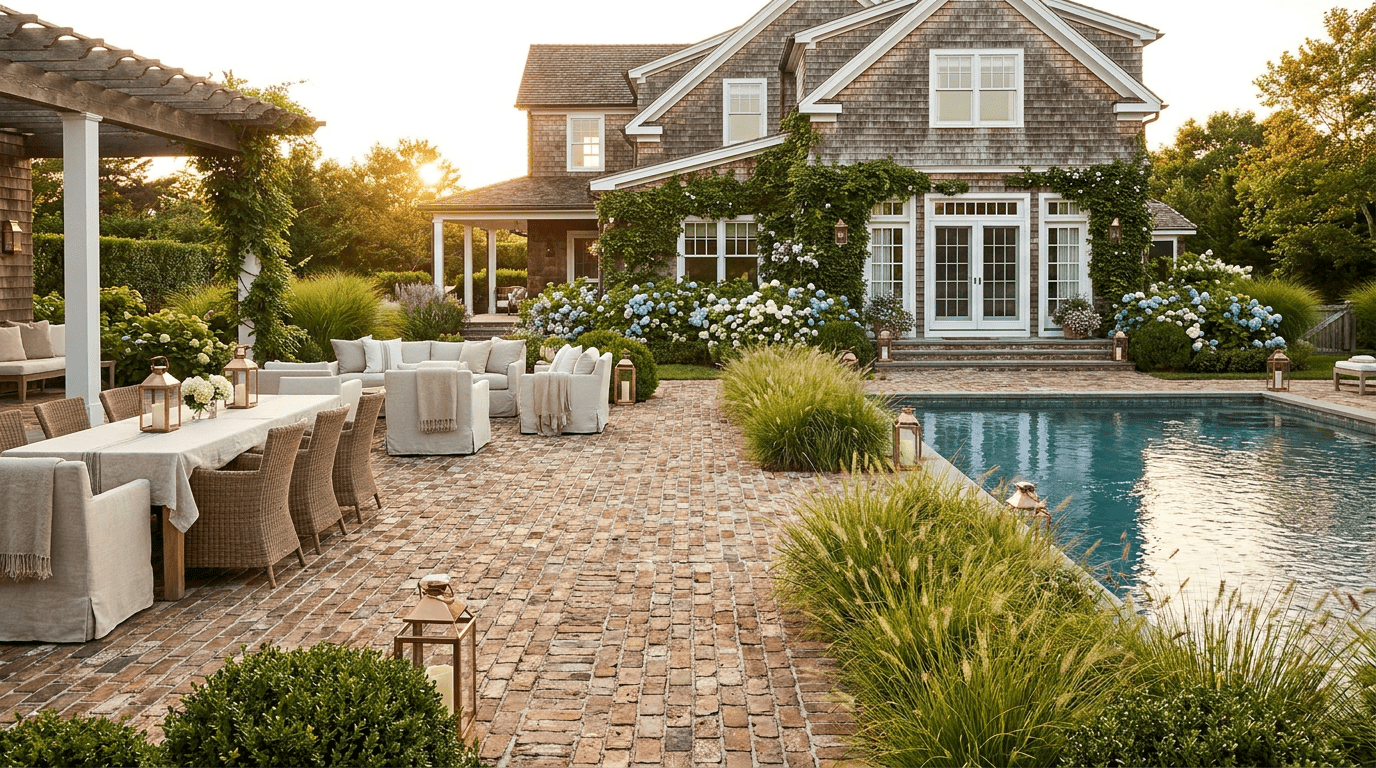
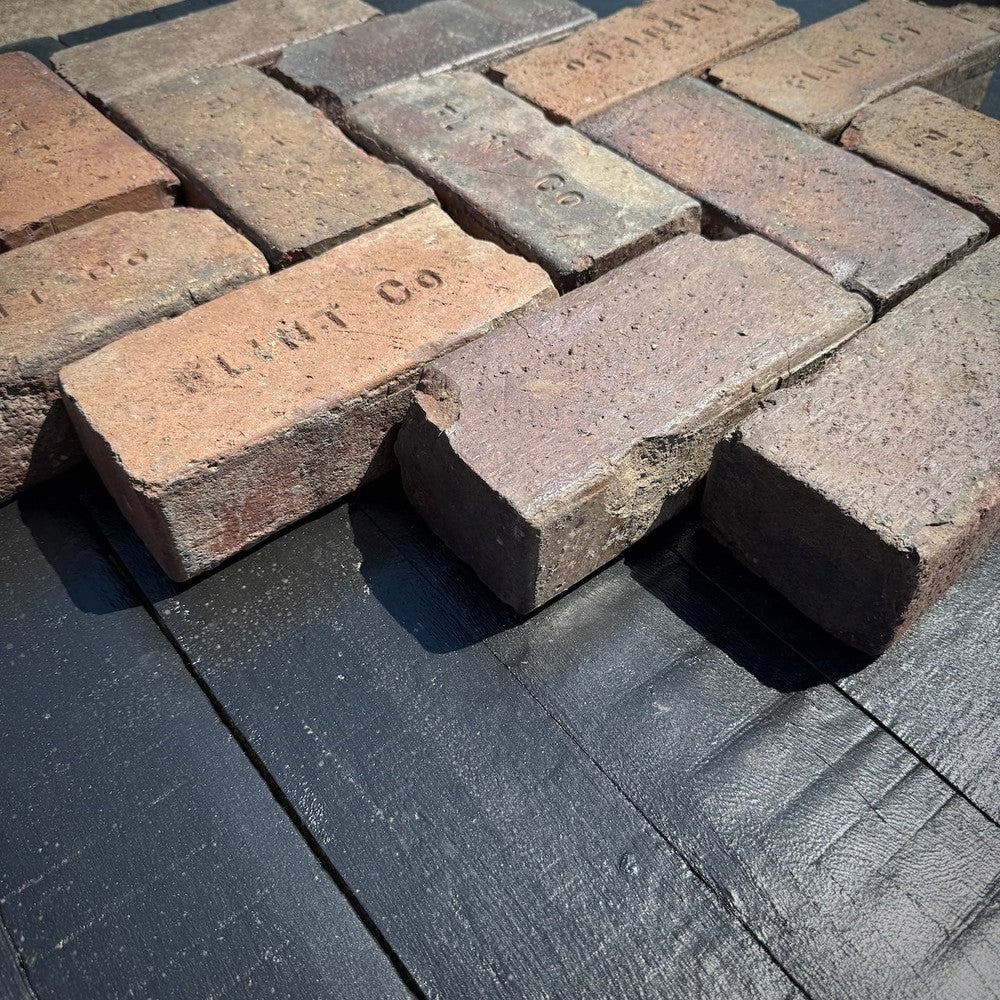
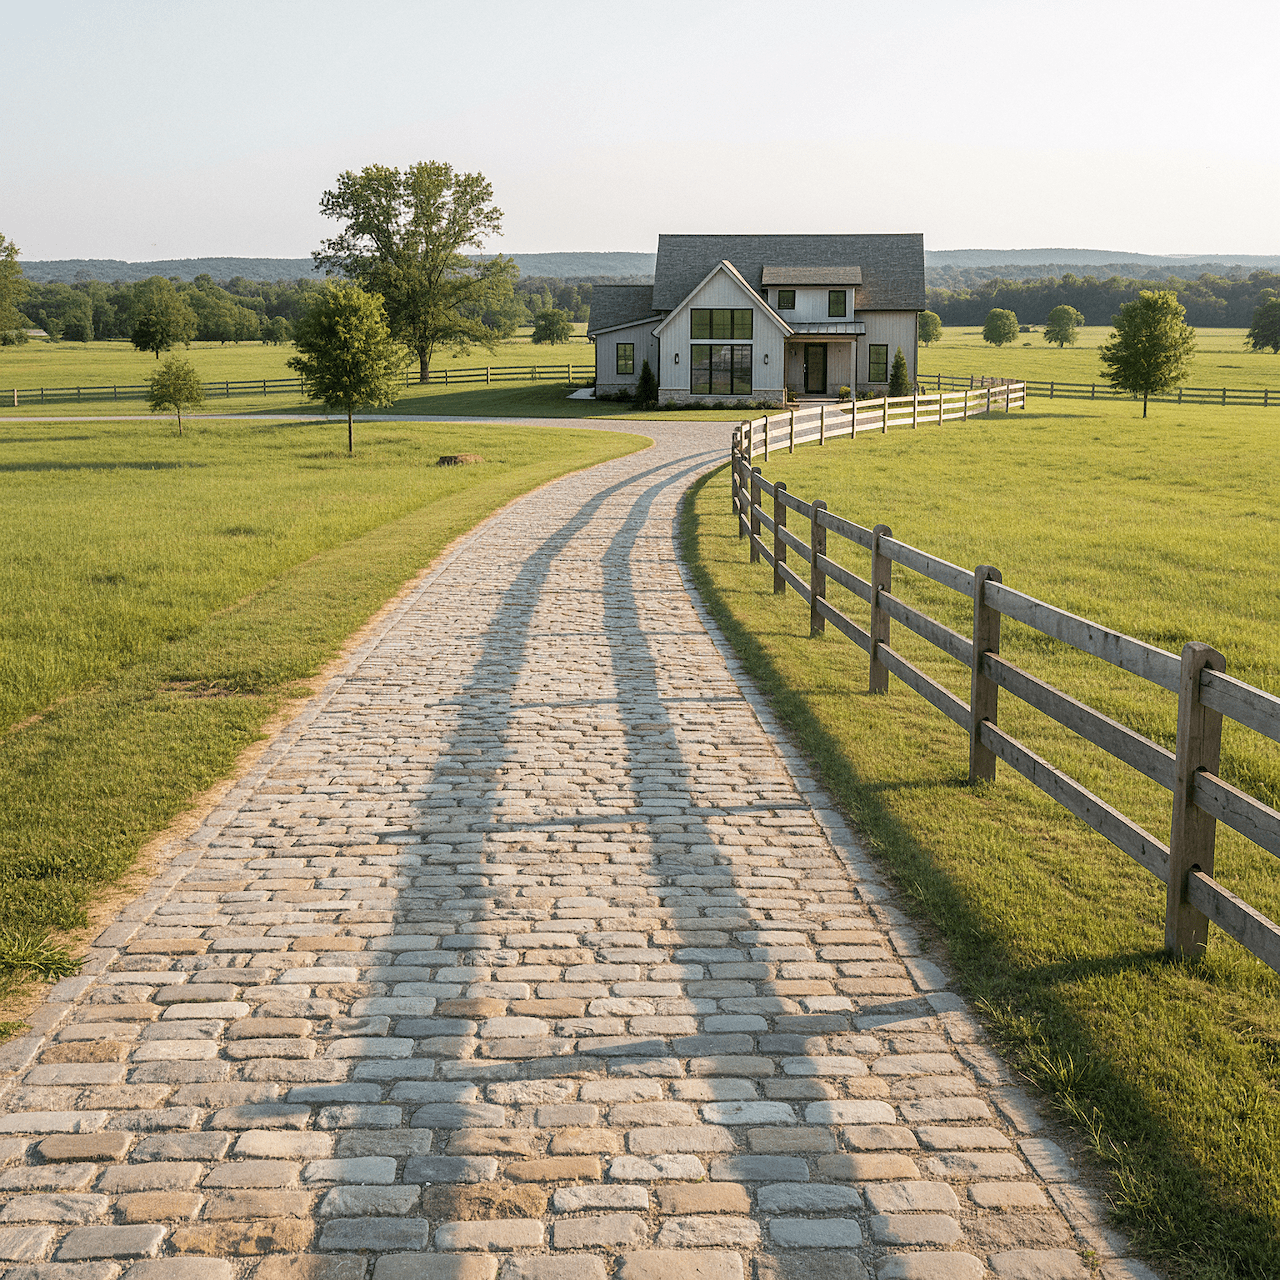
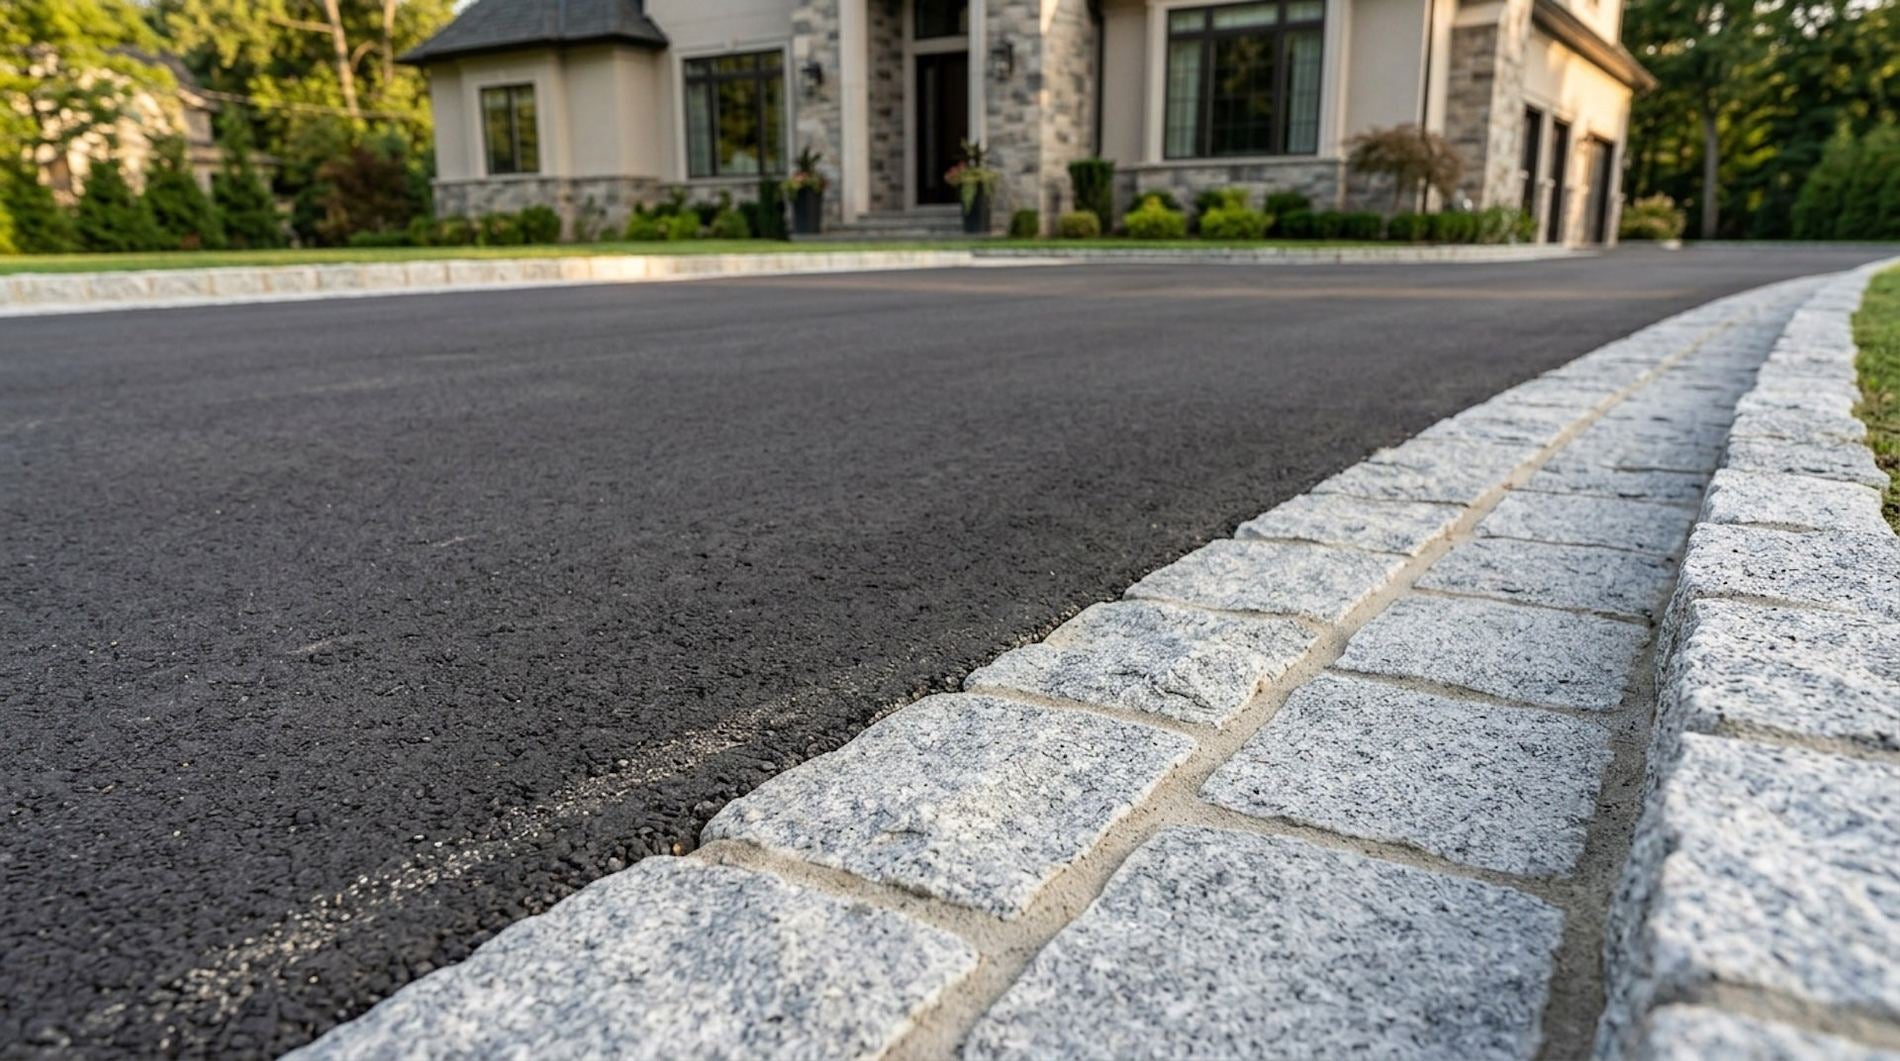
Reclaimed brick paver surfaces have a presence that new materials can’t fake. The softened edges, the subtle color shifts, the marks of time and use – that is exactly what many homeowners are looking for when they choose reclaimed street bricks for a patio, walkway, or driveway. The good news is that these bricks were made to live outdoors and take a beating. They are durable, forgiving, and often stronger than what is manufactured today.
Still, even the toughest reclaimed brick surface benefits from thoughtful care. A little maintenance goes a long way toward keeping joints tight, surfaces clean, and the historic character you fell in love with in the first place. In this homeowner guide, we’ll walk through how to clean, seal, and maintain reclaimed brick paver surfaces so they keep looking great and performing well, season after season, anywhere you live in the country.
Table of Contents
- 1. Understanding reclaimed brick paver surfaces
- 2. Simple regular care for everyday use
- 3. Deep cleaning reclaimed brick pavers
- 4. Treating common stains and problem areas
- 5. Efflorescence and white haze on brick
- 6. Should you seal reclaimed brick pavers?
- 7. How to seal reclaimed brick paver surfaces step by step
- 8. Maintaining joints and controlling weeds
- 9. Seasonal maintenance for patios, walkways, and driveways
- 10. Long-term performance and when to repair
1. Understanding reclaimed brick paver surfaces
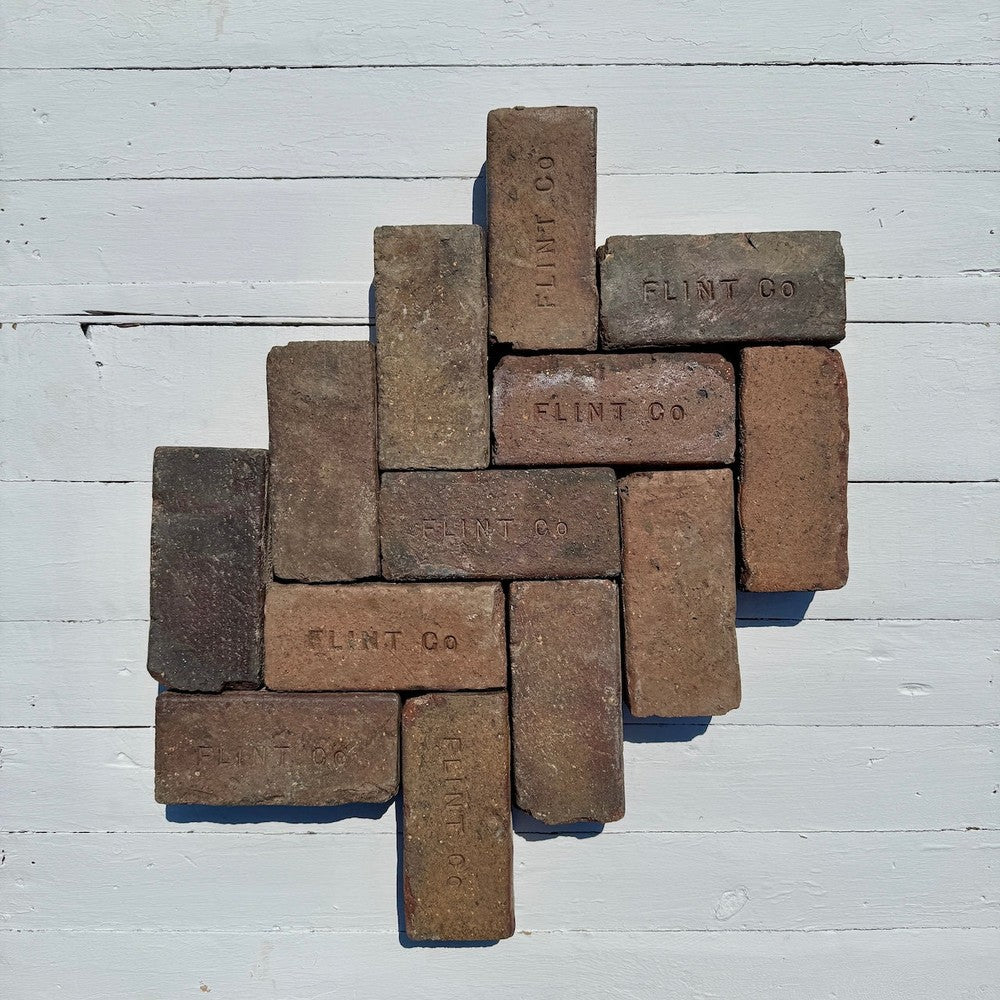
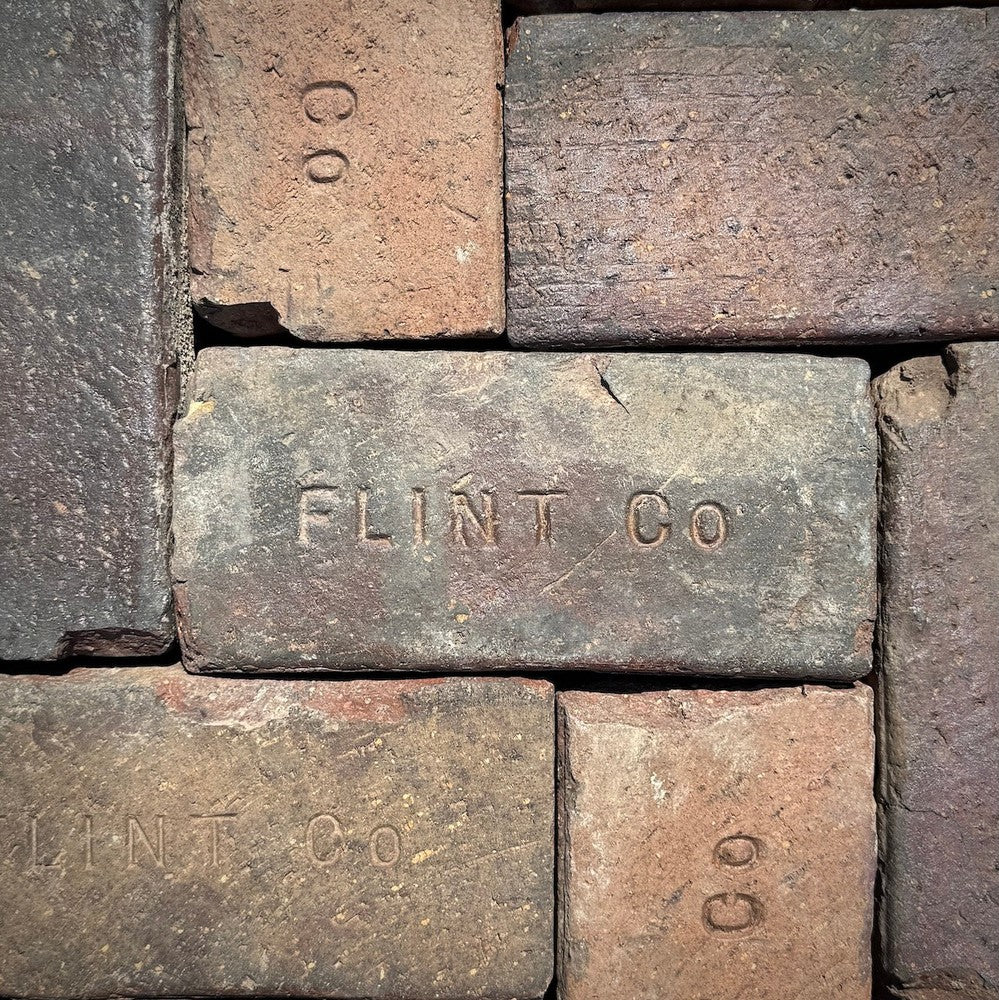
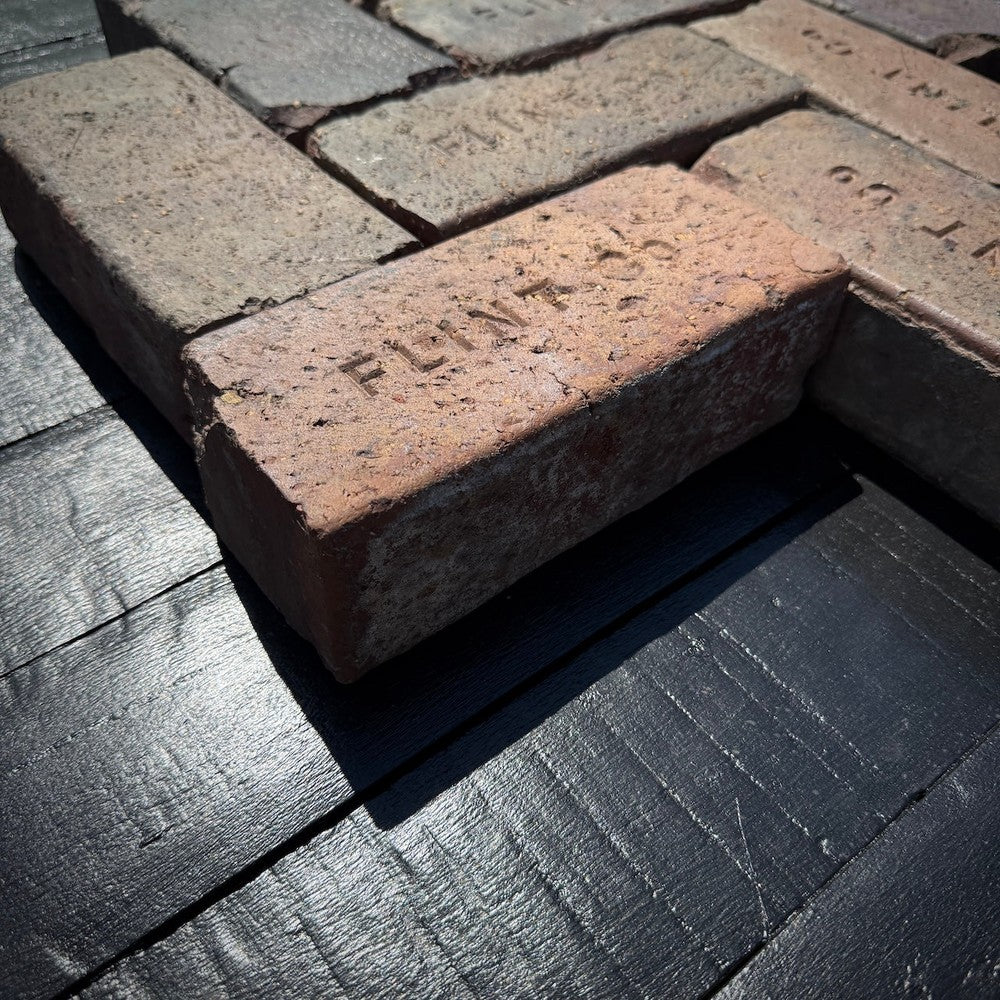
Before you reach for cleaners or sealers, it helps to understand what makes reclaimed brick different. These bricks were originally fired for streets and hard-use sites. They were designed to handle weather, traffic, and years of real-world abuse. When you bring them onto your property, you are essentially giving that toughness a second life.
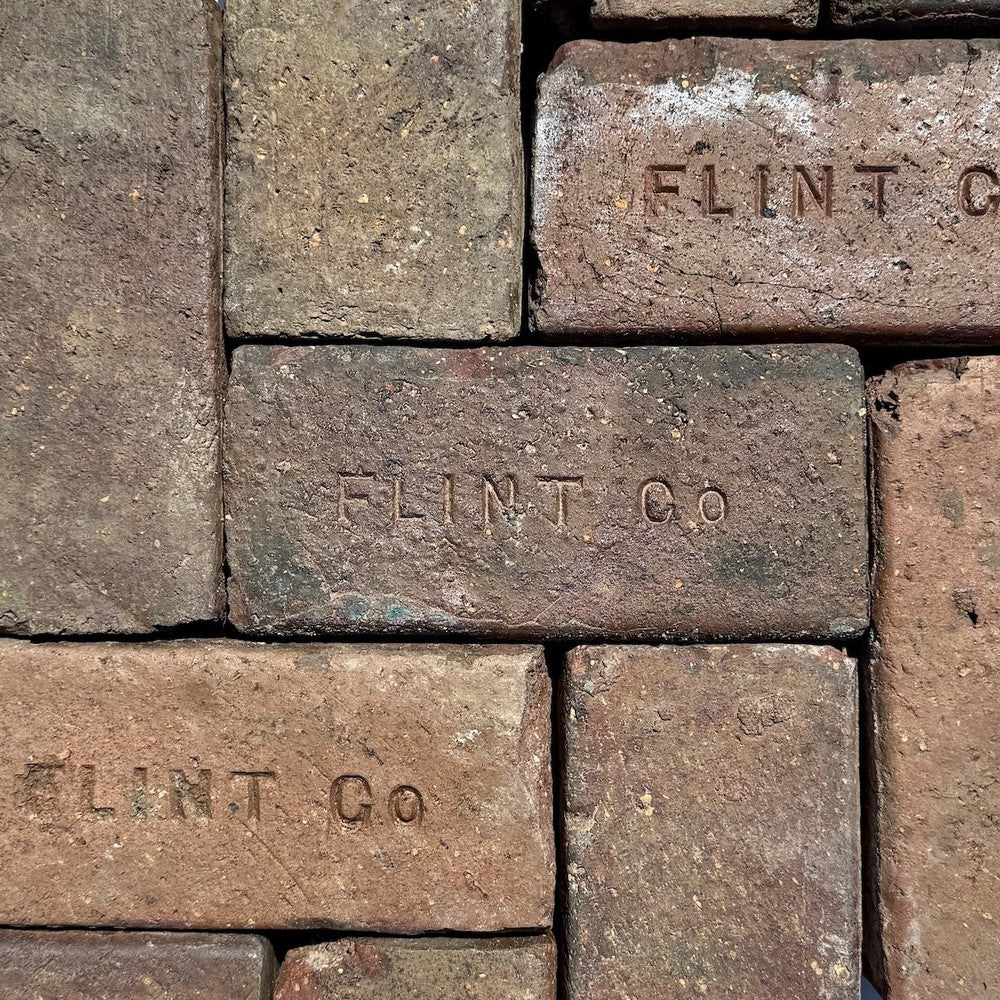
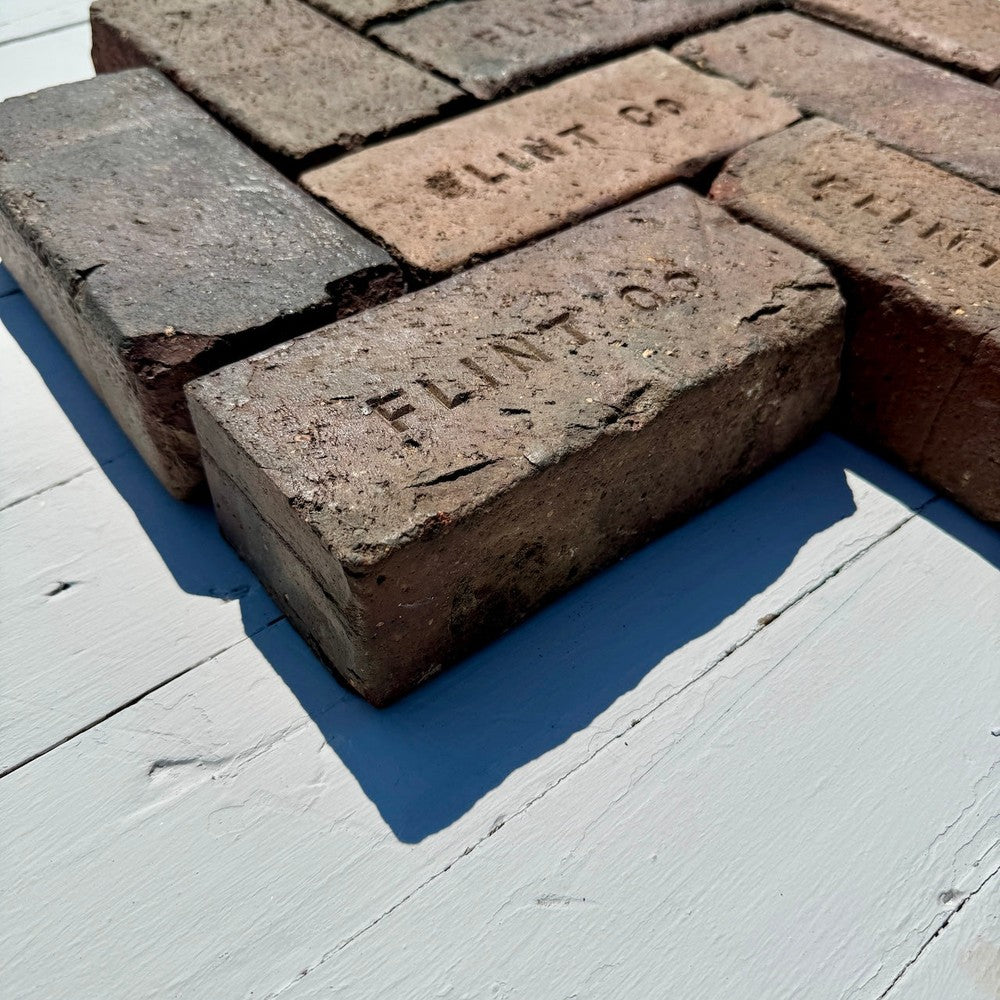
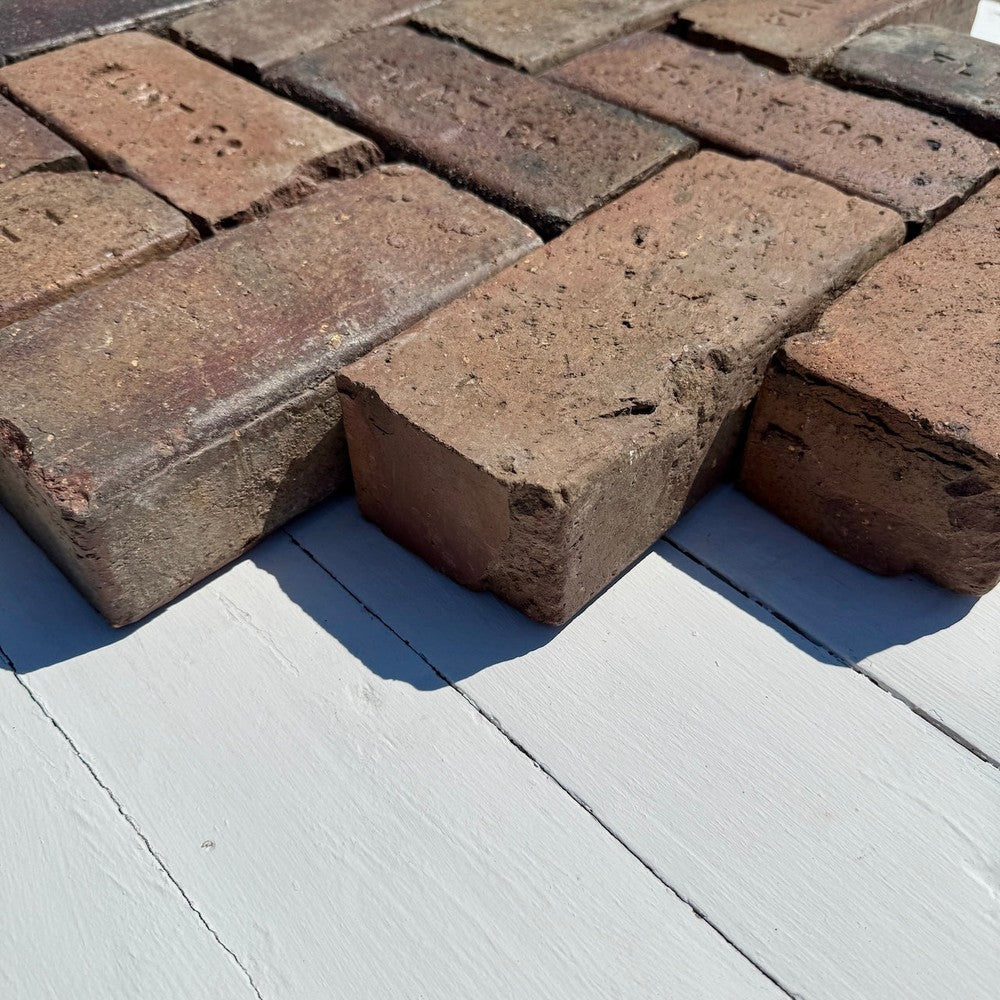
Reclaimed bricks often have slight size variations, worn faces, and existing color differences from their first installation. None of that is a flaw. It is what gives a reclaimed patio or driveway its depth and authenticity. Good maintenance protects that character rather than trying to erase it.
The three pillars of caring for reclaimed brick pavers are straightforward: keep the surface clean enough that dirt and organic matter do not take over, protect the joints so the field stays locked together, and make smart choices about sealing so the bricks can still breathe while gaining the level of protection you want.
2. Simple regular care for everyday use
Day-to-day maintenance on reclaimed brick paver surfaces is refreshingly simple. Most of what you need is already in your garage or shed. Think of this as the routine that keeps your patio, walkway, or driveway from ever getting so dirty that drastic measures are required.
Sweep and rinse periodically. A basic push broom is your best friend. Sweeping removes loose dirt, leaves, and grit before they have a chance to break down into staining organic material or collect in low spots. Every so often, a gentle rinse with a garden hose helps wash away dust and pollen without being aggressive.
Protect high-traffic areas. On patios, consider using outdoor mats under grills or dining tables to catch grease and food spills. On driveways, putting drip trays under vehicles that tend to leak saves you a lot of stain removal later. The goal is not to baby the surface, just to keep the worst messes from soaking in.
Walk your reclaimed brick areas a couple of times a year with a critical eye. Look for early signs of loose joints, small weeds, or spots that seem to hold more moisture. Catching small issues at this stage makes everything else easier.
3. Deep cleaning reclaimed brick pavers
Eventually, every outdoor surface needs a deeper clean. Pollen, dust, food spills, and everyday life slowly build up on brick. The goal of deep cleaning is to refresh the surface without stripping away the patina that gives reclaimed brick its character.
Start with the gentlest approach. Before you bring out a pressure washer or harsh cleaner, try a simple combination of water, a mild pH-neutral detergent, and a stiff bristle brush. Work in manageable sections, scrubbing stained or dingy areas and rinsing thoroughly with clean water as you go.
Use pressure washing carefully. Pressure washers can be helpful but also damaging if used incorrectly. If you choose to use one, keep the pressure moderate and the nozzle moving. Avoid getting too close to the surface, especially at joints, so you do not blast out sand or scar the brick faces. When in doubt, test a small, out-of-the-way area first.
Avoid highly acidic cleaners unless you know exactly what you’re dealing with. Acids can etch brick faces, strip away the natural surface, and permanently change the look of reclaimed material. If a stain is stubborn enough that you are thinking about acid washing, it is worth slowing down and planning your approach carefully.
4. Treating common stains and problem areas
Outdoor brick paver surfaces live with the same everyday messes you do: food and drink spills on patios, oil drips on driveways, and plant debris almost everywhere. The trick is to match your cleaning method to the type of stain.
Organic stains (leaves, algae, mildew). For green or dark growth, start with a stiff brush and soapy water. If needed, use a cleaner labeled safe for masonry and for the specific type of growth you’re treating. Let it sit briefly, agitate with a brush, and rinse thoroughly so the cleaning agents do not linger in the brick.
Grease and food stains. On patios and outdoor kitchens, cooking oil and food can leave darker patches on brick. Blot up any fresh spills as soon as you can. For established stains, use a degreasing cleaner designed for masonry or a poultice made with an absorbent material and a compatible cleaner. Patience helps; sometimes it takes a couple of rounds for deep oils to release.
Oil and automotive stains. On driveways, motor oil or fluid stains are common. Absorbent powders made for oil cleanup can pull out a surprising amount if used early. For older spots, use an appropriate oil stain remover made for pavers and follow directions closely. The goal is to lift the stain while respecting the age and texture of the brick.
Whatever type of stain you are dealing with, always test your cleaner on a small, inconspicuous area first. You want to see how it affects color and texture before committing to a larger section.
5. Efflorescence and white haze on brick
If you ever notice a powdery white film on the surface of your reclaimed brick pavers, you are likely looking at efflorescence. This is not mold or paint; it is mineral salt that has migrated to the surface with moisture and then crystallized as the water evaporated.
Efflorescence is mostly a cosmetic issue, but it can be stubborn. Often, it fades naturally over time as the salts work their way out and the surface is rinsed by rain and normal cleaning. If you want to speed things up, gentle scrubbing with a stiff brush and clean water is the first step.
Specialty efflorescence cleaners are available for masonry and pavers. If you choose to use one, read the label carefully, follow dilution instructions, and test in a small area. The goal is to remove the white haze without over-etching or brightening the reclaimed brick in a way that looks out of place.
6. Should you seal reclaimed brick pavers?
Sealing reclaimed brick paver surfaces is optional. Many homeowners like the way unsealed brick looks and weathers naturally. Others prefer the added stain resistance and slight color enhancement that the right sealer can provide. There is no single right answer – it comes down to your goals and how you use the space.
Reasons to seal. If your brick patio serves as an outdoor kitchen, or your driveway sees a lot of vehicles, a breathable sealer can make cleaning easier and help resist stubborn stains. Sealers can also deepen color and bring out subtle tones in the brick without making it look artificially shiny, if you choose a low-sheen or matte product.
Reasons not to seal. If you love the completely natural, chalky look of weathered brick and don’t mind a little extra patina over time, you may be perfectly happy without any sealer at all. Skipping sealer also means one less maintenance task in your long-term plan.
If you do decide to seal, the key is to choose a product designed for clay brick and exterior use that allows moisture vapor to escape. Reclaimed brick surfaces should still be able to breathe so trapped moisture does not cause problems down the line.
7. How to seal reclaimed brick paver surfaces step by step
If you’ve decided that sealing fits your project and lifestyle, a methodical approach gives you the best results. Sealing is less about speed and more about preparation and timing.
Step 1: Clean and dry the surface. Seal only clean, dry brick. Perform any deep cleaning first and give the surface time to fully dry, including the joints. Depending on weather and climate, this may take a day or more.
Step 2: Choose the right sealer. Look for a sealer specifically labeled for clay pavers or brick. Decide on the look you want: natural, matte, or slightly enhanced. Read the instructions for coverage rate, number of coats, and any temperature or weather limitations.
Step 3: Test in a small area. Always apply the sealer first to an out-of-the-way spot to see how it affects color and sheen. Let it dry fully. If you like what you see, move on to the rest of the surface.
Step 4: Apply evenly. Use a roller, brush, or sprayer as recommended by the manufacturer. Work in manageable sections, keeping a wet edge to avoid lap marks. Avoid puddling; excess sealer sitting on the surface can dry sticky or patchy.
Step 5: Allow proper cure time. Respect the cure times on the label before walking or driving on the surface. Good conditions make a big difference here – avoid sealing right before rain, extreme heat, or a hard freeze.
Sealers do not last forever. Expect to reapply periodically based on wear, sun exposure, and how much traffic your reclaimed brick surfaces see. The nice thing is that once you know the process, touch-ups and future coats are straightforward.
8. Maintaining joints and controlling weeds
The joints between reclaimed bricks do more than just complete the look. They help lock the field together, shed water, and discourage weeds. Paying attention to joint health is a simple way to extend the life and stability of your surface.
Top up jointing material when needed. Over time, wind, rain, and cleaning can slowly erode joint sand, especially on sloped areas or driveways. If you notice joints looking low, dry-sweep more sand or polymeric sand into the gaps and compact lightly so it settles.
Stay ahead of weeds. Even the best joints can eventually host airborne seeds. Pull small weeds by hand before they establish deep roots, or spot-treat with a product that will not stain or damage brick. Avoid aggressive scraping tools that can chip the edges of reclaimed bricks.
If you use polymeric sand, follow the manufacturer’s recommendations for watering and cure time so it sets correctly. Done right, polymeric joints can significantly reduce weed growth and washout, especially in high-use areas.
9. Seasonal maintenance for patios, walkways, and driveways
Because reclaimed brick paver surfaces live outdoors year-round, it helps to think of maintenance in seasonal terms. A little attention at the right time of year keeps them ready for whatever comes next.
Spring checks. After winter, sweep away leftover de-icing materials and debris. Look for any heaving, loose bricks, or joints that washed out. Spring is a great time to re-level small areas, refill joints, and do a light clean before outdoor season really begins.
Summer and fall care. In warmer months, most of the work is about staying on top of stains and organic growth. Clean up spills when they happen, trim nearby plants so leaves and seeds don’t accumulate, and do any sealing when the weather window is favorable.
Winter considerations. If you live in a region with snow and ice, choose de-icing products that are compatible with brick and avoid overusing them. Use plastic or rubber shovels rather than metal ones that can chip brick edges. The reclaimed bricks themselves are built for freeze-thaw, but the way you treat them still matters.
Across all seasons, the mindset is the same: small, steady attention beats long periods of ignoring the surface and then trying to catch up all at once.
10. Long-term performance and when to repair
One of the biggest perks of reclaimed brick pavers is that they age gracefully. A surface that has seen a few seasons of use will often look even more comfortable and settled than it did on day one. Your job is to help that aging process stay controlled and intentional.
Watch for movement. If an area consistently dips, rocks underfoot, or collects water, it may be time to lift a few bricks, address the base or bedding layer, and reset them. The modular nature of pavers makes these targeted repairs much easier than patching poured concrete.
Replace damaged pieces selectively. Reclaimed bricks can chip or crack over time, especially at heavily used edges. Keep a small reserve of matching brick on hand from your original project. Swapping in a sound piece here and there keeps the surface safe and attractive without disturbing the overall patina.
Think of your reclaimed brick paver surfaces as long-term partners to your home and landscape. With reasonable care, they can outlast many other exterior materials while telling a richer story every year. Cleaning, sealing, and maintenance are simply the tools you use to guide how that story unfolds.


Share: