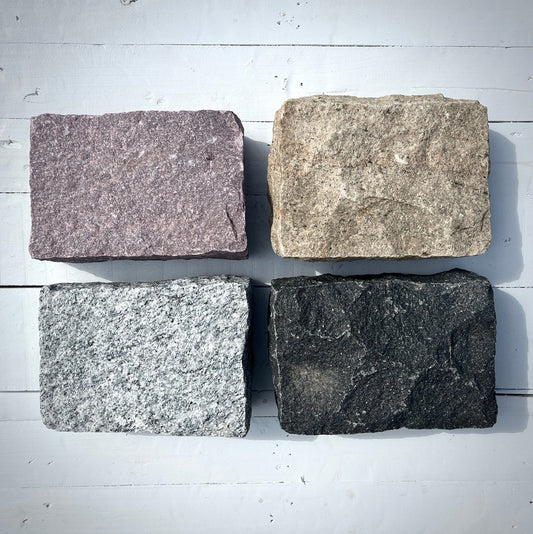
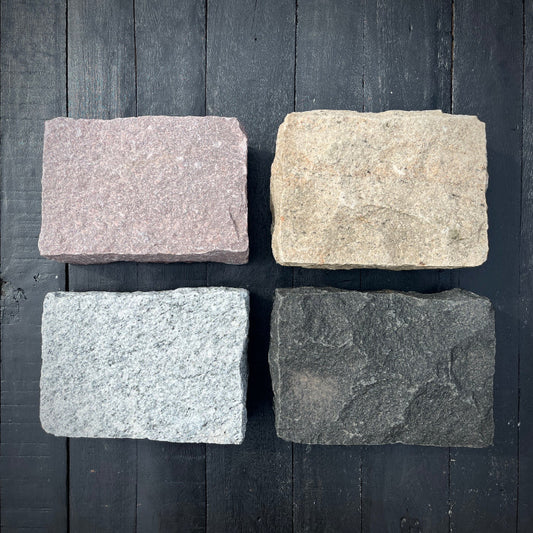
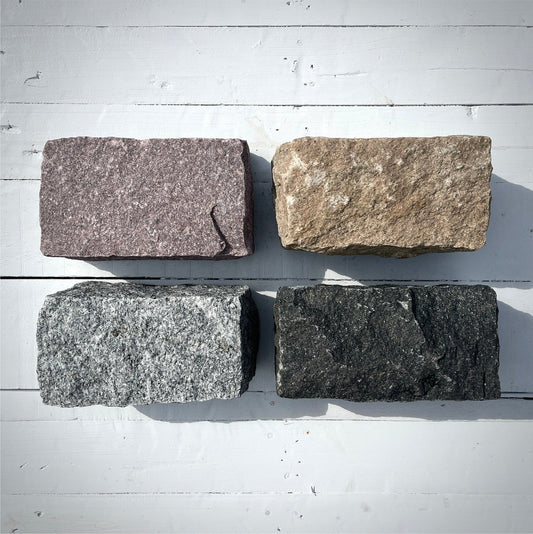
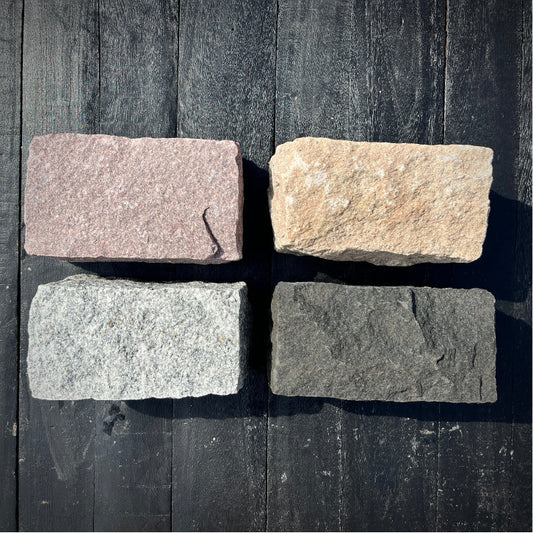
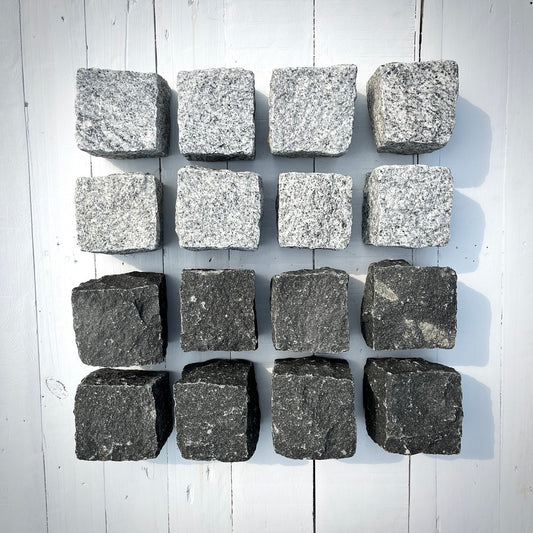
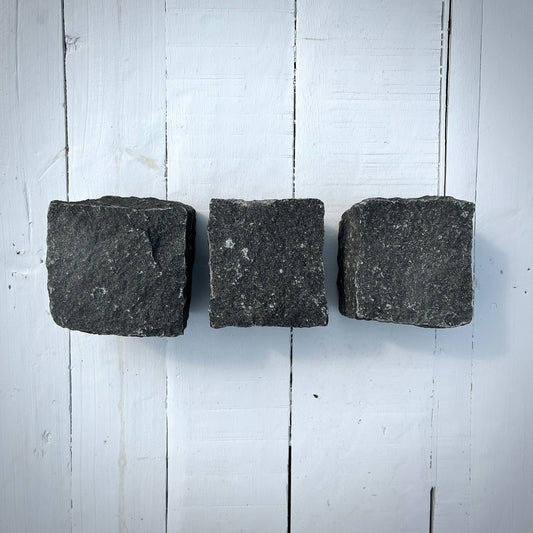
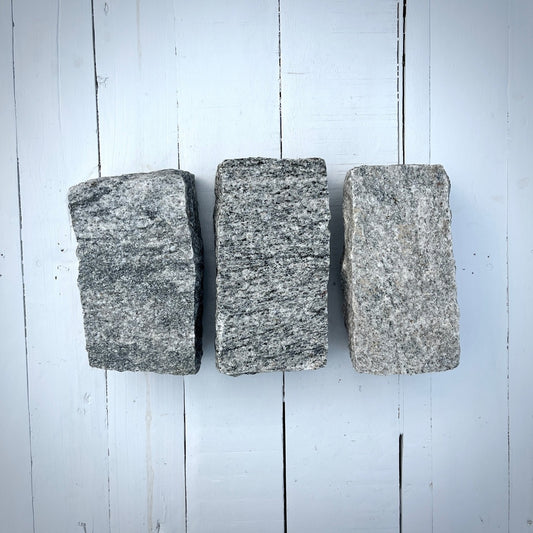
Setting up a driveway with cobblestones is a rewarding project that can create a beautiful and durable surface.
Tools required
| Item | Our customers use |
|---|---|
|
|
The Bully Tools 12-Gauge Round Point Shovel is a top pick for heavy-duty, all-purpose digging. It features a robust 12-gauge steel blade, a fiberglass handle with a non-slip grip, and a reinforced design ideal for tough soils. For full specifications and to explore further details, visit the product page on Amazon. |
|
|
The Tabor Tools Pick Mattock with Fiberglass Handle features a 36-inch fiberglass handle with shock absorption and a non-slip grip. Its durable steel head is great for breaking rocky soil or cultivating gardens. It weighs about 5.5 pounds, making it effective yet manageable. |
|
|
Any works. The more heavier duty the better. |
|
|
The Tomahawk 5.5 HP Honda Vibratory Plate Compactor is a durable, gasoline-powered tool ideal for compacting soil, asphalt, and gravel in construction projects. Its ergonomic handle reduces fatigue, and its compact design works well in tight spaces. Learn more on Amazon. |
|
|
The Rubber Mallet Hammer 24oz is a versatile tool perfect for woodworking, tile installation, and other tasks requiring a non-damaging strike. It features a durable rubber head for precision work and a comfortable handle for reduced hand strain. Find more details on Amazon. |
|
|
The CRAFTSMAN 48-Inch Level (CMHT82347) is a reliable and durable tool designed for precision in construction and DIY projects. With a sturdy aluminum I-beam frame, it resists bending and warping, ensuring long-lasting performance. Its shock-absorbing end caps provide protection during accidental drops, while the clear vials offer excellent visibility for easy leveling. The tool's lightweight design and user-friendly grip further enhance its practicality. Learn more or purchase the level on Amazon. |
|
|
The DEWALT ToughSeries Tape Measure (DWHT36935S) is a heavy-duty measuring tool built for durability and precision. It features a tough, abrasion-resistant blade with a high-visibility scale for easy readability. The tape extends up to 35 feet and includes a robust hook for secure grip during measurements. Designed for demanding job sites, its casing resists impact, ensuring long-lasting performance. Find more details or purchase on Amazon. |
|
|
The Plastic Landscape Anchoring Stakes are versatile tools ideal for securing landscaping fabric, artificial turf, or edging. Made from durable, UV-resistant plastic, these stakes resist breaking and are designed for long-term outdoor use. With a ribbed design, they provide a secure grip in various soil types, ensuring stability for your projects. For more information, visit the product page on Amazon. |
|
|
The Braided Mason Line is a durable and versatile tool designed for masonry, gardening, and construction tasks. Made from high-strength synthetic fibers, it resists fraying and stretching, ensuring precise alignment for projects like bricklaying or landscaping. Its bright color improves visibility, making it easier to use in various conditions. For more details, visit the product page on Amazon. |
| 10. Push broom |
|
|
|
The ESreake Pointing Trowel is a high-quality, durable tool designed for bricklaying, masonry, and general construction tasks. Featuring a pointed blade for precision, this trowel is perfect for spreading and shaping mortar in tight spaces. The ergonomic handle ensures a comfortable grip, even during extended use, making it a reliable choice for both professionals and DIY enthusiasts. For more details, visit the product page on Amazon. |
Materials required
| Item | Our customers use |
|---|---|
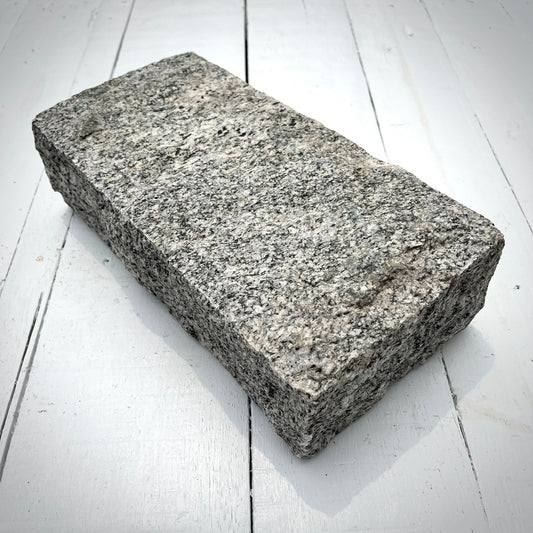
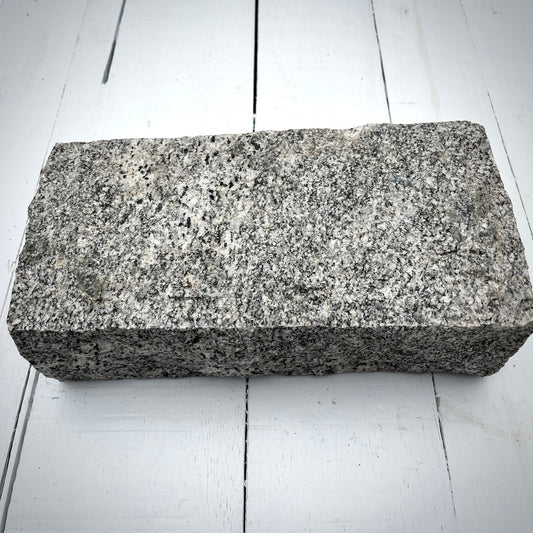
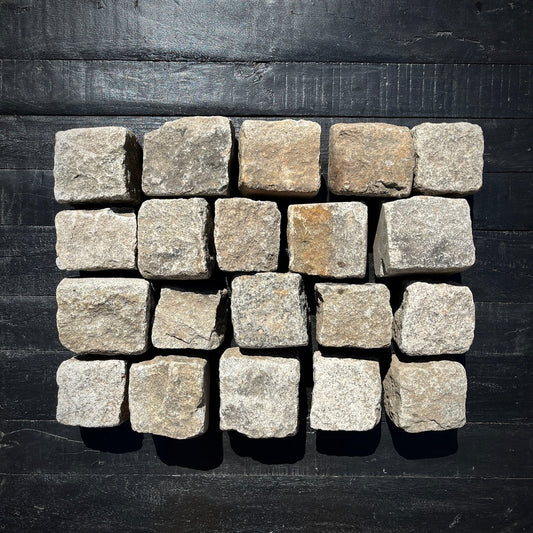
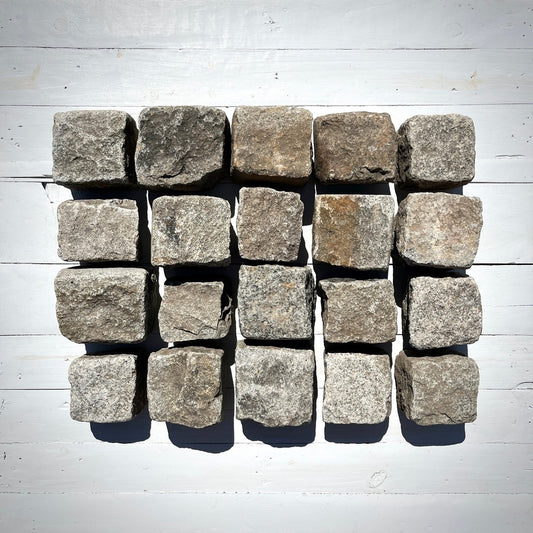
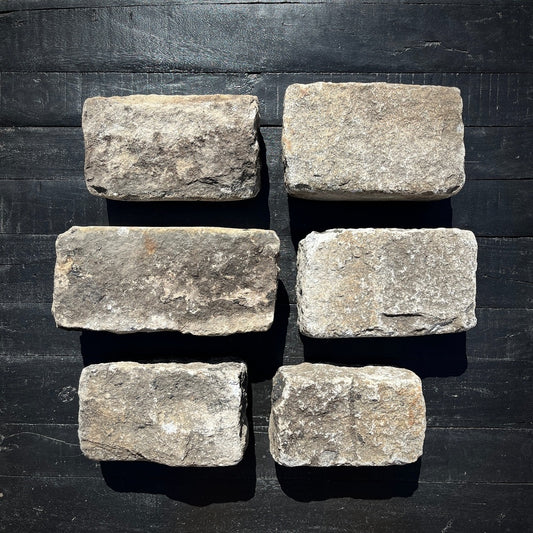
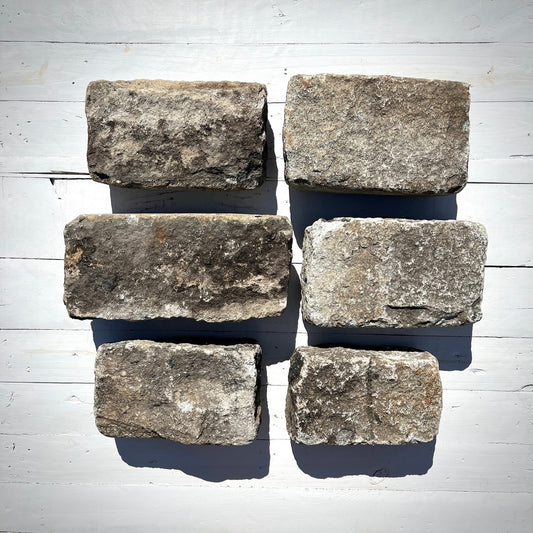
| 1. New Belgian Blocks or Reclaimed cobblestones | Have a look at our decision guides on New vs Reclaimed and How to select a new Belgian Block. |
|
|
Crushed stone (#57 or #67). Medium-sized stones, typically around 3/4 inch. Provides excellent drainage and compacts well. |
|
|
Use concrete sand. Coarse-grained sand with large and angular particles. Provides excellent drainage, compacts well without retaining water and prevents shifting and settling of stones. Avoid play sand or fine sand, as they do not compact properly and may lead to shifting over time. |
|
|
A mixture of fine sand and binders that harden when moistened. Ideal as 1. it creates a durable, weed resistant and erosion-resistant finish; and 2. it hardens in joints while remaining slightly flexible, accommodating movement and traffic. |
| 5. Stone edging |
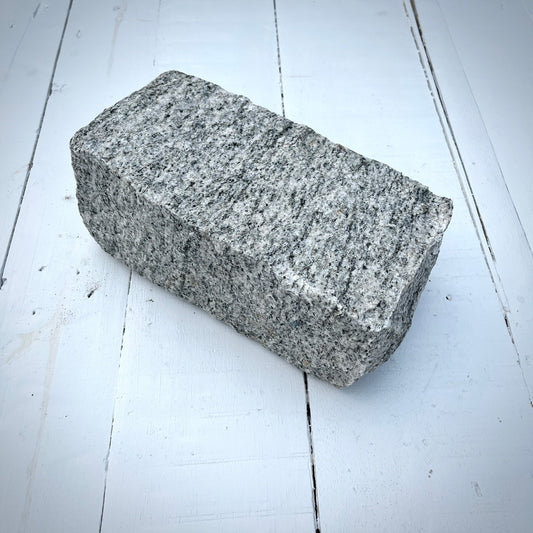
The New Jumbo Belgian Blocks or Reclaimed Jumbo Cobblestones are the most commonly used edging solution. Their size of 10"-11" x 7" x 4" gives you flexibility in how to align them for curbing. |
|
|
The Heavy-Duty Weed Control Fabric is a professional-grade solution designed for driveways, landscaping, and construction projects. This durable fabric blocks weed growth while allowing water and air to penetrate the soil, promoting healthy plant development. Its tear-resistant construction makes it suitable for heavy-duty applications, providing long-lasting performance even in high-traffic areas. For more details, visit the product page on Amazon. |
|
|
Step-by-Step Guide:
Step 1: Planning and Design
- Measure and mark the area for the driveway using stakes and string.
- Consider the slope for drainage (a minimum 2% slope is recommended).
- Decide on the cobblestone pattern (herringbone, running bond, basketweave, etc.).
Step 2: Excavation
- Excavate the area to a depth of 10–12 inches.
- 6–8 inches for the gravel base.
- 1–2 inches for the sand bedding.
- Cobblestone height varies (typically 3–4 inches).
Step 3: Install Weed Barrier
Lay down a weed control fabric to prevent weeds from growing through the driveway.
Step 4: Prepare the Base
- Spread a 6–8 inch layer of gravel across the excavation.
- Compact the gravel using a plate compactor. Repeat until the base is firm and level.
Step 5: Add the Sand Bedding
- Spread a 1–2 inch layer of sand over the compacted gravel.
- Level the sand using a screed board to create a flat, even surface.
Step 6: Lay the Cobblestones
- Start laying cobblestones at one corner, working outward.
- Position each stone, ensuring it sits flush with adjacent stones.
- Tap each cobblestone gently with a rubber mallet to set it into the sand.
Step 7: Install Edging
Place edging restraints around the perimeter to hold the cobblestones in place. Secure them with stakes.
Step 8: Fill the Joints
- Sweep polymeric sand into the joints between the cobblestones.
- Compact the driveway again to ensure the sand settles into the gaps.
- Repeat filling and compacting until joints are completely filled.
Step 9: Wet the Driveway
- Gently spray water over the surface to activate the polymeric sand.
- Allow the sand to harden as per the manufacturer’s instructions.
Step 10: Final Inspection and Clean-up
- Check for any uneven stones and adjust as needed.
- Sweep away excess sand and hose down the area.
Maintenance Tips
- Reapply polymeric sand as needed to keep joints sealed.
- Clean the driveway periodically to prevent weed growth or moss buildup.
Would you like additional details about cobblestone patterns from Chief Bricks?


