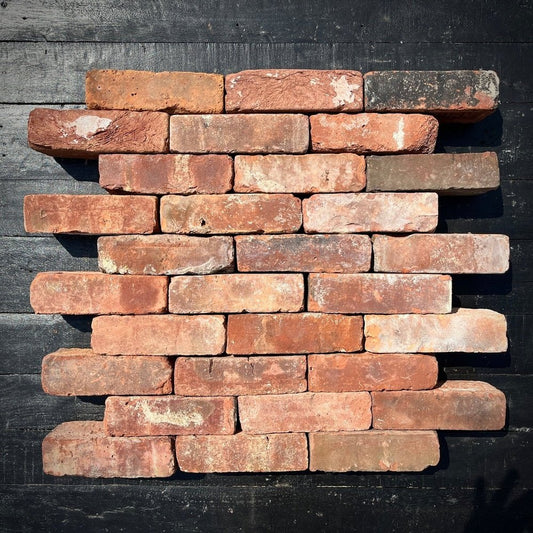
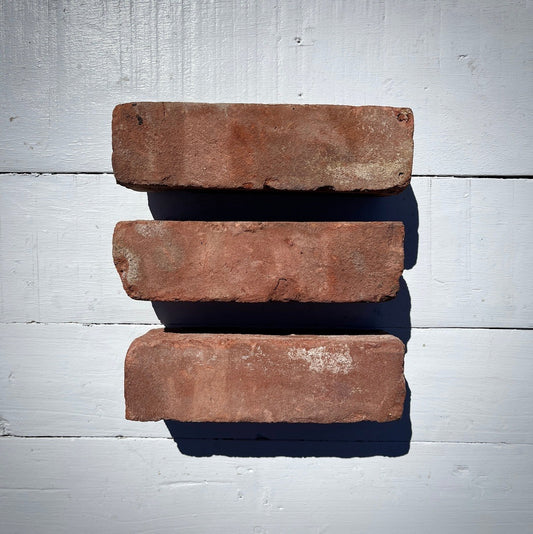
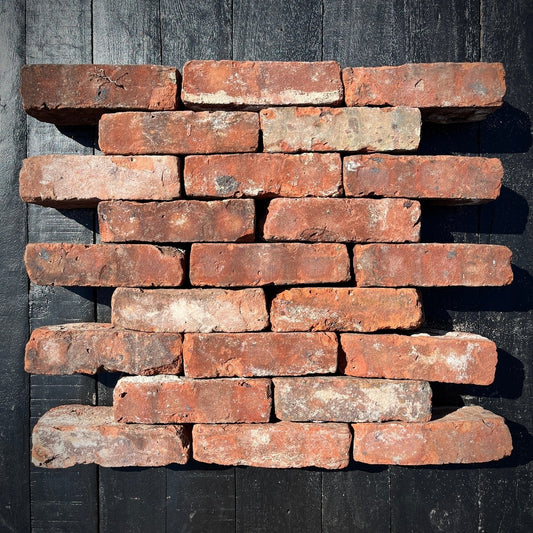
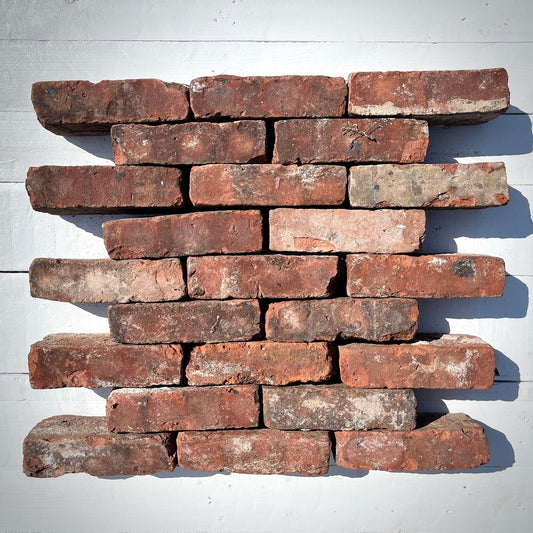
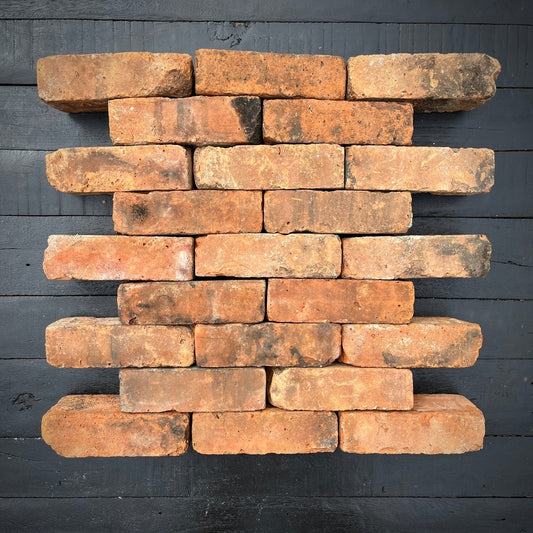
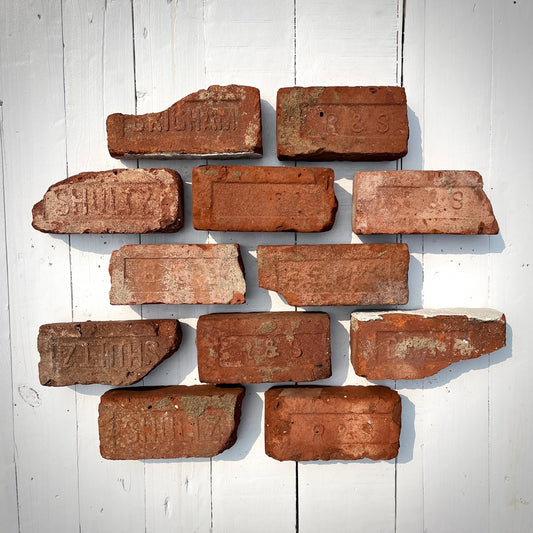
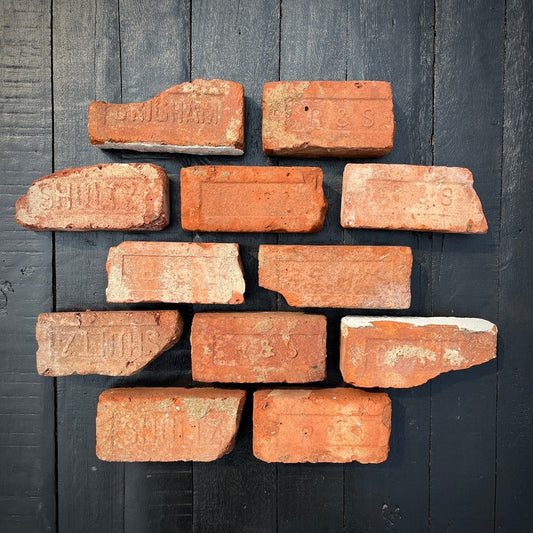
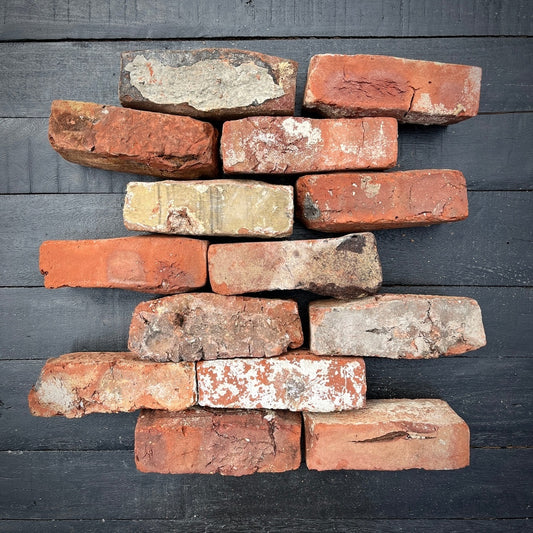
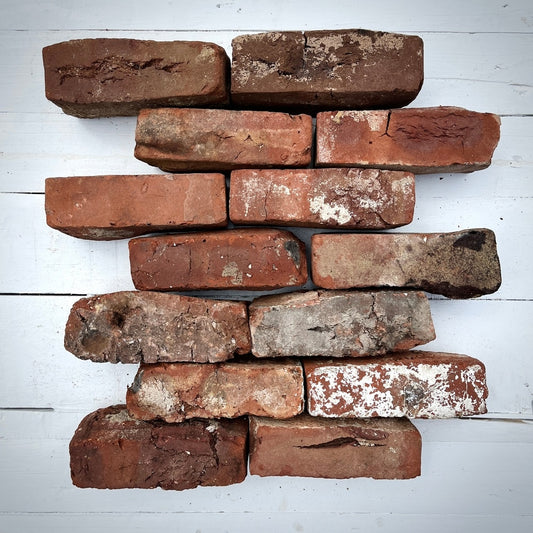
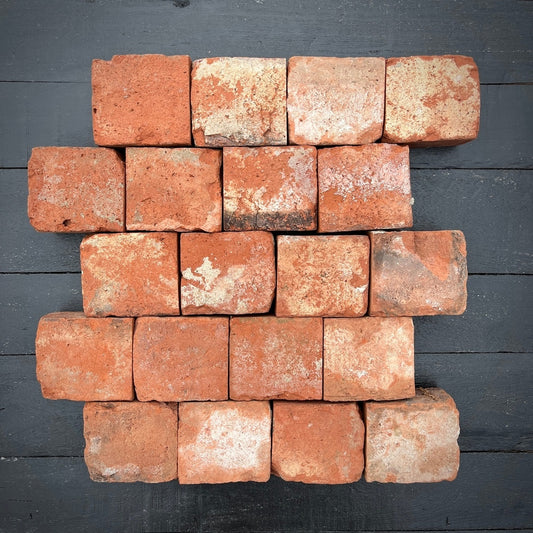
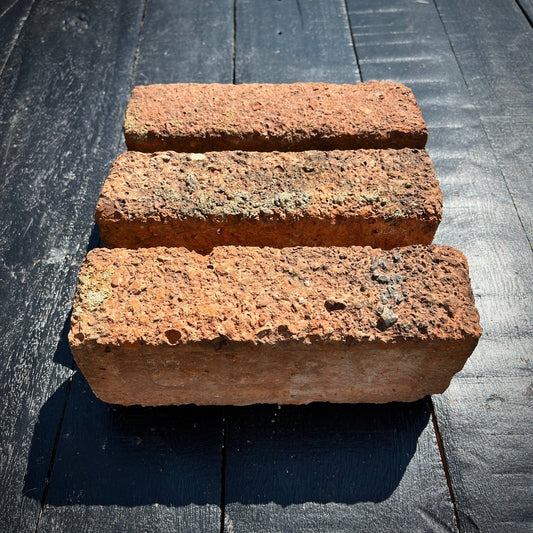
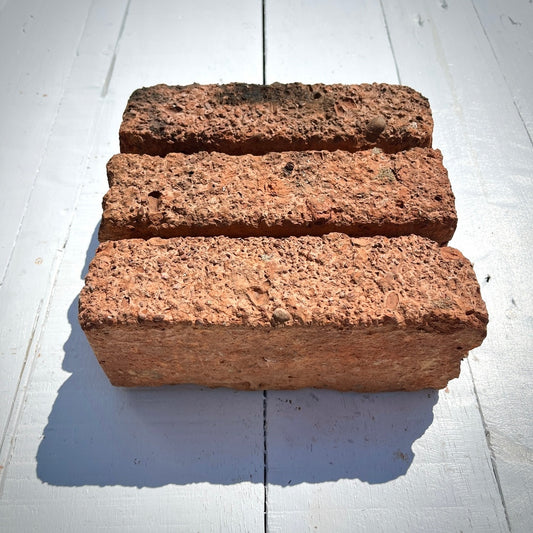
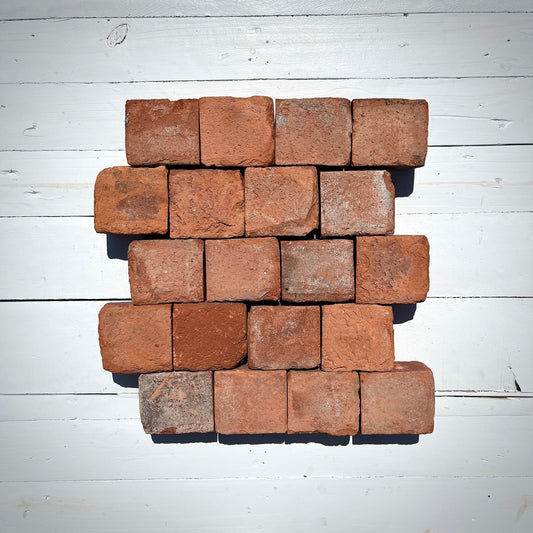
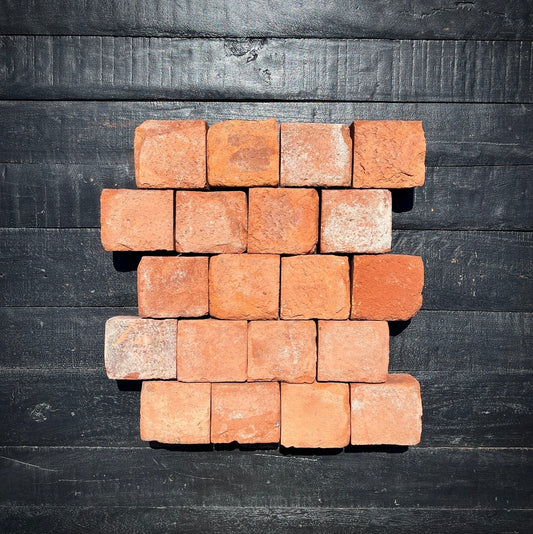
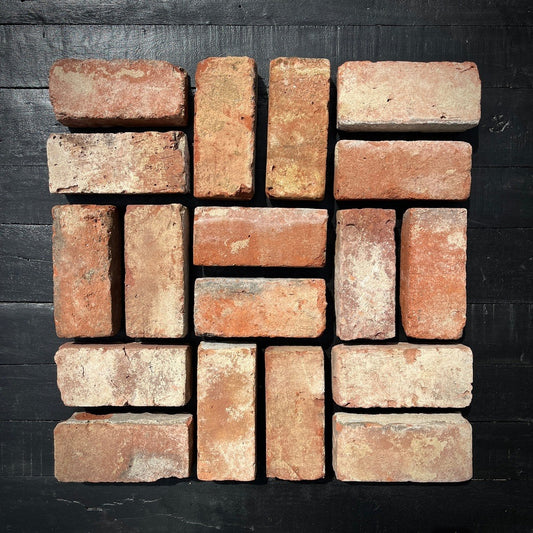
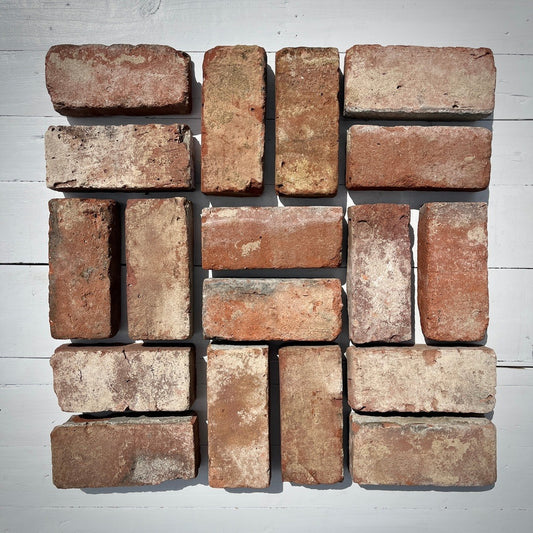
Reclaimed brick brings timeless charm and warmth to any interior space, whether installed as a rustic floor or an exposed wall. But brick is also a naturally porous material—meaning it can absorb water, stains, and dust if left untreated. Sealing your brick surfaces not only enhances their appearance but also makes cleaning and maintenance far easier in the long run.
In this guide, we break down why sealing is important, the types of sealers available, and how to apply sealant to both walls and floors made with reclaimed brick tiles.
Why You Should Seal Brick
- Easier Maintenance: Without a sealant, brick surfaces can trap dirt and grime. Sealed brick repels moisture and dust, making it easier to sweep, mop, or wipe clean, especially in kitchens, bathrooms, and entryways.
- Enhanced Durability: Sealing brick helps prevent erosion, crumbling, or surface flaking. For floors, it also adds a layer of protection against foot traffic, spills, and abrasions.
- Aesthetic Appeal: The right sealant can bring out the natural colors of the brick, intensify contrast, and add either a matte, satin, or glossy finish, depending on your desired look.
- Stain & Moisture Resistance: Especially in areas exposed to moisture or oil (like backsplashes or mudrooms), a quality sealant acts as a barrier, preventing stains from penetrating the brick.
Choosing the Right Sealant
There are two main types of sealants you’ll want to consider:
1. Penetrating (Invisible) Sealers
- Soaks into the brick without altering its appearance.
- Best for preserving a natural, uncoated look.
- Ideal for walls or floors where a rustic, matte finish is desired.
- Typically water- or solvent-based.
2. Surface (Film-Forming) Sealers
- Creates a visible layer on the surface.
- Enhances color and may add a satin or glossy sheen.
- Better for floors or areas where durability and stain protection are critical.
- Includes acrylic, polyurethane, or epoxy-based products.
How to Seal Brick Walls and Floors
- Clean the Surface: Make sure your brick is fully dry and free of dust, efflorescence, or grime. A vacuum or stiff-bristle broom works well. For deeper cleaning, use a pH-neutral cleaner designed for masonry.
- Test the Sealer: Always do a small patch test in an inconspicuous area. This helps ensure the finish and color enhancement are to your liking.
- Apply the Sealer: Use a roller, sponge, or pump sprayer, depending on the product and surface. Work in small sections and ensure even coverage. Two thin coats are often better than one heavy coat.
- Allow to Dry: Follow the manufacturer’s drying time. Some sealers require 24–48 hours to fully cure.
- Reapply Over Time (Optional): For high-traffic floors or exposed walls, re-sealing every few years will keep them protected and looking fresh.
Pro Tip
For a more rustic or vintage look, consider leaving the brick unsealed on accent walls that don’t face heavy wear or moisture. Just remember: unsealed bricks may shed dust or absorb odors over time.
What do we think?
Sealing your reclaimed brick walls and floors is a smart move that protects your investment and preserves their timeless beauty. Whether you want a sleek finish or a barely-there shield, the right sealer makes a world of difference.
Chief Bricks offers expert advice and top-quality reclaimed materials—so your brick project stands the test of time.