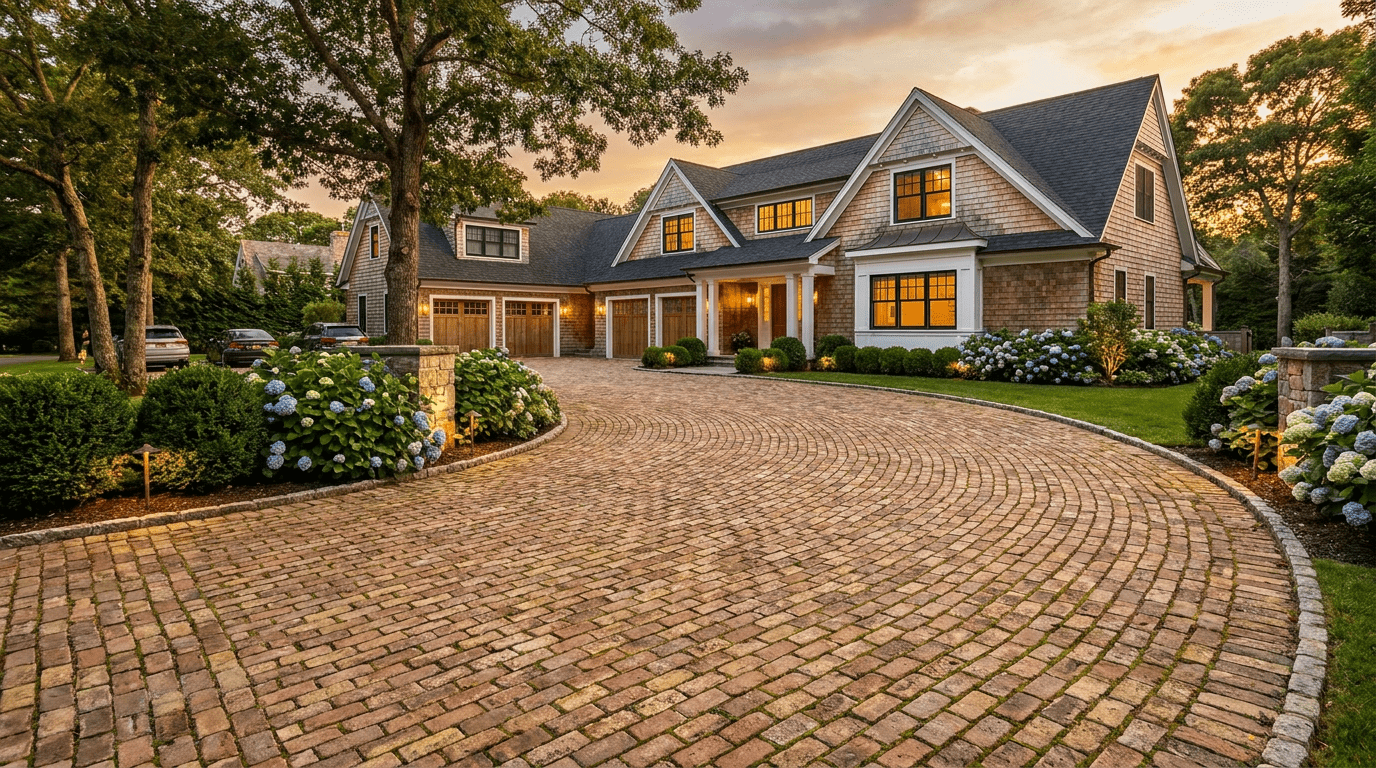
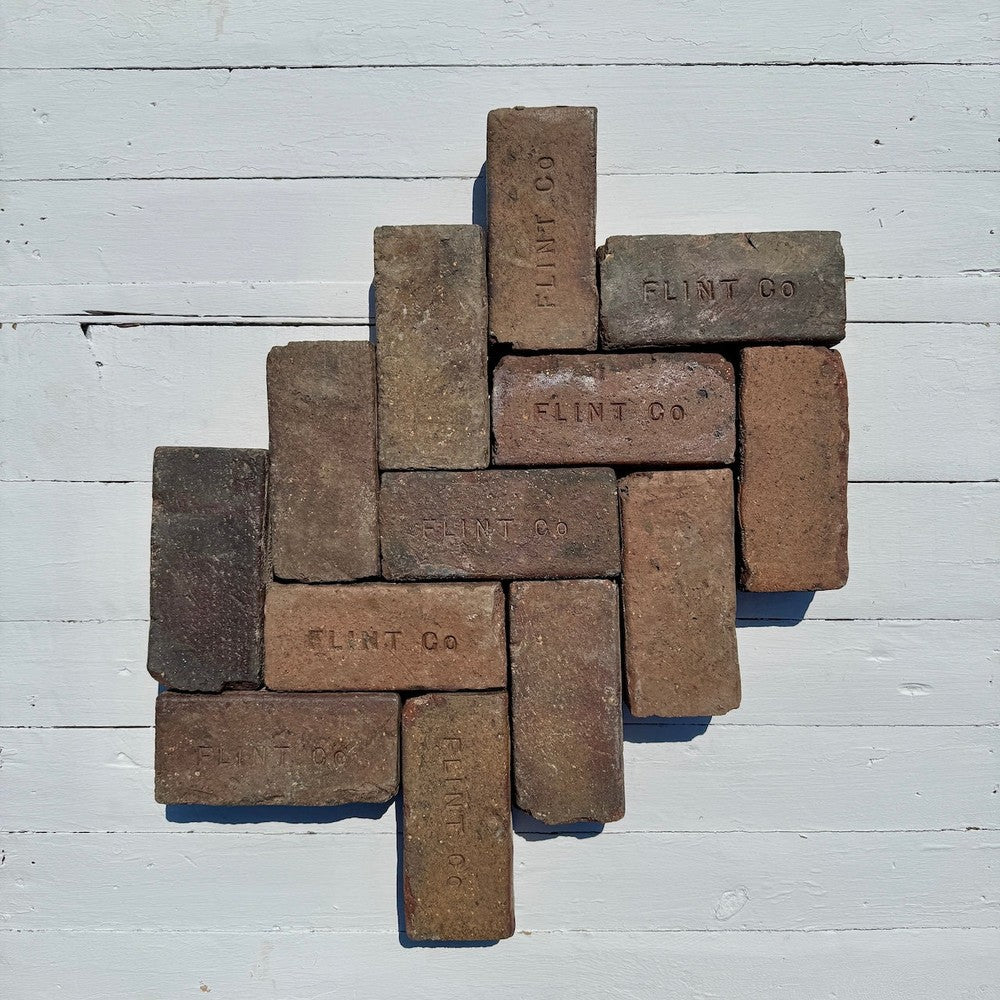
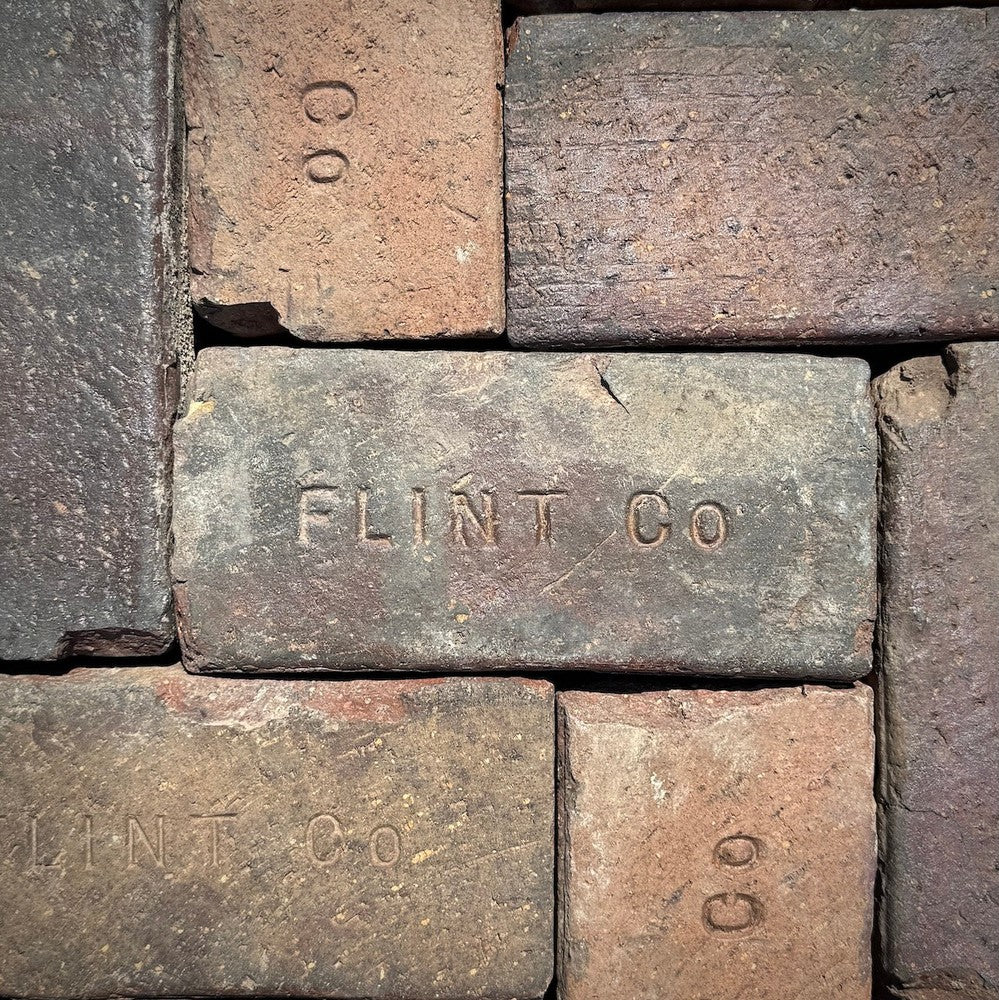
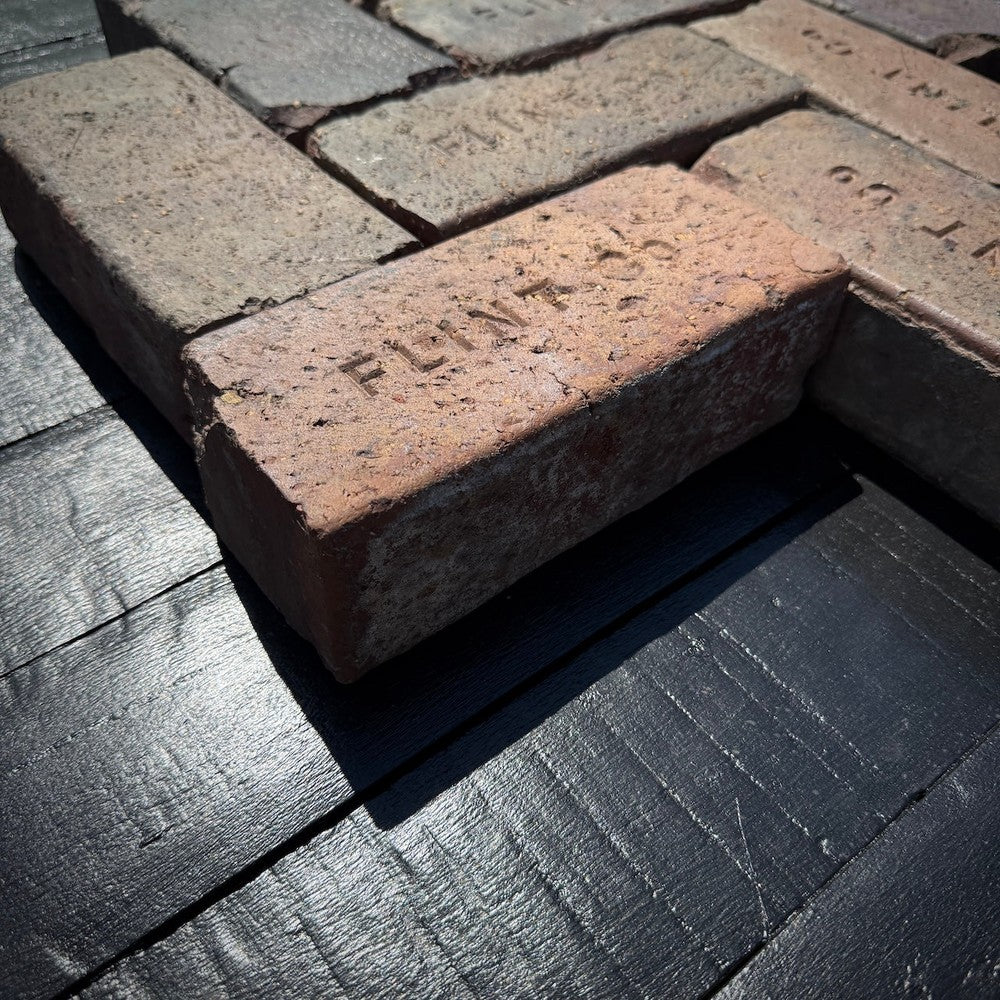
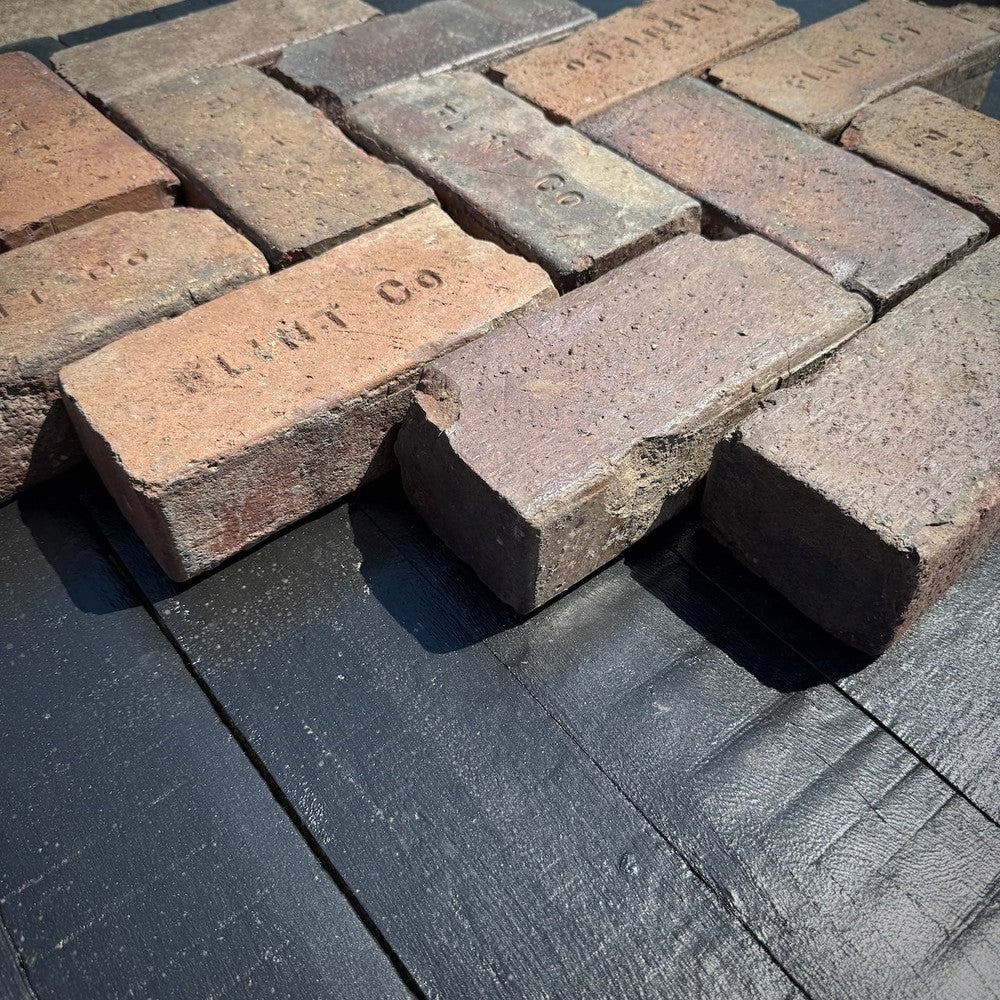
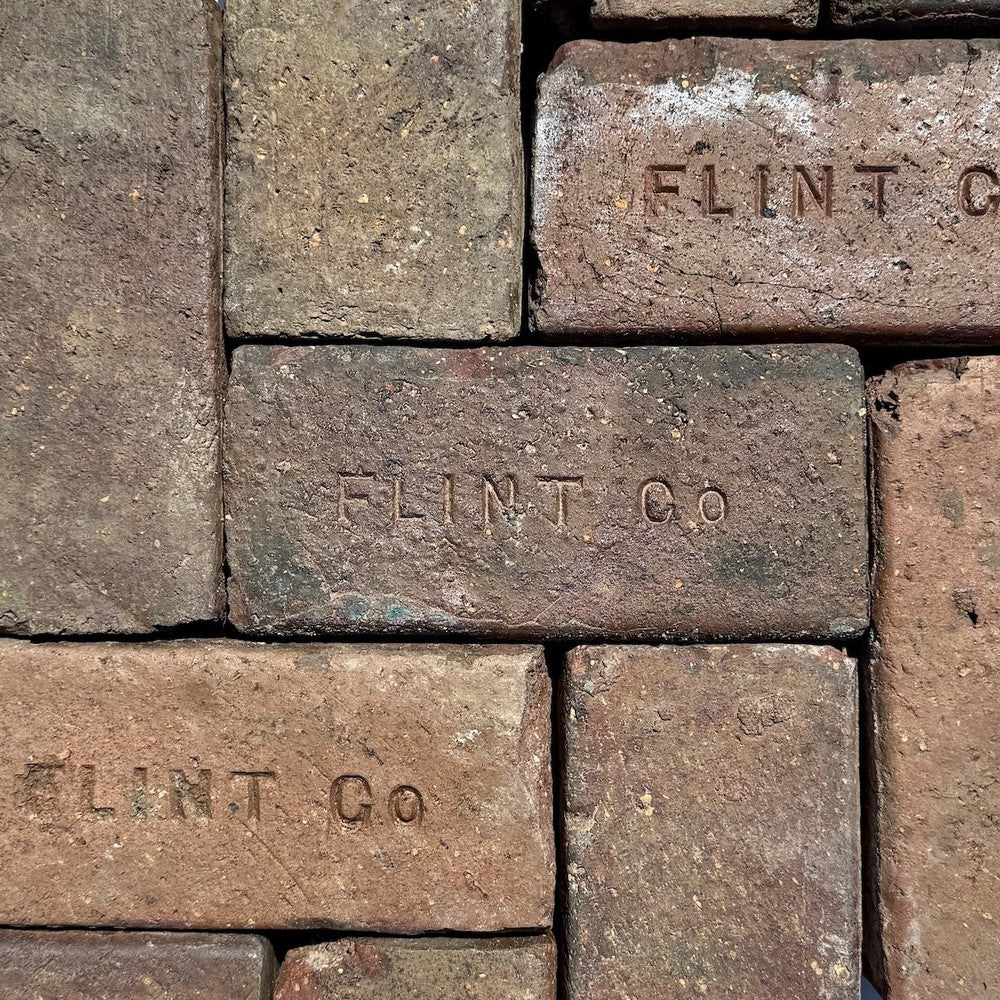
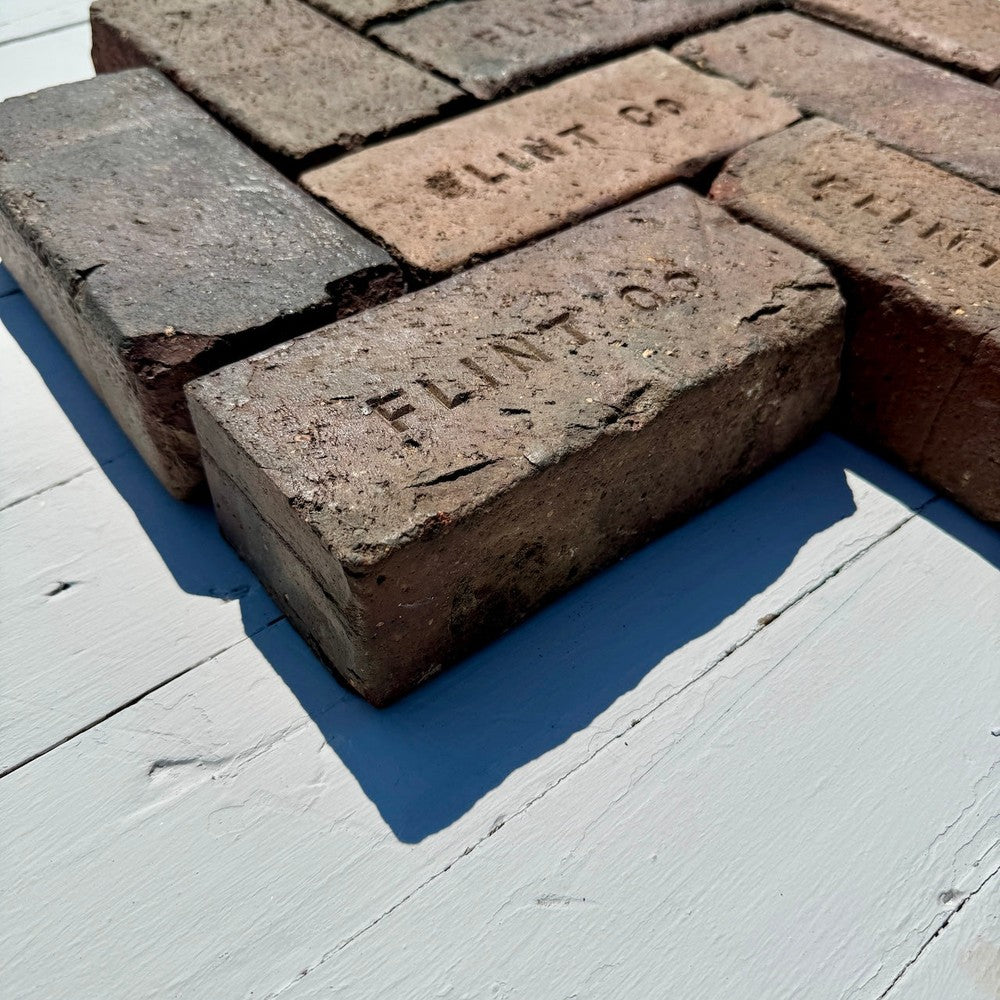
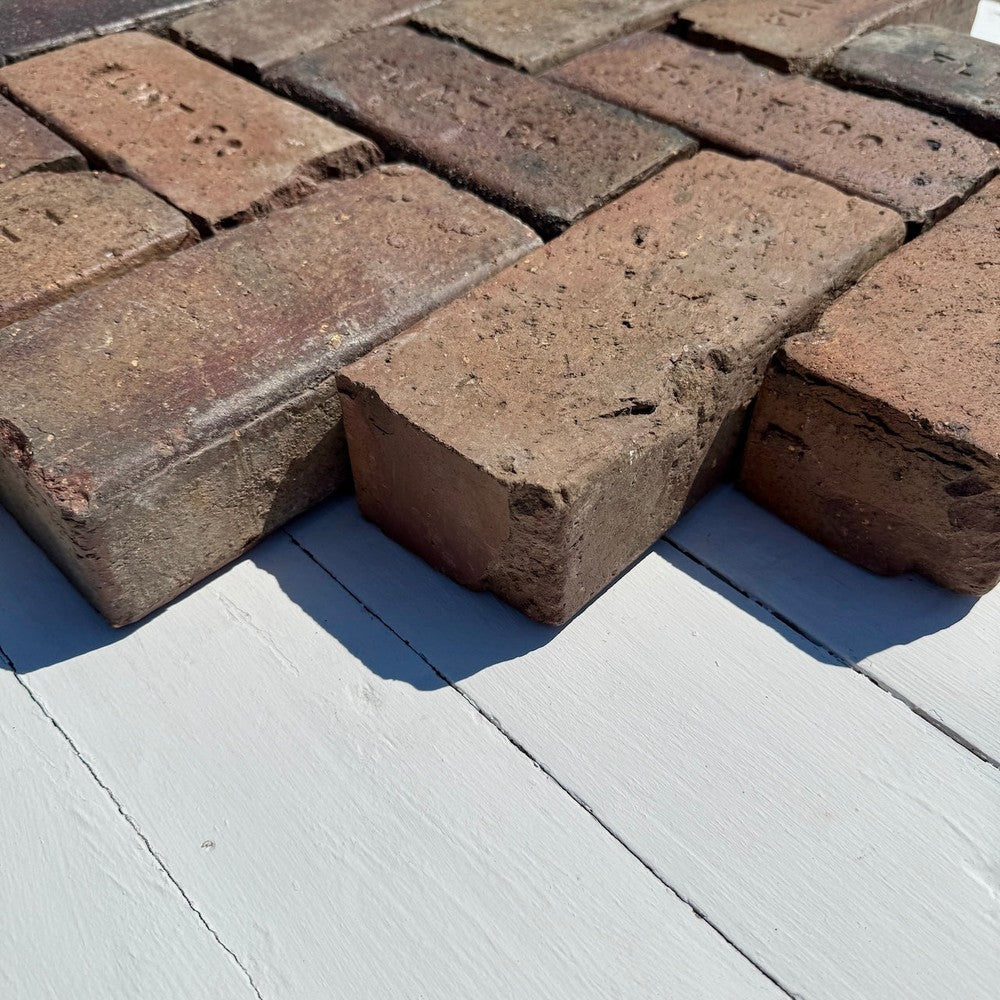
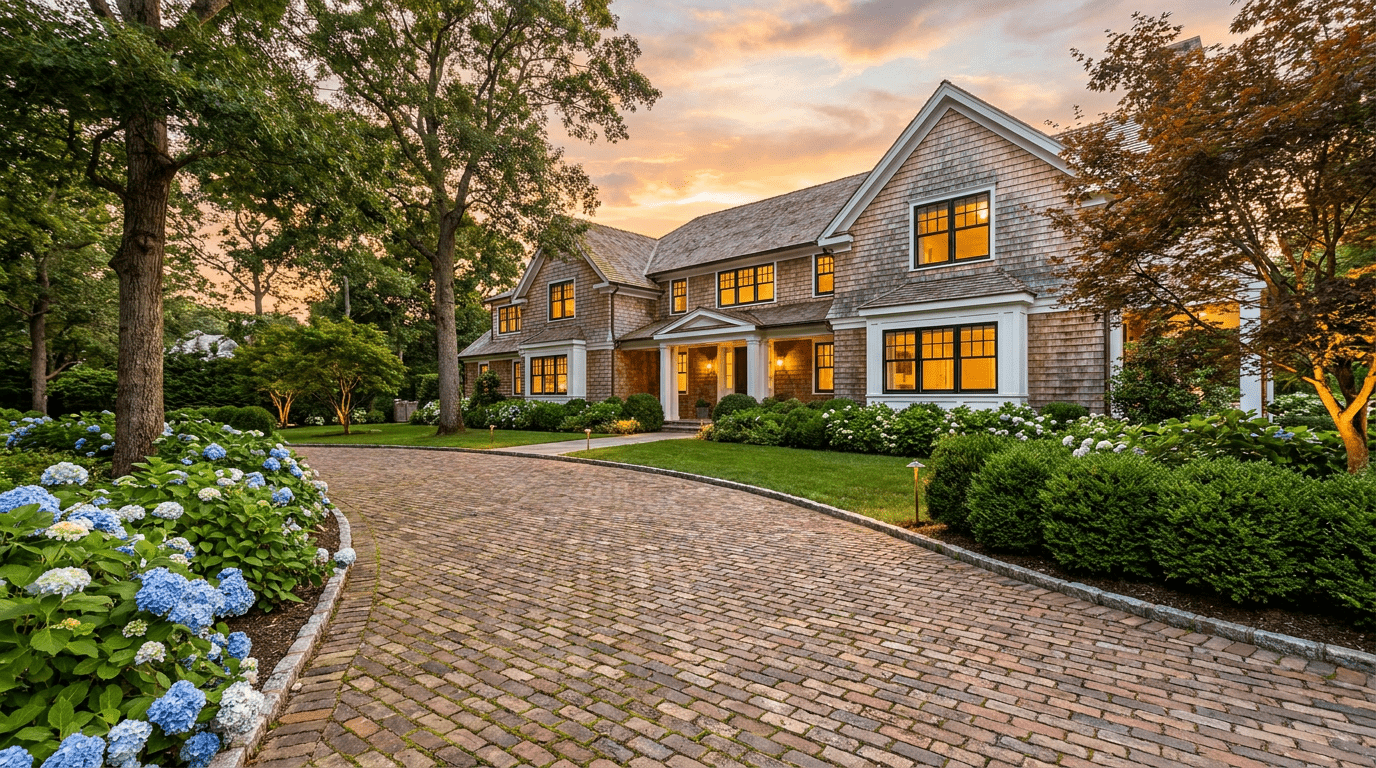
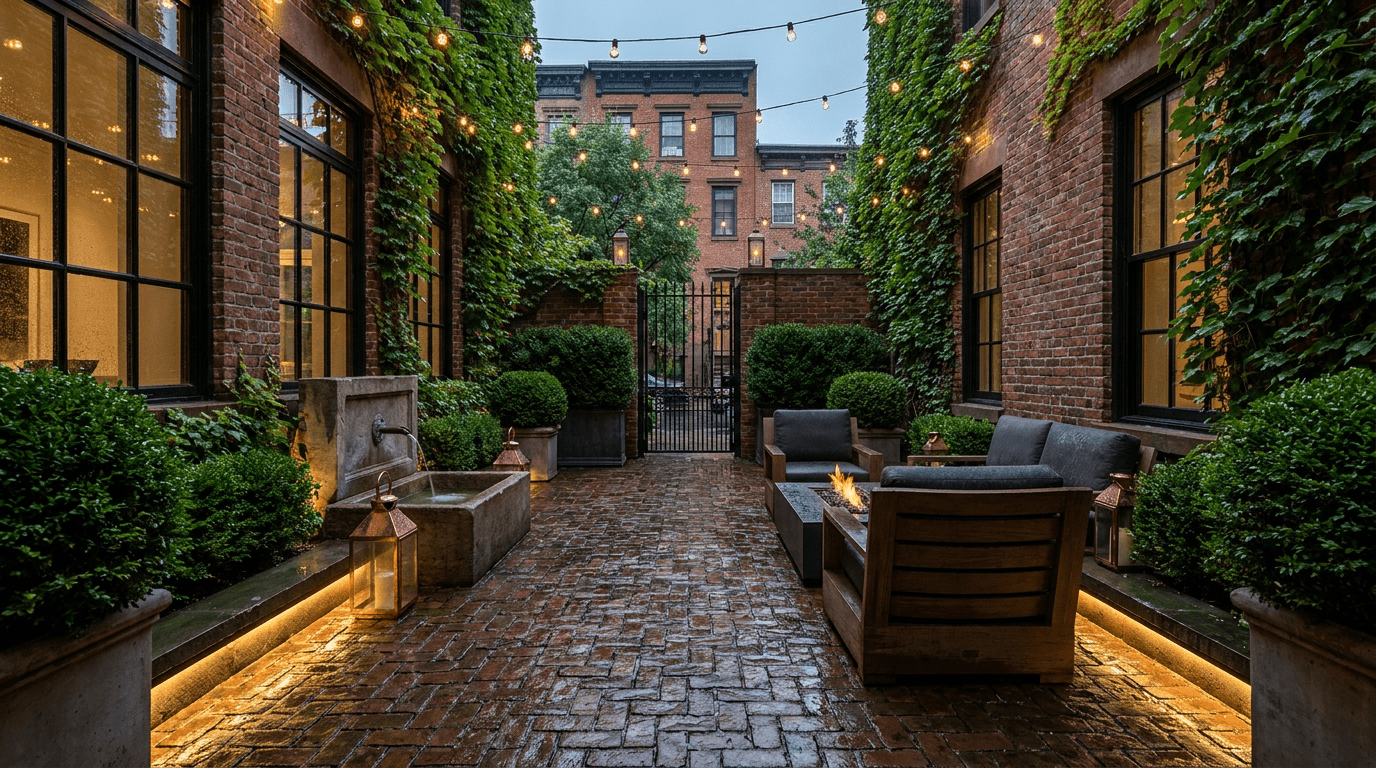
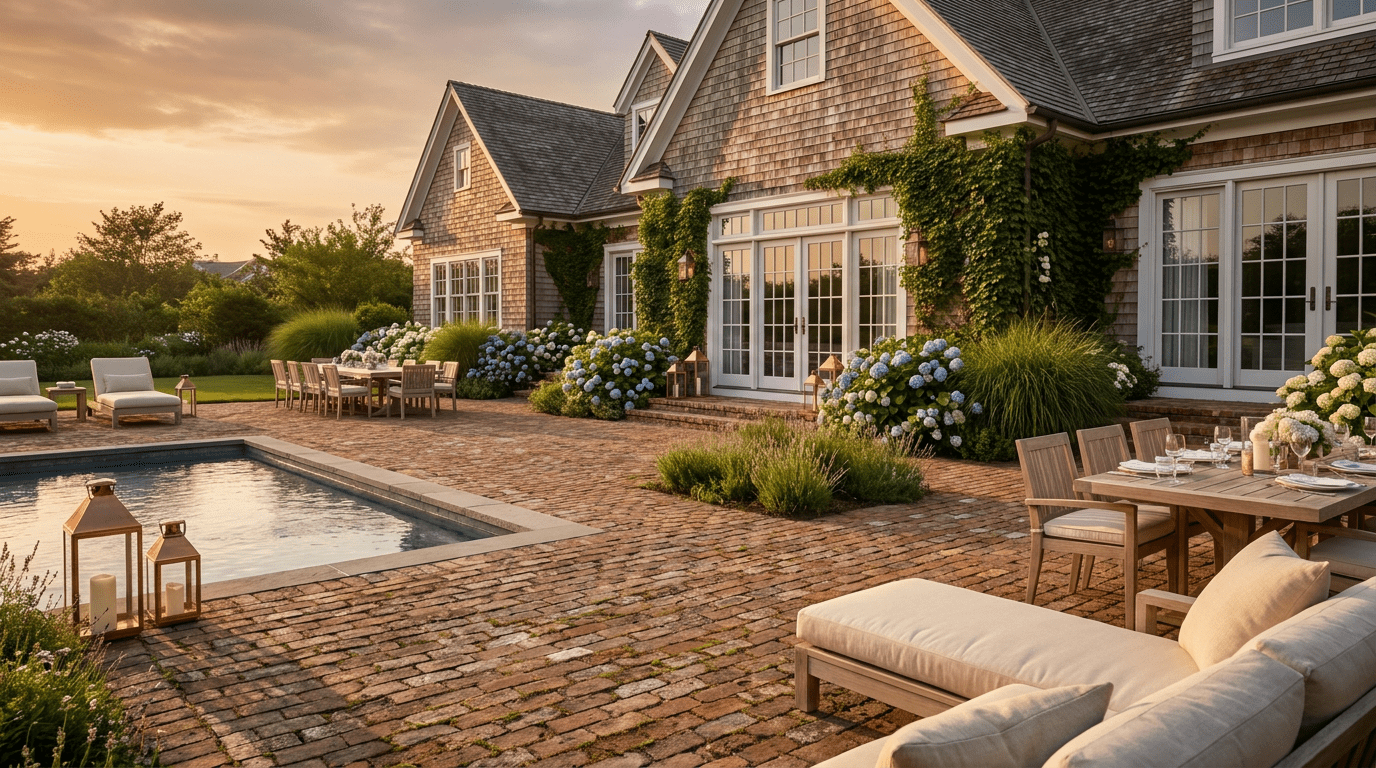
Reclaimed brick street pavers bring a warmth and character that new materials simply can’t match. They already have the patina, the subtle color variation, and the lived-in look so many homeowners are trying to recreate with manufactured products. If you are dreaming of a historic-feeling patio, a winding garden path, or a classic driveway with old-world charm, reclaimed street bricks are tough to beat.
The good news: with proper planning and a little sweat, many homeowners can tackle a reclaimed brick project themselves. The key is to treat installation like a long-term investment rather than a weekend experiment. In this guide, we’ll walk you step by step through how to install reclaimed brick street pavers for patios, walkways, and driveways, so your new space looks good on day one and still performs years from now.
Table of Contents
- 1. Planning your reclaimed brick project
- 2. Tools and materials you’ll need
- 3. Excavation and base preparation
- 4. Setting bed and layout
- 5. Laying reclaimed brick street pavers
- 6. Edge restraints and borders
- 7. Joint filling and compaction
- 8. Special considerations for driveways
- 9. Sealing and long-term maintenance
- 10. Common mistakes to avoid
1. Planning your reclaimed brick project
Every successful reclaimed brick installation starts on paper. Before you pick up a shovel, take time to define how you want to use the space, what loads it needs to support, and how water will move around it. That planning work will guide everything from excavation depth to pattern choice.
Start with use and load. A light-use garden path can get away with a thinner base than a driveway that needs to carry vehicles. Patios typically sit in the middle: more structural than a path, less demanding than a driveway. Decide early whether you’re planning for foot traffic only, occasional cars, or daily vehicle use.
Measure and sketch. Measure the length and width of your future patio, walkway, or driveway and draw a simple sketch. Note existing features: doors, steps, trees, utilities, and any tight turns. Your sketch doesn’t need to be pretty; it just needs to be accurate enough to calculate square footage and plan patterns.
Account for slope and drainage. Brick surfaces should gently slope away from buildings so water never sits against your foundation. A common rule of thumb is about 1/8" to 1/4" of fall per foot away from structures. Mark high points and low points on your sketch and decide the direction you want water to flow.
Finally, choose a laying pattern that matches your project type. Herringbone patterns are ideal for driveways and high-traffic areas because they lock together under load. Running bond and basketweave patterns work beautifully for patios and walkways where loads are lighter and you want a visually calm field.
2. Tools and materials you’ll need
Working with reclaimed brick street pavers is more about patience than specialized tools. You can rent the heavy gear for a weekend and use standard homeowner tools for everything else.
Typical tools:
- Shovel and spade for excavation
- Wheelbarrow and landscape rake
- Plate compactor (rental)
- Hand tamper for tight areas and edges
- Level, string line, and stakes
- Rubber mallet
- Circular saw or angle grinder with masonry blade (for cuts)
- Measuring tape and carpenter’s pencil
- Safety glasses, gloves, and ear protection
Typical materials:
- Reclaimed brick street pavers (include extra for cuts and waste)
- Crushed stone or gravel base material
- Compacted sand or stone dust for the setting bed
- Edge restraints (plastic, steel, concrete, or brick soldier course)
- Spikes or concrete for anchoring edging
- Jointing sand or polymeric sand
- Optional: breathable sealer designed for clay brick
Before ordering materials, add 5–10% extra brick to your calculated square footage to cover cuts and any pieces you decide not to use. Reclaimed stock is unique; having a small buffer helps you maintain a consistent look and pattern.
3. Excavation and base preparation
The base is what makes or breaks any brick project. If you rush through excavation and compaction, even the most beautiful reclaimed bricks will shift, settle, or heave over time. Plan to spend at least as much energy under the bricks as you do laying them.
Determine total depth. Add up the thickness of your reclaimed brick, your setting bed (usually 1" to 1.5" of sand or stone dust), and the compacted base layer. For walkways and patios, a 4–6" compacted base is common; driveways often need 8–12" depending on soil conditions and climate.
Excavate the full area. Remove sod, organic material, and soil to your total depth plus a little extra to allow for final leveling. Excavate beyond the finished edges by at least 6" so your base extends past the brick field, giving the pavers a solid foundation at the perimeter.
Compact in lifts. Spread your crushed stone in 2–3" layers (called lifts) and compact each lift with a plate compactor before adding the next. This step is not glamorous, but it’s what keeps your surface from sinking and developing low spots.
As you build up your base, use a level and string lines to maintain your planned slope. You don’t need a perfectly flat surface; you want a consistently sloped, firm, and well-compacted base that matches your design elevations.
4. Setting bed and layout
Once the base is compacted, you’ll add a thinner setting layer to receive the bricks. This layer allows you to fine-tune elevations and gives each brick a cushioned but stable seat.
Spread and screed the setting bed. Add 1" to 1.5" of sand or stone dust across the compacted base and roughly level it with a rake. Then use straight pipes or screed rails and a long board to drag across the surface, creating a flat, consistent layer at the right height. Avoid walking directly on the screeded surface; work from the area where bricks are already laid.
Plan your layout lines. Snap chalk lines or pull string lines to define your starting course. On walkways, center your pattern or run it parallel to the house or main path. On patios and driveways, choose a reference edge (often the house wall or a long straight border) and establish square lines from that point.
Because reclaimed street bricks have slight variations in size and patina, dry-lay a small test area first. This is the time to decide how much color variation you want in each area and to mix pallets so you don’t end up with noticeable patches of one tone.
5. Laying reclaimed brick street pavers
With the base prepared and layout lines in place, you’re finally ready to set bricks. This is the moment your vision starts to look real. Take your time; a consistent pattern and tight joints make a huge difference in the finished project.
Start from a straight reference edge. Lay your first course along your string line, pressing each brick into the setting bed. Keep joints uniform but not overly tight; reclaimed bricks benefit from a bit of breathing room that joint sand will later fill.
Maintain pattern and alignment. Work in sections, placing bricks in your chosen pattern and checking alignment every few courses. Use a rubber mallet to tap bricks into place and keep their tops roughly flush with each other. If a brick sits high, scoop out a little bedding material; if it sits low, add a small amount under it.
Cut bricks where needed. At edges, curves, and around obstacles, you’ll likely need to cut bricks to fit. Mark each cut carefully and use a masonry blade on an angle grinder or circular saw. Wear proper safety gear; cutting reclaimed brick is dusty and loud, but those custom cuts are what give your project a finished, intentional look.
As you go, step back occasionally and look at the project from different angles. You’re not just installing a surface; you’re creating a permanent part of your outdoor living space. This is the time to adjust patterns, swap out any bricks you don’t love, and fine-tune the layout.
6. Edge restraints and borders
A solid edge keeps your reclaimed brick field from spreading and losing shape over time. Without reliable edge restraints, bricks at the perimeter can roll or drift, especially under vehicle loads or heavy freeze-thaw cycles.
Choose your edging style. Homeowners often choose between hidden edge restraints (plastic or metal secured with spikes) and visible borders like a soldier course (bricks stood on edge) or a contrasting band of brick. Hidden edging is fast and clean; decorative borders add a strong design element and visual frame.
Install and secure. Once the main field is in place, set your edge restraints tightly against the bricks and secure them with spikes into the compacted base. If you’re using a brick border, treat it with the same care as the main field: solid base, clean joints, and consistent elevations.
Don’t underestimate the long-term value of proper edging. A neat, well-contained edge is one of the easiest ways to keep your surface stable and looking intentional year after year.
7. Joint filling and compaction
With all bricks in place and edges secured, the final structural steps are filling the joints and compacting the surface. This locks the reclaimed bricks together and distributes loads across the whole field.
Sweep in jointing sand. Spread dry sand or polymeric sand across the surface and sweep it into the joints. Work from different directions so the material can settle deeply between bricks. Take your time; well-filled joints are your first line of defense against movement and weed growth.
Compact the surface. Run a plate compactor over the entire area, ideally with a protective pad or a piece of carpet under the machine to prevent scuffing. Compaction vibrates the bricks into their final seat and nudges sand further down into the joints. After one pass, sweep in more jointing material and compact again until joints are consistently full.
When you’re satisfied with joint fill, sweep off excess material so it doesn’t harden or stain the surface. If you’re using polymeric sand, follow the manufacturer’s instructions for misting and curing time.
8. Special considerations for driveways
Driveways demand more from reclaimed brick street pavers than patios or walkways do. Cars introduce concentrated loads, turning forces, and oil or fluid drips that patios will never see. A driveway built correctly with reclaimed bricks, however, can handle daily use while looking like it has been there for generations.
Increase base thickness. For most residential driveways, plan for a deeper, well-compacted base than you would use under a patio. That extra stone is your insurance policy against ruts and depressions. If you’re unsure how much base you need, err on the side of more and consider local soil and climate conditions.
Choose interlocking patterns. Herringbone patterns (45-degree or 90-degree) are especially well-suited to driveways because they distribute loads and resist spreading. Running bond is less stable under turning wheels, especially near garage doors and at tight corners.
Reinforce edges and transitions. Pay special attention to the connection between brick and concrete at garage doors or streets. You want clean transitions, strong edge restraints, and sufficient base depth at these high-stress points.
In cold climates, proper drainage and slope matter even more for driveways. Standing water that freezes and thaws can disturb even the best-built base if it has nowhere to go.
9. Sealing and long-term maintenance
One advantage of reclaimed street bricks is that they were originally made to live outside in real conditions. They already know how to handle weather, foot traffic, and daily life. A little routine maintenance will mainly help them look their best and keep joints in good shape.
Clean periodically. Sweep the surface regularly and occasionally rinse with a garden hose to remove dirt and debris. For stains, use cleaners designed for masonry and always test a small area first. Avoid harsh acids unless you know exactly what you’re working with and how it will react to reclaimed material.
Consider a breathable sealer. Some homeowners like the look and added protection of a sealer, especially on patios and walkways. If you decide to seal, choose a product formulated for clay brick and outdoor use and follow the instructions carefully. In many cases, a matte or natural-look sealer preserves the reclaimed character without making the surface shiny.
Once a year or so, check for low spots, loose bricks at edges, or areas where jointing sand has washed out. Catching and fixing small issues early is far easier than waiting until movement becomes obvious.
10. Common mistakes to avoid
Reclaimed brick street pavers are forgiving, but they’re not magic. Most long-term problems trace back to a few avoidable mistakes. Keeping these in mind as you build will help you sidestep headaches later.
Skipping proper base depth. Trying to save time or money by skimping on base material is a common regret. If you’re on the fence, put more effort below the surface – you’ll rarely wish you’d used less base.
Ignoring drainage. A beautiful flat patio that sends water toward your house will cause trouble. Always maintain a gentle slope away from buildings and avoid trapping water against walls, steps, or planters.
Rushing compaction. Both the base and the finished surface need real compaction, not just a single pass for show. Plan your day so you have time to compact in lifts and to run multiple passes over the final surface.
Not mixing pallets. Because reclaimed bricks have authentic variation, you don’t want to lay one pallet at a time. Mix bricks from multiple pallets as you go so color and wear are distributed evenly across the project.
When you take the time to plan properly, prepare a solid base, and pay attention to the details, reclaimed brick street pavers can transform everyday patios, walkways, and driveways into spaces that feel timeless. The result is not just another hardscape surface, but a piece of history woven into your home.


Share: